Photography is a fascinating art that has the power to capture moments and memories in time. Whether you’re taking pictures of your family and friends or trying to capture the beauty of the natural world, having a good understanding of the camera is essential to achieving the desired result.
In this tutorial, we’ll explore the different components of the camera, how they work, and how you can use them to enhance your photography. We’ll also discuss the different types of cameras available and the pros and cons of each.
Components of the Camera
To understand how a camera works, it’s essential to know the different components that make it up. The following are the primary parts of the camera:
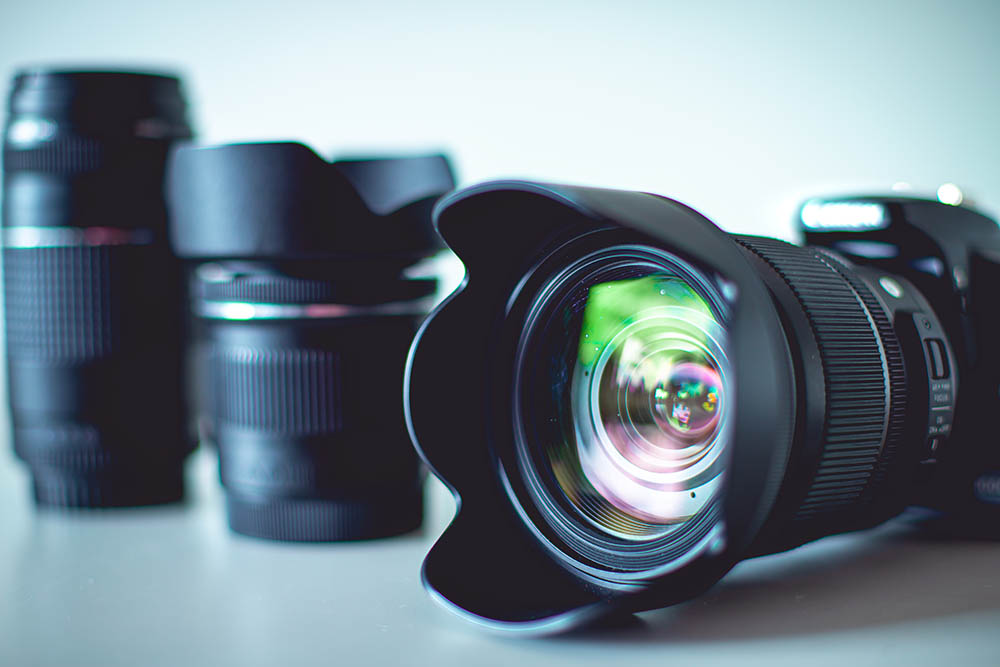
Lens: The lens is one of the most crucial components of the camera. It’s responsible for focusing light onto the camera’s sensor, which captures the image. Different lenses have different focal lengths, which determine how much of the scene is captured and how far away objects appear. Wide-angle lenses capture more of the scene, while telephoto lenses bring distant objects closer.
Sensor: The sensor is part of the camera that captures the image. It’s made up of millions of tiny light-sensitive pixels that convert the light into electrical signals. The size of the sensor affects the quality of the image, with larger sensors producing better-quality photos.
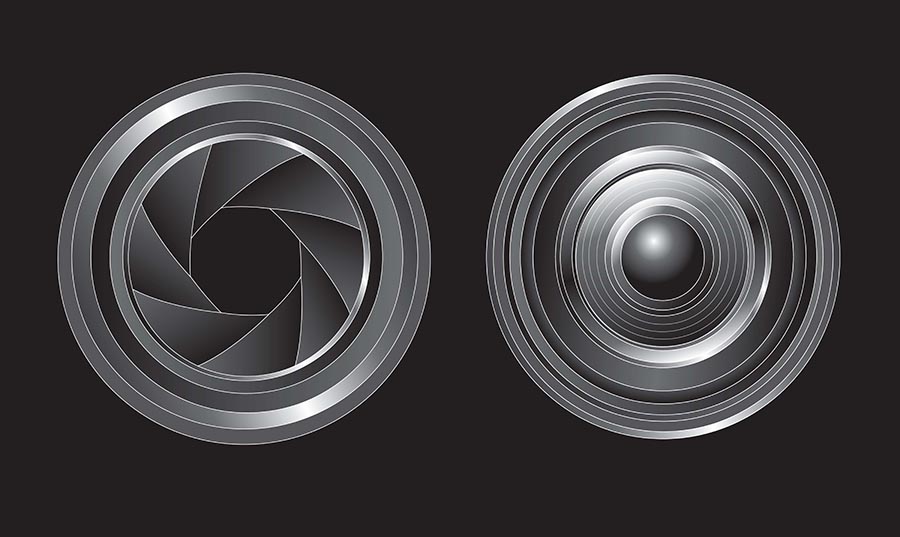
Shutter: The shutter is responsible for controlling the amount of light that catches the camera’s sensor. It opens and closes quickly, allowing light to reach the sensor for a specific amount of time. The duration for which the camera’s shutter remains open is referred to as shutter speed, and it plays an important role in determining the amount of motion blur present in the image.
Aperture: The aperture controls the amount of light entering the camera by adjusting the size of the opening in the lens. It’s controlled by a diaphragm and is measured in f-stops. A smaller f-stop number means a larger aperture, which allows more light to enter the camera. The aperture also impacts the depth of field or the area of the image that’s in focus.
ISO: The ISO measures the camera’s sensitivity to light. A higher ISO means the camera is more light-sensitive, which can be useful in low-light conditions. However, a higher ISO also increases the amount of digital noise in the image, which can reduce image quality.
Types of Cameras
There are many different types of cameras available, each with its advantages and disadvantages. Here are some of the most typical types of cameras:
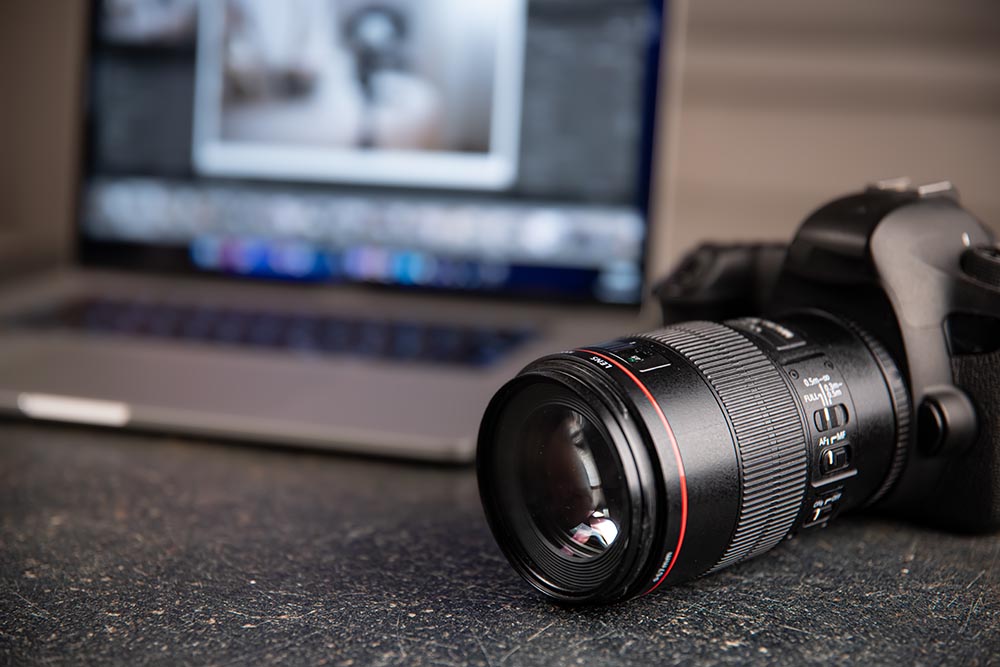
DSLR: DSLR stands for digital single-lens reflex. These cameras use a mirror and prism system to allow the photographer to see through the lens and capture the image. DSLRs are known for their high image quality and versatility, as they allow you to change lenses and adjust settings.
Mirrorless: Mirrorless cameras are similar to DSLRs, but they don’t use a mirror and prism system. Instead, they use an electronic viewfinder to show the photographer what the image will look like. Mirrorless cameras are generally more compact than DSLRs, making them easier to carry around.
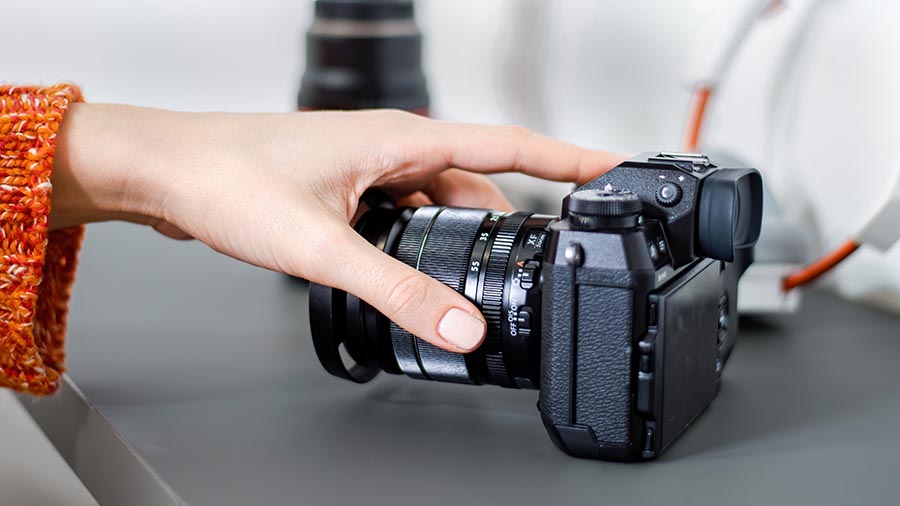
Point-and-shoot: Point-and-shoot cameras are compact, easy-to-use cameras designed for casual photography. They’re typically less expensive than DSLRs and mirrorless cameras and are a great option for beginners.
Medium format: Medium format cameras use a larger sensor than DSLRs and mirrorless cameras, which allows them to capture more detail and produce higher-quality images. However, they’re also more expensive and bulkier than other types of cameras.
You should like this post as well:
Photography Basics: A Beginner’s Guide to Taking Better Pictures
Using the Camera
Now that you know the different components of the camera and the types of cameras available, let’s discuss how to use the camera to take better photos.
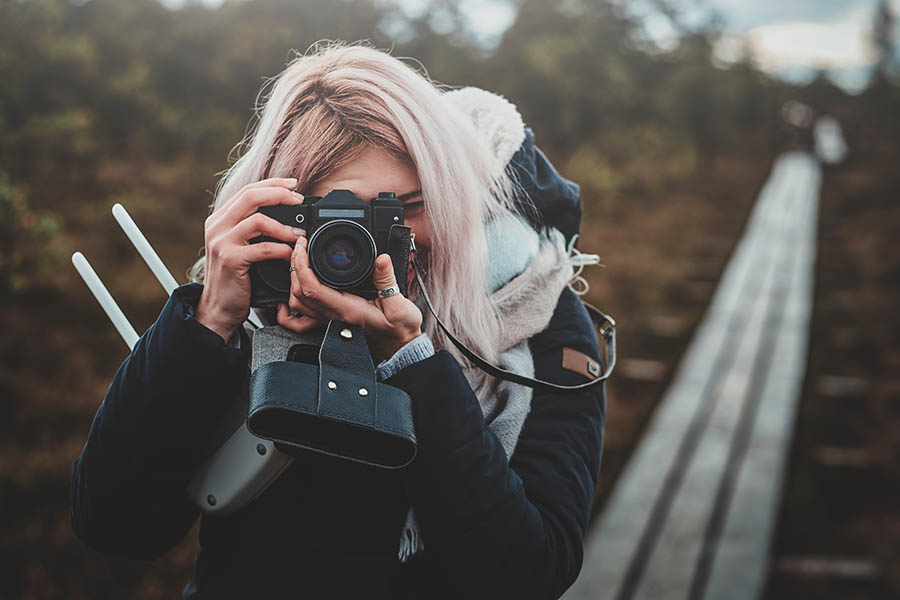
Understand Exposure
Exposure is the total amount of light that reaches the camera’s sensor. To get a well-exposed photo, you need to balance the three elements of exposure: shutter speed, aperture, and ISO.
- Shutter Speed: Shutter speed determines the amount of time the camera’s sensor is exposed to light. A fast shutter speed freezes motion, while a slow shutter speed creates motion blur. To get a well-exposed photo, adjust the shutter speed based on the lighting conditions and the type of photo you want to take.
- Aperture: The aperture controls the total amount of light that enters the camera. A wide aperture (small f-number) creates a shallow depth of field, while a narrow aperture (large f-number) creates a deep depth of field. Adjust the aperture based on the subject and the type of photo you want to take.
- ISO: ISO measures the camera’s sensitivity to light. A higher ISO is useful in low-light situations but can introduce digital noise into the image. Choose the lowest ISO possible to minimize noise.
Use the Rule of Thirds
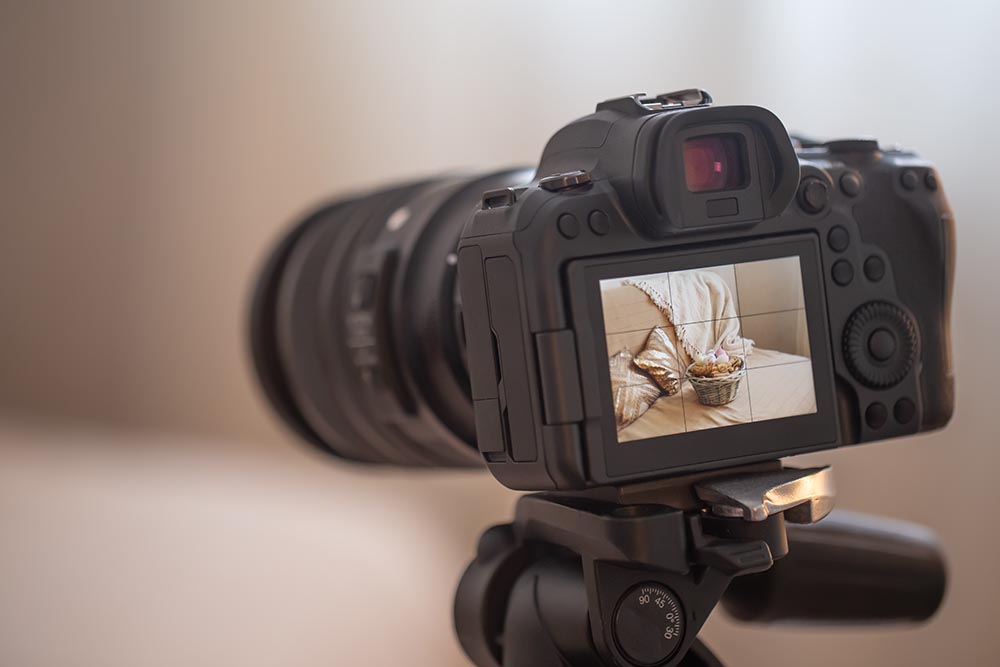
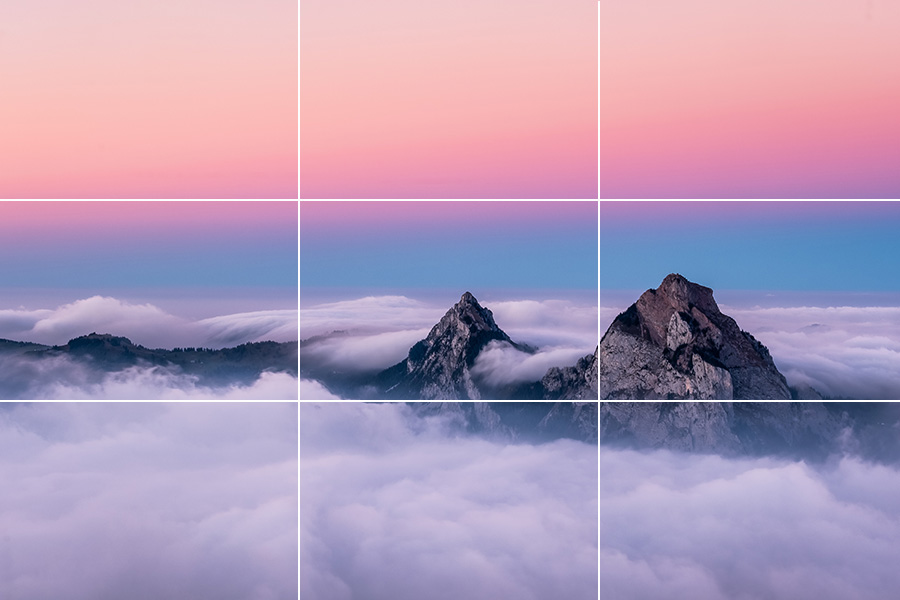
The rule of thirds is a compositional principle that divides the image into thirds horizontally and vertically. The subject of the photo should be placed at one of the intersections of the lines or along one of the lines. This creates a more balanced and visually interesting photo.
You can activate the rule of thirds grid on your camera by accessing the settings and selecting the corresponding option.
Experiment with Depth of Field
The depth of field refers to the distance range in the image that appears sharp and in focus. A shallow depth of field (created with a wide aperture) can be used to isolate the subject from the background, while a deep depth of field (created with a narrow aperture) can be used to keep the entire scene in focus.
To experiment with depth of field, adjust the aperture and focus point to achieve the desired effect.
Use Different Angles and Perspectives
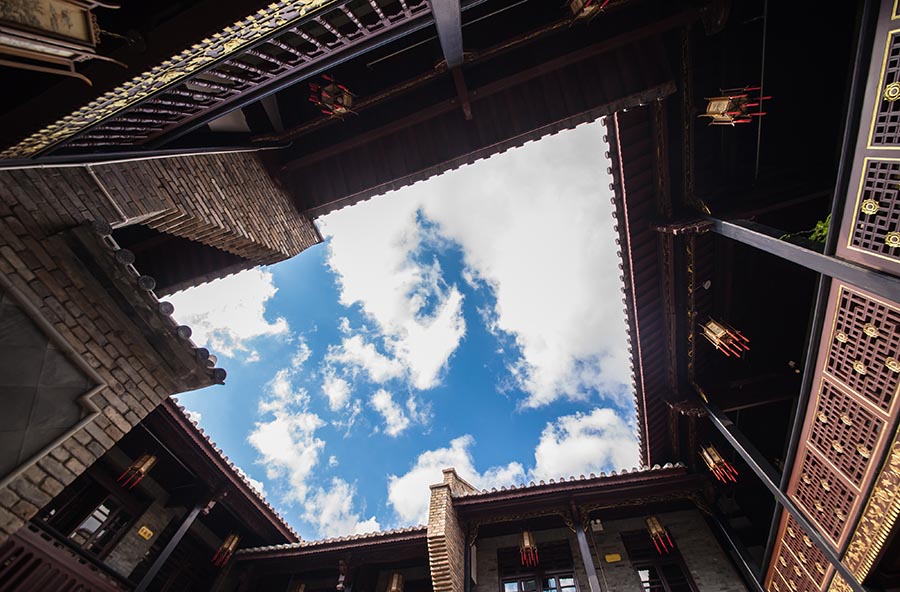
Taking photos from different angles and perspectives can create unique and interesting photos. Try getting down low or up high to capture a different viewpoint. You can also experiment with shooting through objects or using reflections to create interesting compositions.
Pay Attention to the Lighting
Lighting is one of the essential elements of photography. When it comes to lighting in photography, the major thing to remember is the quality and direction of light. Soft, diffused light is generally the most flattering, while harsh, direct light can create unflattering shadows and highlights. Pay attention to the light’s direction, quality, and intensity when taking photos.
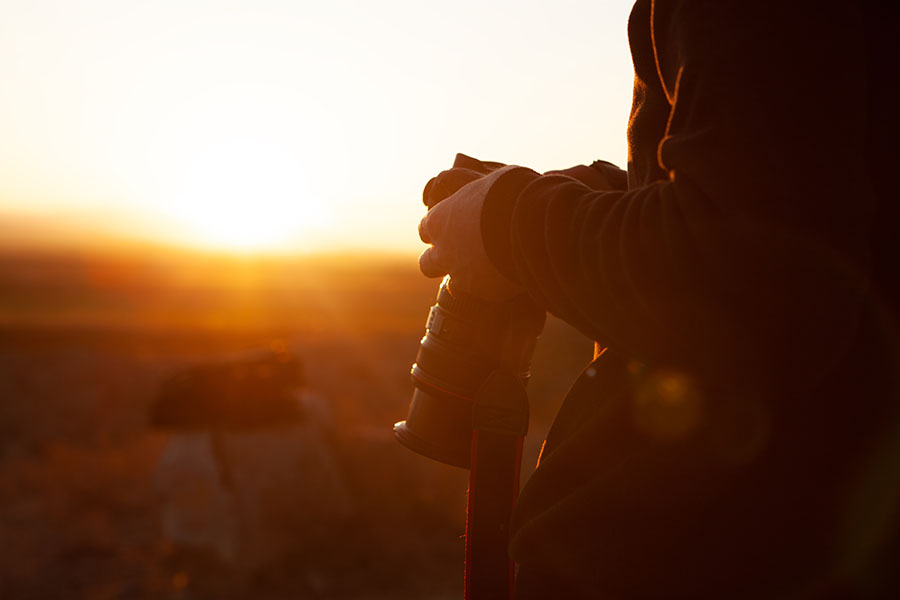
The golden hour, which occurs an hour after sunrise and an hour before sunset, is considered one of the best times for taking photos. The light is warm and soft during this time, creating a beautiful, natural look in your photos.
If you’re shooting outdoors during the day, try to find shaded areas to avoid harsh shadows and highlights. You can also use reflectors or fill lights to soften the light and create a more even look.
Indoor lighting can be more challenging, as artificial lighting can create color casts and harsh shadows. Try to use natural light when possible, and if you need to use artificial lighting, use diffused light sources like softboxes or umbrellas to create a softer, more natural look.
In conclusion, understanding the camera is essential to taking great photos. By knowing the different components of the camera, the types of cameras available, and how to use the camera to take better photos, you can improve your photography skills and capture stunning images. Remember to experiment with different techniques and settings, and most importantly, have fun!


