
Close-up photography, often called macro photography, is a captivating and intriguing genre that allows photographers to explore the intricate details of small subjects. This detailed guide will walk you through the essentials of Macro photography, from equipment and camera settings to composition and post-processing.
Essential Equipment for Macro Photography
Camera
Any camera with manual settings and interchangeable lenses can be used for Macro photography. DSLRs and mirrorless cameras are popular due to their versatility and wide range of compatible lenses.
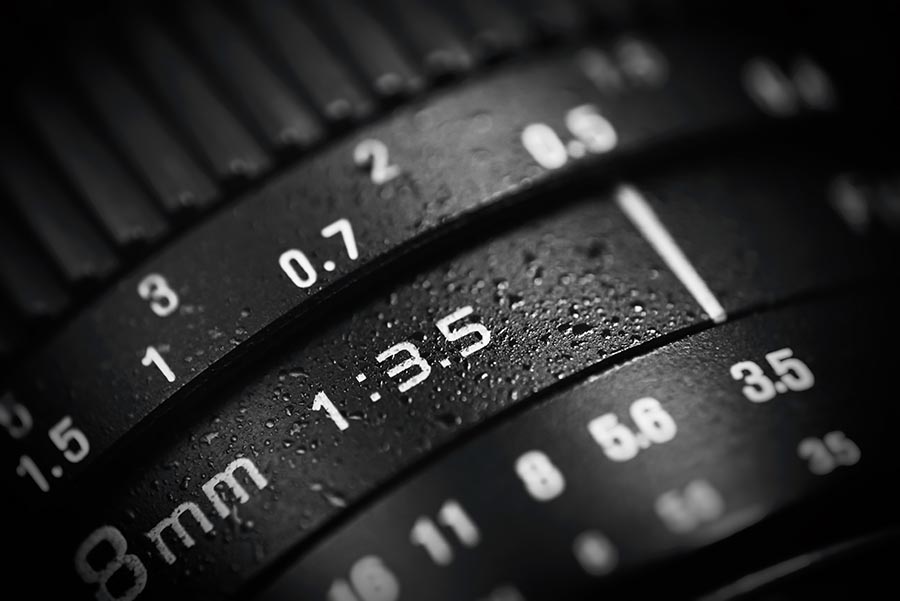
Lenses
A dedicated macro lens with a 1:1 magnification ratio is the best choice for capturing the finest details of your subject. Popular focal lengths for macro lenses include 50mm, 60mm, 90mm, and 100mm. Extension tubes or Macro filters can also be used with standard lenses to achieve a similar effect.
Tripod
A sturdy tripod is crucial for keeping your camera steady during long exposures, minimizing camera shake, and ensuring sharp images. An adjustable-legged tripod featuring a ball head provides effortless repositioning and precise refinement of your photographic composition.
External Lighting
Natural light can be unpredictable, so investing in an external flash or LED light panel can help you achieve consistent and well-lit shots. A ring flash, in particular, is a popular choice for macro photography, as it provides even illumination around the subject.
Other Accessories
Other useful accessories for macro photography include a remote shutter release to minimize camera shake, a focusing rail for precise focus adjustments, and a reflector to bounce light onto your subject.
Choosing Your Subject
When embarking on your macro photography journey, selecting the right subject is crucial for capturing captivating images. This section delves deeper into the process of choosing a subject, offering tips and ideas to unleash your creativity and expand your photographic horizons.
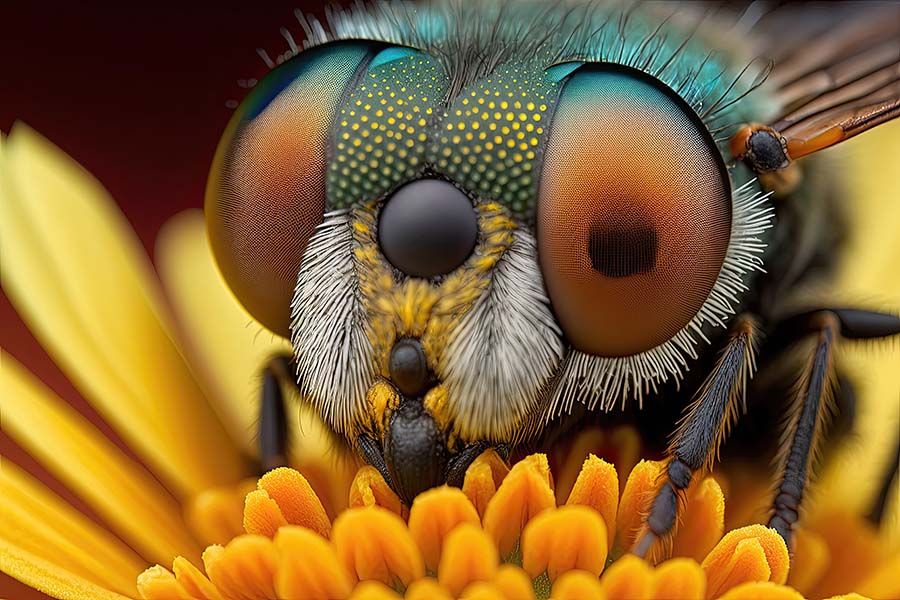
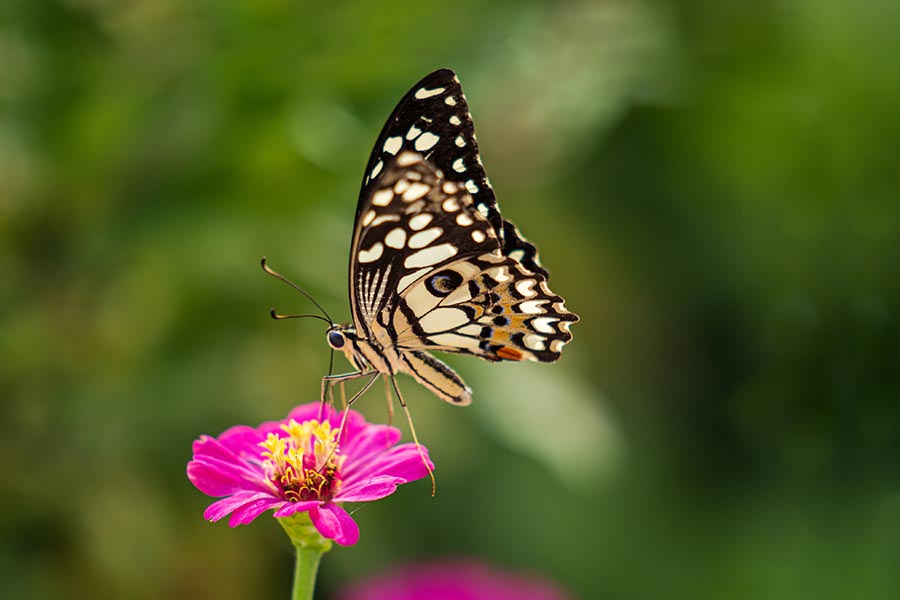
Start with Familiar Subjects
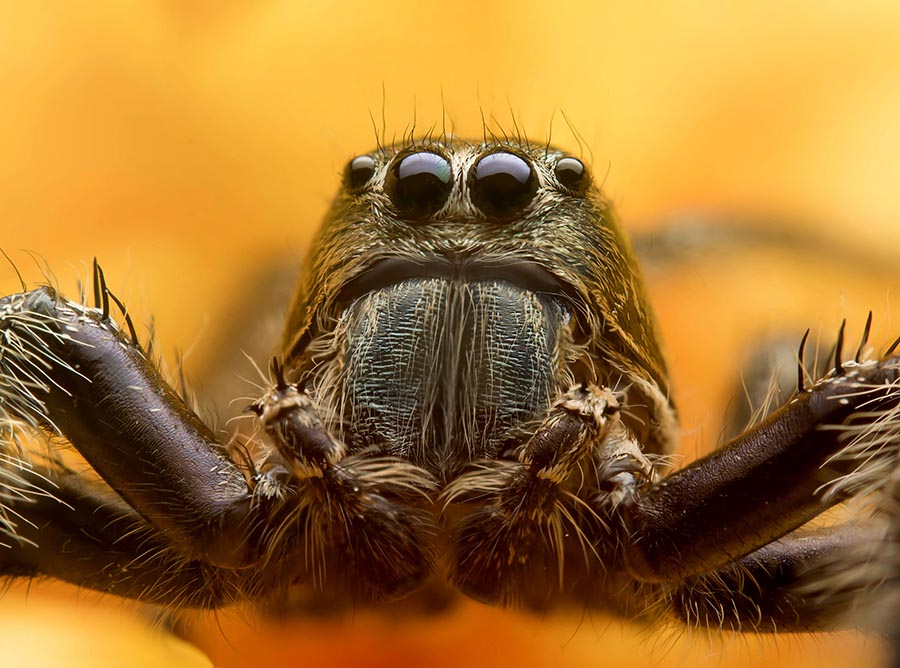
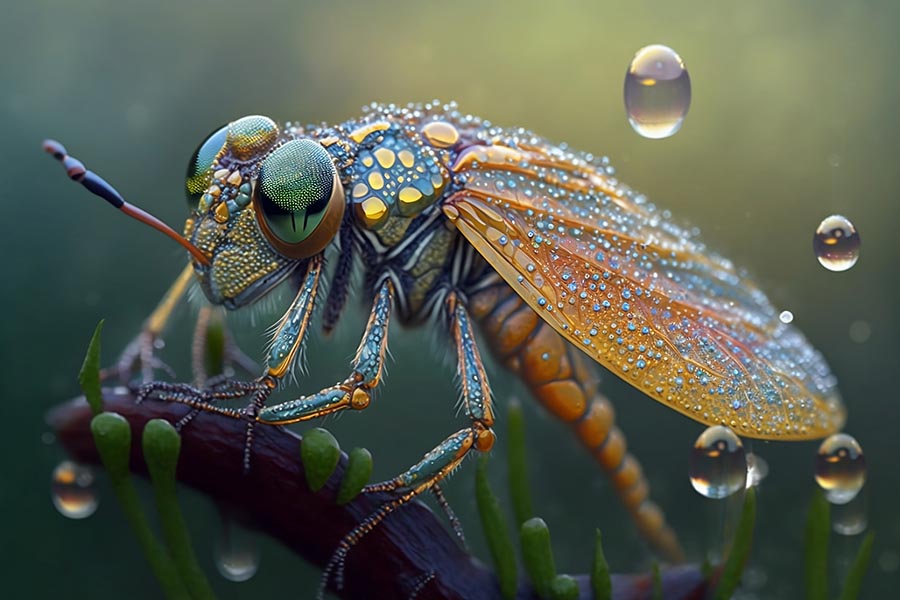
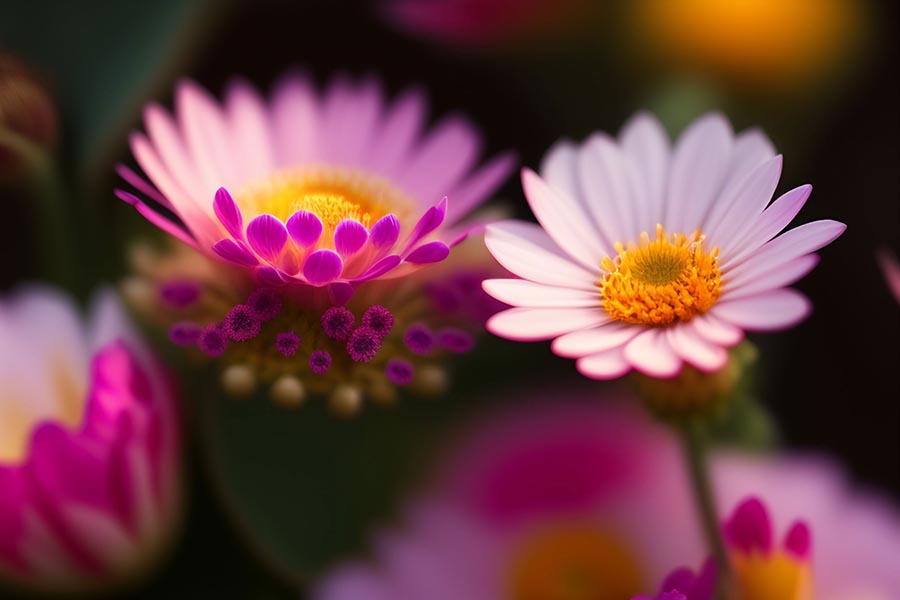
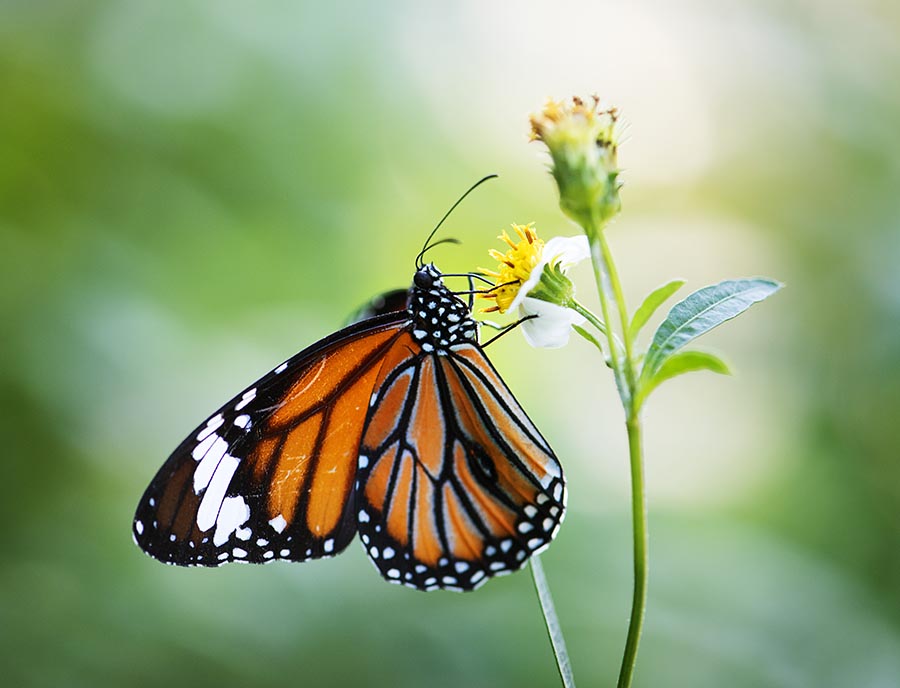
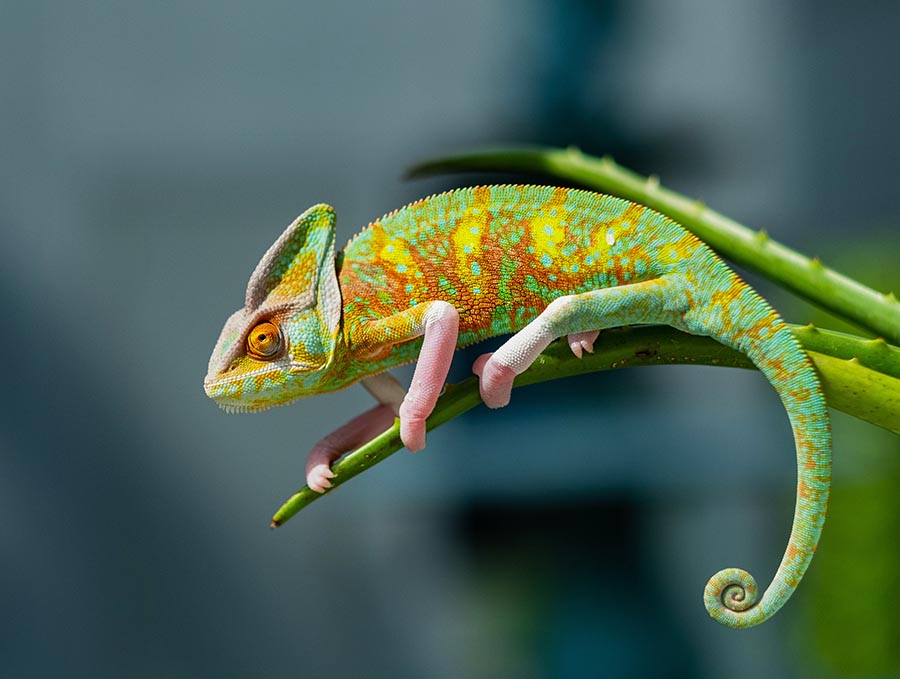
As a beginner, it’s often helpful to start with familiar subjects, such as flowers, insects, and small objects. These subjects offer a wealth of detail and are easily accessible in various environments, making them ideal for honing your macro photography skills. Begin by exploring your garden, local park, or even your kitchen, and you’ll quickly discover an abundance of fascinating subjects.
Experiment with Abstract Concepts
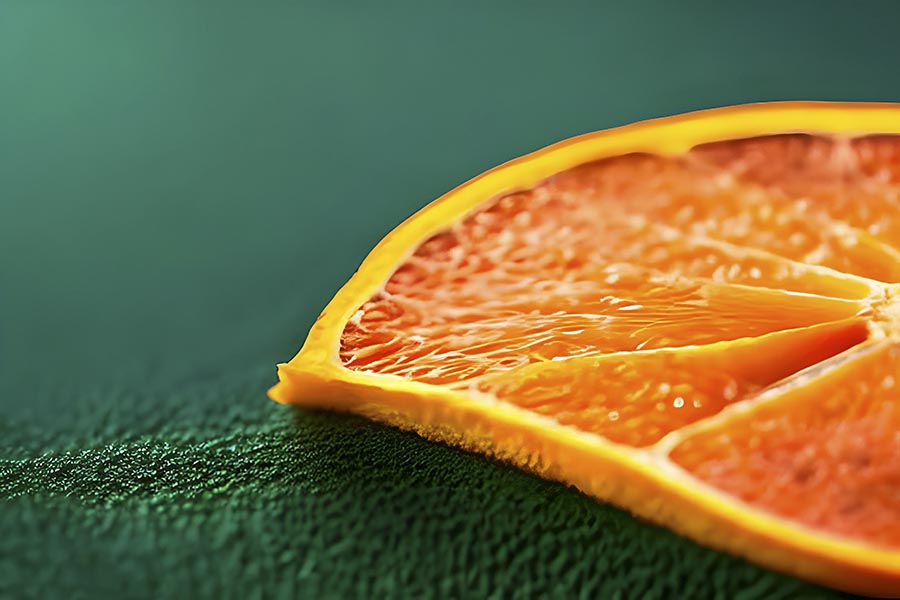
A more abstract approach to macro photography can lead to unique and visually striking images. Look for interesting patterns, textures, and colors in everyday objects. Peeling paint, rusted metal, or the intricate weave of fabric can all become captivating subjects when viewed up close. Experimenting with abstract subjects helps you develop a keen eye for detail and pushes your creative boundaries.
Seek Inspiration from Other Photographers
Studying the work of other macro photographers can inspire and help you develop your style. Look at how they compose their shots, the subjects they choose, and their post-processing techniques. Follow photographers on social media, join online photography communities, or attend workshops to learn from others and gain valuable feedback on your work.
Explore Different Environments
Venturing into new environments can introduce you to a diverse range of subjects for your macro photography. From the bustling cityscape to the tranquility of nature, each environment offers unique opportunities to capture stunning images. Visit botanical gardens, museums, or even industrial areas to find new subjects and challenges for your close-up photography.
Seasonal Changes and Special Occasions
Seasonal changes can bring about new subjects for your macro photography, such as blossoming spring flowers, vibrant autumn foliage, or frost-covered plants in winter. Additionally, special occasions like holidays, festivals, or cultural events can provide unique and intriguing subjects to photograph.
Keep a “Photography Ideas” Journal
As you explore different subjects and find inspiration, keep a journal or digital notes to document your ideas. This will help you stay organized and focused, ensuring you always have a wealth of subjects to explore in your close-up photography endeavors.
In summary, the key to choosing your subject in macro photography lies in experimentation, exploration, and inspiration. By challenging yourself to discover new subjects and expand your horizons, you’ll continually grow as a photographer and create an impressive portfolio of captivating close-up images.
Camera Settings for Optimal Results
Understanding and mastering your camera settings is essential to capture stunning close-up images. This section will delve deeper into the key camera settings for close-up photography, offering insights and tips to help you achieve optimal results.
Aperture
The aperture is one of the most critical settings in close-up photography. The camera regulates the quantity of light entering and influences the depth of field, which is the portion of the image appearing sharp and in focus.
- Smaller apertures (higher f-numbers) yield a greater depth of field, which can be beneficial when you want more of your subject in focus. However, using extremely small apertures may introduce diffraction, causing a loss of sharpness in your image.
- Larger apertures (lower f-numbers) create a shallower depth of field, which can be used creatively to isolate your subject and blur out the background.
Experiment with various aperture settings to find the optimal balance between depth of field and image sharpness.
Shutter Speed
Shutter speed determines when the camera’s sensor is exposed to light, impacting both exposure and motion blur.
- Fast shutter speeds (e.g., 1/500s) freeze motion and reduce the risk of camera shake, making them ideal for handheld close-up photography or capturing moving subjects like insects.
- Slower shutter speeds (e.g., 1/30s) can be used when shooting with a tripod, but be cautious of subject movement, especially when photographing outdoors with wind or unstable lighting conditions.
ISO
ISO controls your camera’s sensitivity to light, influencing the brightness and noise levels of your images.
- Lower ISO values (e.g., ISO 100) produce cleaner, noise-free images but require more light. When shooting with ample natural light or using external lighting, keep your ISO as low as possible.
- Higher ISO values (e.g., ISO 800 or above) can be used when shooting in low light or when faster shutter speeds are required. However, increasing the ISO may introduce noise, which can degrade image quality.
Finding the right balance between ISO, aperture, and shutter speed is essential for capturing well-exposed, sharp close-up images.
Focus Mode and Focusing Techniques
Achieving precise focus is crucial in close-up photography, as even a slight misfocus can render an image unusable. Manual focus is generally preferred, as it provides greater control and precision than autofocus, which may struggle with small subjects or fine details.
When using manual focus, consider the following tips:
- Use the camera’s focus magnification or focus peaking features to achieve accurate focus.
- Utilize a tripod and focusing rail for fine adjustments and to maintain stability.
- Focus bracketing or focus stacking can extend the depth of field in challenging situations.
Discover More:
Exposure Modes
For macro photography, using manual (M) mode is recommended. It lets you control all exposure aspects, such as aperture, shutter speed, and ISO. However, if you prefer a more guided approach or are still learning, aperture-priority (A/Av) mode can be a useful alternative. It lets you control the aperture while the camera automatically sets the other exposure settings.At the same time, the camera automatically adjusts the shutter speed.
Mastering camera settings and understanding their impact on your close-up images is crucial. By doing so, you’ll be well-equipped to capture stunning, well-exposed, and sharp photographs in various situations.
Composing Your Shots
Composition plays a vital role in creating engaging and visually appealing close-up images. A well-composed photograph draws the viewer’s attention, evokes emotions, and tells a story. In this section, we will explore various compositional techniques and tips to help you create captivating close-up photographs.
Rule of Thirds
The rule of thirds, a foundational composition method, aids in crafting harmonious and visually attractive photographs. To apply this rule, imagine your frame divided into a 3×3 grid with two equally spaced horizontal and vertical lines. Position your subject or focal point along these lines or at their intersections to create a sense of balance and harmony in your image.
Leading Lines
Leading lines are another powerful compositional tool in macro photography. They guide the viewer’s eye through the image and direct their attention to the subject or focal point. Leading lines can be natural, like the veins in a leaf, or artificial, like the lines created by shadows or light. Experiment with different types of leading lines to create dynamic and engaging compositions.
Negative Space
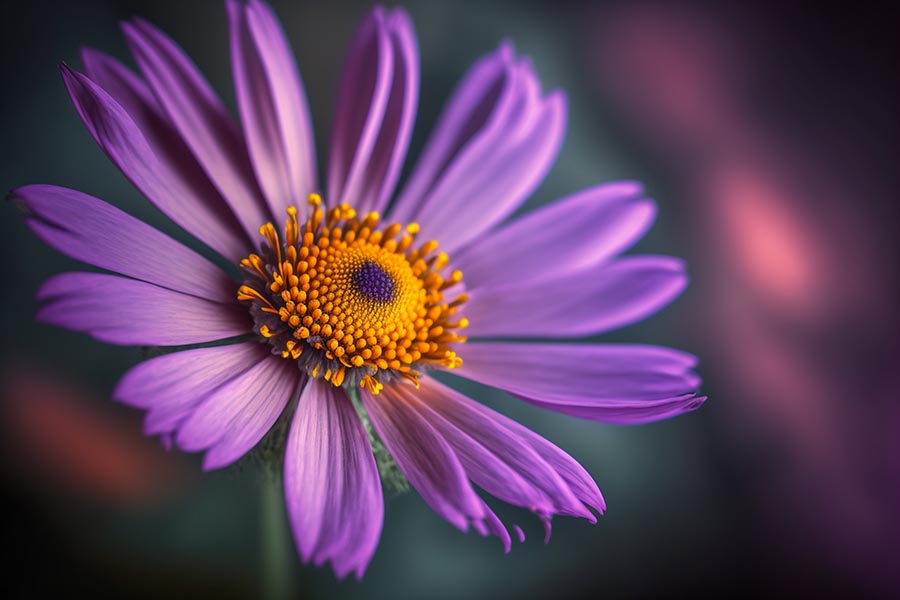
Negative space refers to the empty or unoccupied areas in an image that surround the subject. By incorporating negative space in your close-up compositions, you can emphasize the subject, create a sense of depth, and achieve a minimalist, clean aesthetic. Use contrasting colors, textures, or simple backgrounds to accentuate the negative space and make your subject stand out.
Fill the Frame
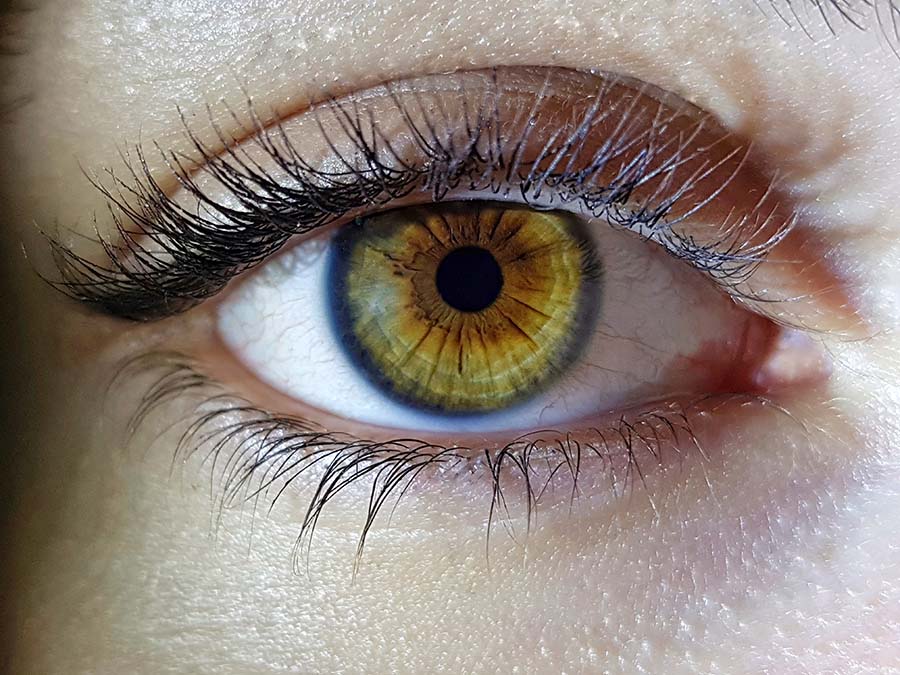
In close-up photography, filling the frame with your subject can produce striking images that showcase intricate details and eliminate distractions. When filling the frame, be mindful of your focus, as even minor misfocus can become more noticeable in tight compositions. By getting up close and personal with your subject, you can reveal its unique features and create a sense of intimacy with the viewer.
Experiment with Angles and Perspectives
Changing your shooting angle and perspective can drastically alter the appearance and mood of your close-up images. Experimenting with different angles can reveal hidden details, create a sense of depth, or add an element of surprise to your photographs. Instead of always shooting at eye level, try shooting from above, below, or even from the side to uncover new and exciting compositions.
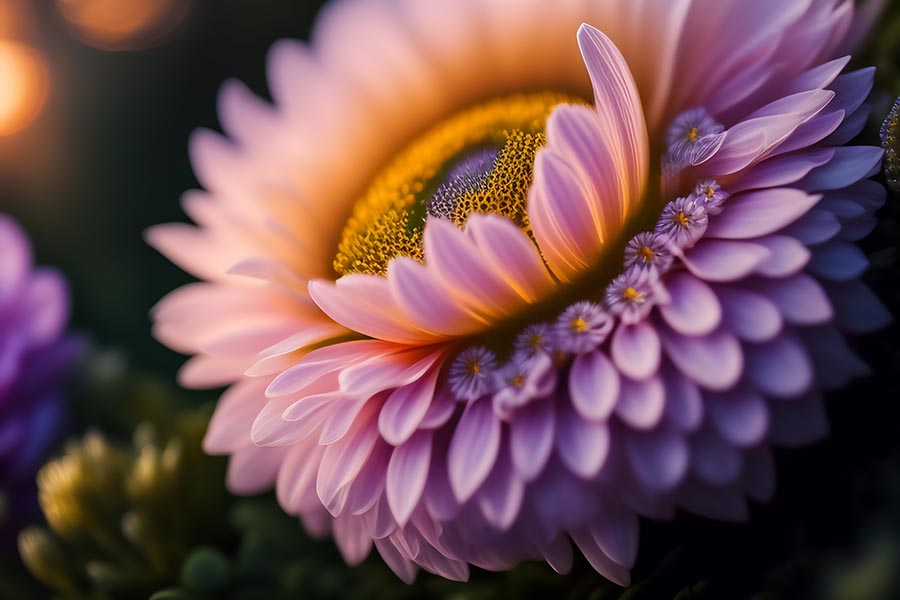
Depth of Field as a Compositional Tool
In macro photography, you can also utilize depth of field as a compositional tool. By adjusting your aperture, you can control the depth of field and decide which parts of your image are in focus. You can create a dreamy, blurred background and isolate your subject by using a shallow depth of field. On the other hand, a deeper depth of field can be utilized to keep more of your subject in focus, providing context and detail. By understanding the impact of depth of field, you can masterfully manipulate your images to create the desired effect and effectively convey the message you want to convey through your photography.
Applying these composition techniques and continually experimenting with new approaches is essential. By doing so, you will develop your unique style and create captivating close-up photographs. These photos will captivate viewers and showcase the beauty of the world’s tiniest details.
Post-Processing Techniques: Enhancing Your Macro Images
Post-processing is an integral part of macro photography, allowing you to refine and enhance your images to achieve their full potential. By using various editing tools and techniques, you can bring out the best in your close-up photographs and create a polished, professional look. Within this section, we will delve into some fundamental post-processing techniques that are crucial for macro photography.
Exposure, Contrast, and Saturation Adjustments
The first step in post-processing your close-up images involves adjusting exposure, contrast, and saturation to optimize the overall appearance of your photograph.
- Exposure: Adjust the brightness and darkness of your image to achieve a well-balanced exposure that retains detail in both the highlights and shadows.
- Contrast: Increase or decrease the contrast to enhance the separation between light and dark areas, creating a more visually striking image.
- Saturation: Modify the intensity of colors in your image to create a more vivid or subdued look, depending on your desired aesthetic.
Sharpening
Sharpening is a critical post-processing technique for macro photography, as it enhances your subject’s fine details and textures. Most image editing software, such as Unsharp Mask or Smart Sharpen, offers sharpening tools. When sharpening your images, be careful not to overdo them, as excessive sharpening can introduce unwanted artifacts and noise.
Cropping and Straightening
Cropping your image can improve composition by removing distractions, emphasizing your subject, or altering the aspect ratio. Additionally, straightening your image can correct any unintentional tilt or misalignment, resulting in a more polished and professional appearance. Use the rule of thirds or other compositional techniques as a guide when cropping your images.

Focus Stacking
Focus stacking is a powerful post-processing technique to extend the depth of field in macro photography. Capture multiple images of the same subject with different focus points. Combine them in post-processing for greater depth of field. Use focus stacking tools in photo editing software such as Adobe Photoshop to automate the process.
Noise Reduction
Noise reduction is essential when working with high ISO images or images captured in low light conditions. Excessive noise can degrade the quality of your macro photographs, detracting from the fine details and textures. Image editing software typically offers noise reduction tools, such as Luminance and Color noise sliders, which can be adjusted to minimize noise while preserving detail.
Advanced Techniques
Depending on your skill level and desired outcome, you may also explore more advanced post-processing techniques, such as:
- Color grading: Adjust the colors and tones in your image to create a specific mood or style.
- Dodge and burn: Lighten or darken specific areas of your image to enhance contrast, depth, and dimension.
- Texture overlays: Add textures or patterns to your image to create unique effects or enhance the background.
By mastering these post-processing techniques and applying them to your close-up images, you can enhance their overall quality, showcase the intricate details of your subjects, and create captivating photographs that stand out from the crowd.
End Note
Macro photography offers a unique opportunity to explore the intricate beauty of the world around us, revealing details often overlooked by the naked eye. By following the tips and techniques outlined in this article, beginners can confidently embark on their close-up photography journey. Developing close-up photography skills requires several steps. First, choose the right subject and master camera settings. Second, compose captivating images. Third, refine them through post-processing. These guidelines provide a solid foundation for creating an impressive portfolio. To grow and succeed in close-up photography, practice, experimentation, and continual learning are essential. Don’t hesitate to explore new subjects, environments, and techniques to unleash your creativity and capture hidden wonders.
FAQ
Macro photography typically refers to images with a 1:1 magnification ratio, meaning the subject is captured at life-size on the sensor. Close-up photography can encompass a broader range of magnification ratios, including images where the subject is not life-size but still fills the frame with detail.
Yes, smartphones can be used for close-up photography. Some smartphones have built-in macro capabilities, while others can be enhanced with external macro lenses or accessories.
While a dedicated macro lens offers the best image quality and magnification, you can still achieve impressive close-up shots using extension tubes, close-up filters, or by using the lens’s minimum focusing distance.
To minimize camera shake, use a fast shutter speed, hold your camera steady with both hands and tuck your elbows into your body for additional stability. Image stabilization (if available) and taking a deep breath before pressing the shutter can also help reduce shake.
Minimizing distractions is essential in Macro photography, and there are several techniques you can use to achieve this. For example, a shallow depth of field can be employed to blur out the background, or you can change your shooting angle to capture your subject against a less cluttered background.