
Do you want to take better photos when the sun goes down? Night photography or Low-light photography can be challenging, but you can create breathtaking images under the stars with the right techniques and equipment. The aim of this article is to assist you in capturing improved nighttime photos by guiding you through the essential steps. We’ll discuss the equipment needed, camera settings, composition, and post-processing tips to help you perfect your night photography skills.
Equipment for Night Photography
Having the right equipment is crucial for taking better photos in dim environments. Here are some essential tools to invest in:
Tripod
A tripod is a must-have for stabilizing your camera during long exposures. It helps eliminate camera shake, a common issue when low-light shooting. It’s worth investing in a robust tripod that can adequately support the weight of your camera and lens.
Fast Lens
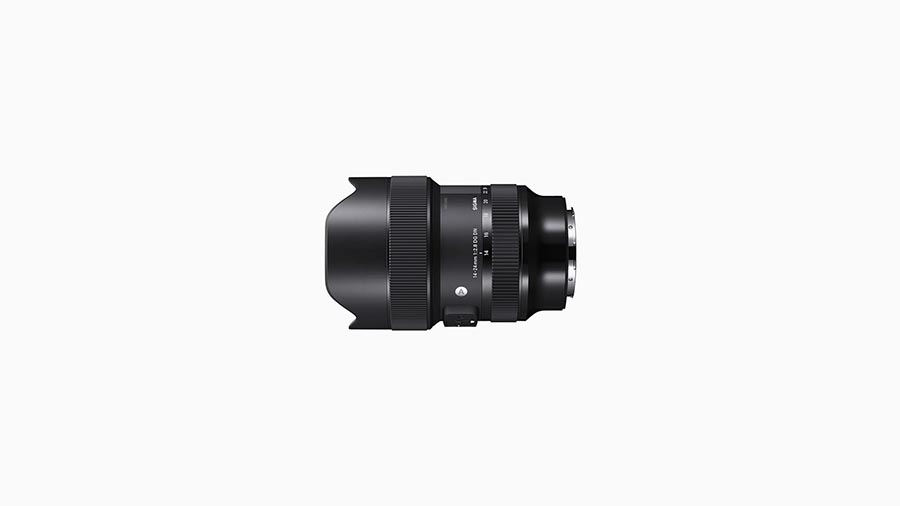
In low-light conditions, a fast lens with a wide aperture, like f/1.4, f/1.8, or f/2.8, can significantly enhance your photos by allowing more light to reach your camera sensor. Prime lenses are generally faster and sharper than zoom lenses, making them ideal for night photography. For example, Sigma 14-24mm f2.8 is one of the most popular lenses for night photography.
Remote Shutter Release
A remote shutter release allows you to trigger your camera’s shutter without touching it, reducing the risk of a camera shake. This accessory is especially important for long exposures, where even slight movement can result in blurry images (If you don’t want to use the remote shutter release, you can use the shutter delay option on your camera).
The Art of Capturing Photos in Low-Light Conditions
Low-light photography presents a unique set of challenges and opportunities for photographers. Mastering the art of capturing images in dim environments requires understanding how light behaves and how to manipulate it to your advantage. In this section, we will delve deeper into the techniques and creative approaches you can use to create stunning low-light images.
Understanding Light in Night Photography
To excel in night photography, understanding how different types of light can impact your images is crucial. Three primary qualities of light to consider are:
- Intensity: The amount of light available will affect your exposure settings, such as ISO, aperture, and shutter speed. In low-light situations, you must often balance the trade-off between capturing enough light and maintaining image quality.
- Color Temperature: The color temperature of light sources can vary significantly, leading to different color casts in your images. Learn to recognize and adjust for different light sources, such as tungsten or fluorescent lights, to achieve accurate colors in your photos.
- Direction: The direction of light can create different moods and effects in your images. Side lighting can emphasize textures and shadows, while backlighting can create a more dramatic silhouette effect.
Creative Techniques for Night Photography
Embrace the unique opportunities that low-light conditions present with these creative techniques:
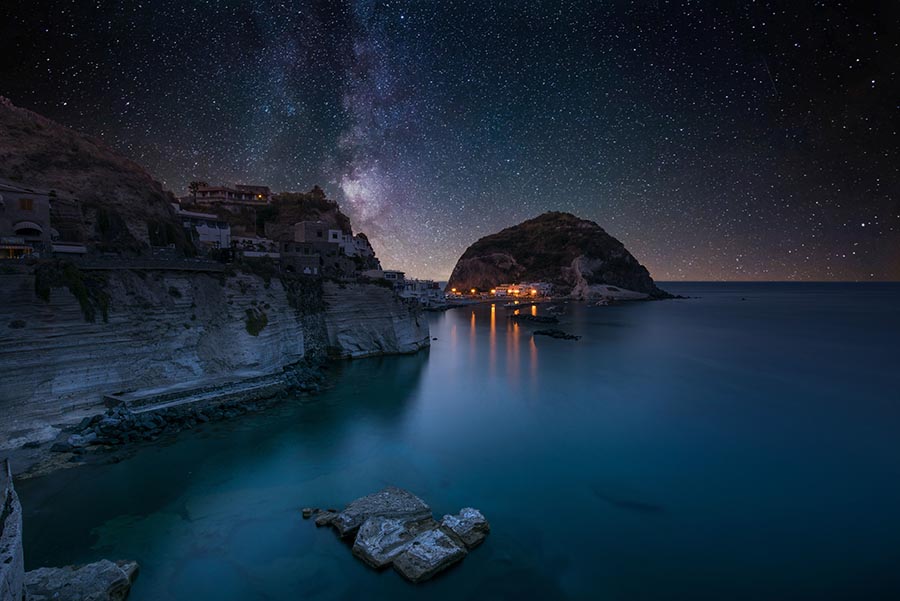
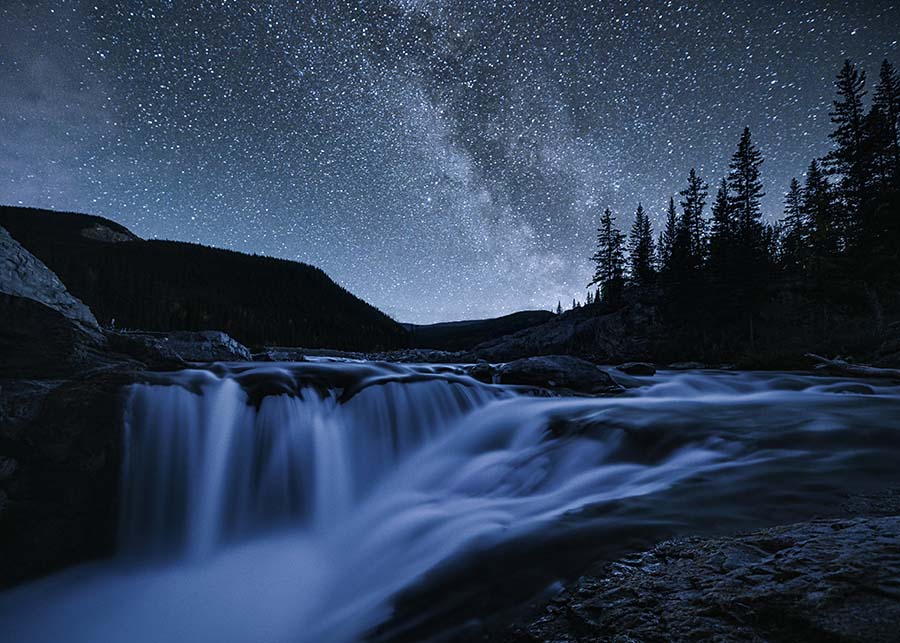
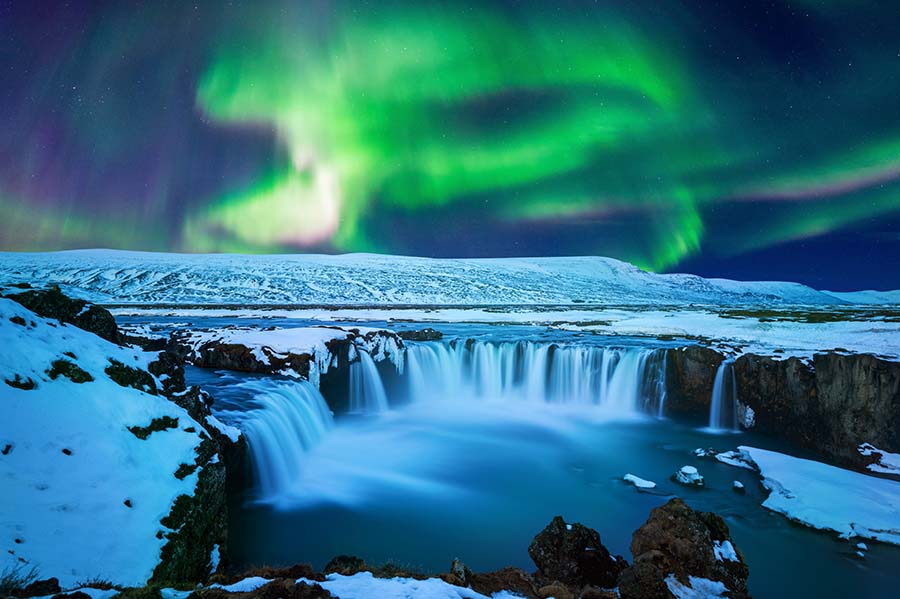
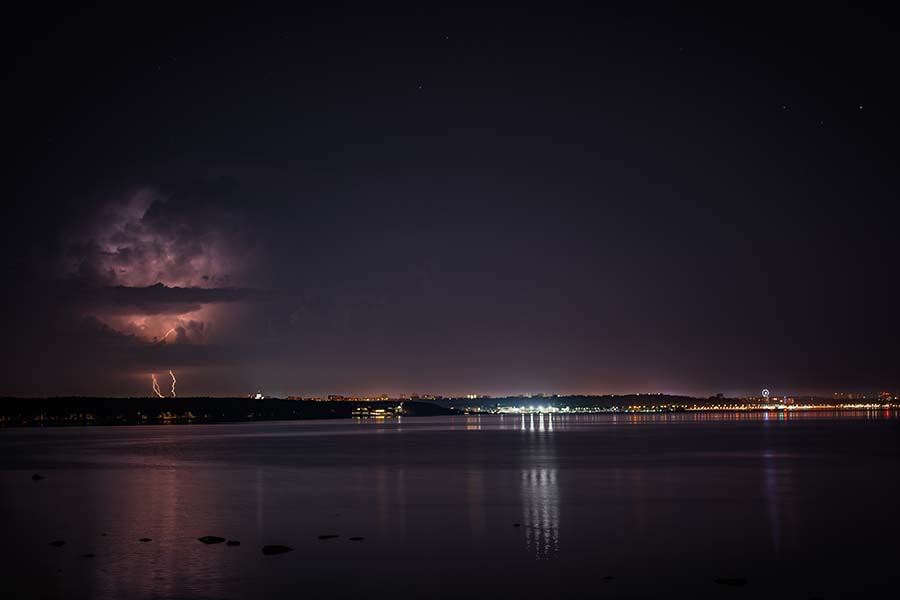
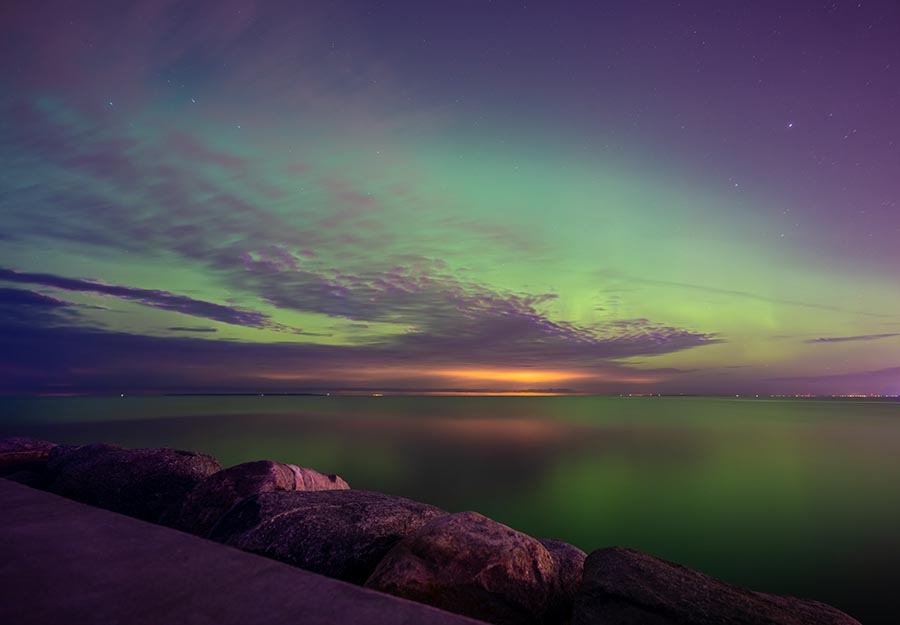
Long Exposures
Long exposures can capture motion, light, and star trails in your images. To maintain stability during exposure, a tripod and a remote shutter release is recommended for your camera.
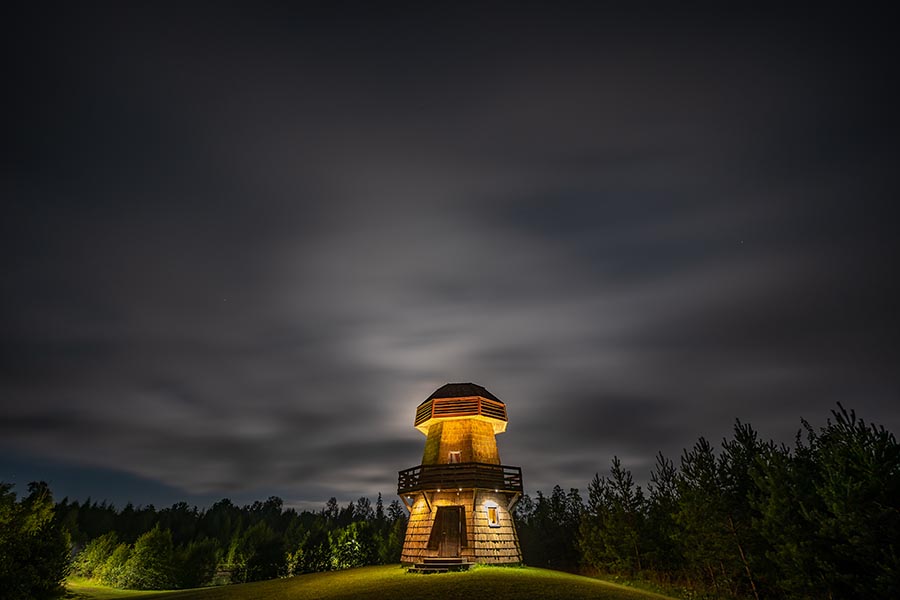
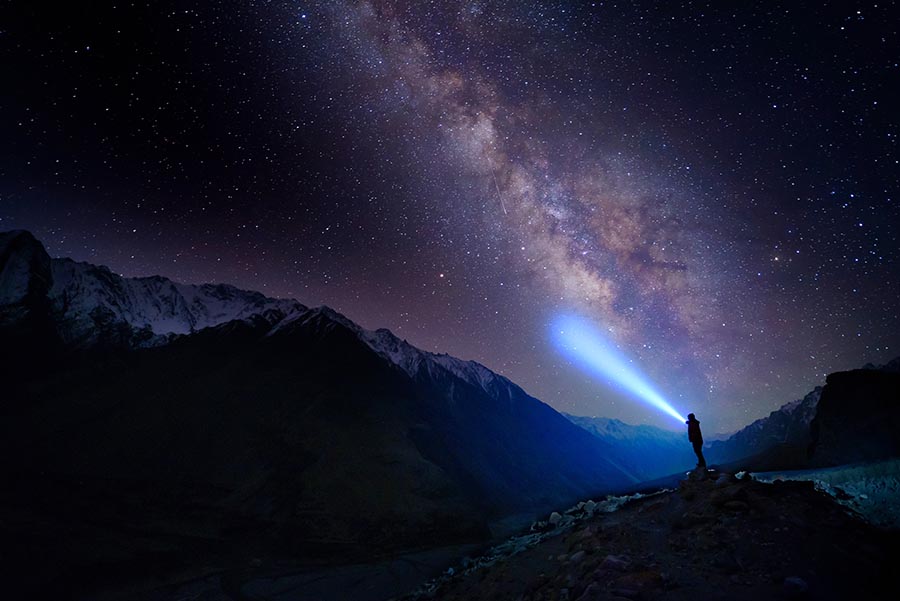
Light Painting
In light painting, you can use a flashlight or other light sources to “paint” your subject or create patterns in your image during a long exposure. This technique can add a unique, artistic touch to your low-light photos.
High Dynamic Range (HDR) Photography
HDR photography involves taking multiple exposures of the same scene at different exposure settings and combining them in post-processing. This technique can help capture detail in both the shadows and highlights, which is particularly useful in challenging low-light situations.

Overcoming Challenges in Low-Light Conditions
Night photography presents several challenges that you’ll need to overcome to create stunning images. Here are some tips for tackling common issues:
Focusing
Autofocus can struggle in dim conditions. Switch to manual focus, and use your camera’s live view feature with zoom or focus peaking to ensure your subject is sharp.
Noise Reduction
High ISO settings can result in noisy images. Use noise reduction tools in post-processing to minimize noise while preserving detail. Also, consider investing in a camera with better low-light performance and larger sensors, such as full-frame DSLRs or mirrorless cameras.
Capturing photos in low-light conditions requires combining technical skills, creative techniques, and a deep understanding of light. By mastering these elements, you can create stunning images that showcase the beauty and drama of nighttime and dimly lit scenes. Practice and experimentation are key to finding your unique style and perfecting your night photography skills.
Discover More:
Camera Settings for Nighttime Photos
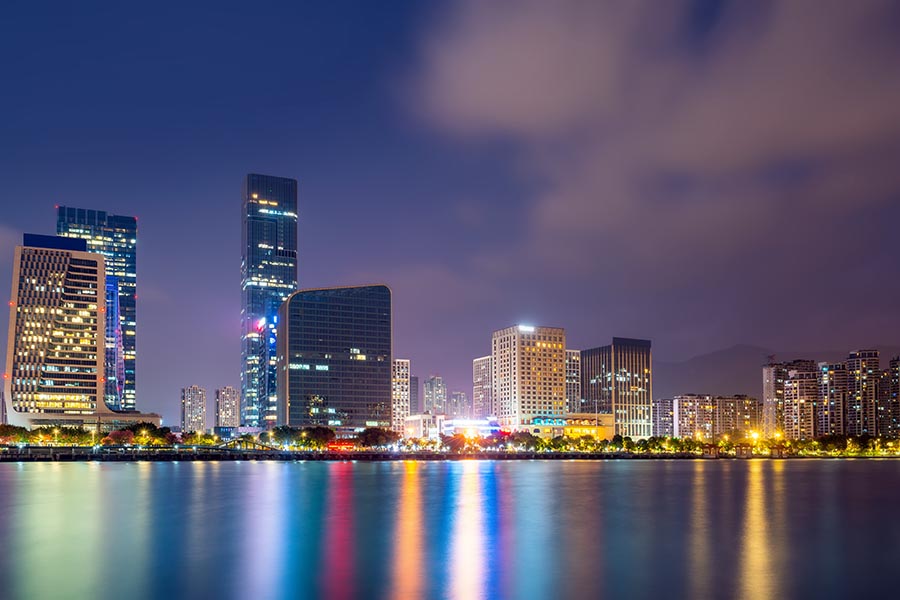
Night photography presents unique challenges due to limited light. Adjusting your camera settings to suit low-light conditions is crucial for capturing well-exposed, sharp, and visually appealing images. This section will delve into the crucial camera settings and techniques necessary for capturing striking photos during night photography.
Shooting Modes for Night Photography
To have full control over your camera settings, switch to manual mode (M). This mode allows you to independently adjust ISO, aperture, and shutter speed for optimal exposure. Alternatively, you can use aperture priority (A or Av) or shutter priority (S or Tv) modes if you want to control one setting while the camera adjusts the others automatically.
Essential Camera Settings for Night Photography
To take better nighttime photos, consider these essential camera settings:
ISO
ISO controls your camera’s sensitivity to light. In low-light conditions, you may need to use a higher ISO to capture more light. However, be cautious, as increasing ISO can introduce noise. Start with a low ISO (100 or 200) and gradually increase it as needed, keeping in mind that modern cameras can handle higher ISO values with minimal noise.
Aperture
A wide aperture (low f-number) allows more light to enter the camera sensor, resulting in a brighter image. Night photography can greatly benefit from fast lenses with wide apertures, such as f/1.4, f/1.8, or f/2.8. Remember that using a wide aperture also creates a shallower depth of field, which may affect your creative choices.
Shutter Speed
You’ll often need to use long exposures to capture enough light for night photography. The duration for which the camera sensor is exposed to light is determined by the shutter speed. Experiment with different shutter speeds to achieve the desired exposure, but be aware that longer exposures can cause motion blur or star trails. Utilize both a tripod and a remote shutter release when capturing long exposures to minimize camera shake.
White Balance
An accurate white balance is essential for capturing true-to-life colors in your nighttime photos. Most cameras have a variety of white balance presets, such as tungsten or fluorescent, to match the color temperature of different light sources. Alternatively, you can set your white balance to “Auto” or use a custom value to fine-tune the colors in your images.
Focusing on Low-Light Conditions
Focusing can be challenging in low-light situations, as autofocus systems may struggle to lock onto subjects. Consider switching to manual focus and using your camera’s live view feature with zoom or focus peaking to ensure your subject is sharp.
Advanced Settings and Techniques
For more control over your nighttime photos, consider these advanced settings and techniques:
Exposure Bracketing
Exposure bracketing involves taking multiple photos of the same scene at different exposure settings. This technique can help you capture detail in shadows and highlights and is particularly useful for HDR photography or blending images in post-processing.
In-Camera Noise Reduction
Some cameras offer in-camera noise reduction features, such as long exposure noise reduction or high ISO noise reduction. While these settings can help minimize noise, they may also slow your camera’s processing time or reduce image detail. Experiment with these settings to determine if they benefit your night photography workflow.
Mastering camera settings for night photos is crucial to capturing well-exposed, sharp, and visually stunning images. Adjusting your ISO, aperture, shutter speed, and white balance for low-light conditions will enable you to achieve the desired exposure while maintaining image quality. Additionally, consider advanced techniques like exposure bracketing and in-camera noise reduction to further refine your results. Practice and experimentation are key to finding the optimal settings and techniques for your unique night photography style.
Composition and Framing Techniques
Composition and framing are crucial elements of photography that can make the difference between an ordinary and extraordinary photo. By mastering various techniques and principles, you can create images that are visually appealing and engaging and tell a story. In this section, we will explore essential composition and framing techniques and how to adapt them to different photography genres.
Basic Composition Principles
Understanding and applying basic composition principles can enhance your photography skills. Here are some essential techniques to consider:
Rule of Thirds
The rule of thirds involves dividing your frame into a 3×3 grid and positioning key elements at the grid’s intersections. This technique creates a more balanced and visually appealing image.
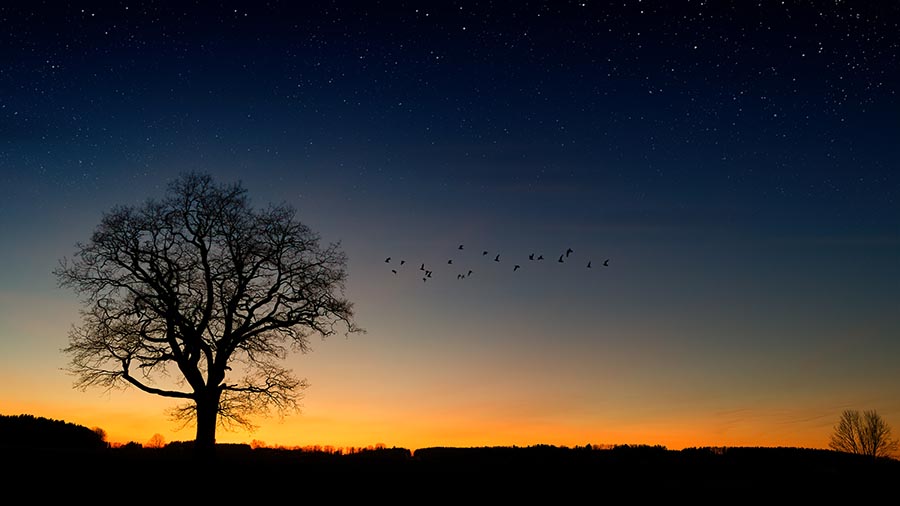
Leading Lines
Leading lines guide the viewer’s eye through the image and create a sense of depth. Roads, fences, and bridges are examples of elements that can serve as leading lines.
Balance and Symmetry
Balancing elements within the frame creates harmony and stability. Symmetrical compositions can be particularly striking, but the asymmetrical balance can also be effective when used intentionally.
Framing
Using natural or man-made elements to frame your subject can add depth and context to your image. Trees, doorways, and windows are common framing devices that help draw attention to your subject.
Depth and Layers
Incorporating foreground, middle ground, and background elements in your image creates a sense of depth and three-dimensionality. This technique can make your photos more immersive and engaging.
Advanced Composition Techniques
To further refine your composition skills, consider these advanced techniques:
Negative Space
Using empty or unoccupied space around your subject can emphasize the subject and create a minimalist, clean composition. Negative space can also evoke a sense of tranquility or isolation.
Juxtaposition
Placing contrasting elements side by side can create visual tension and interest. Juxtaposition can highlight differences in size, color, texture, or other attributes and convey a powerful message.
Patterns and Repetition
Incorporating patterns or repetition in your composition can create a visually pleasing image. Breaking the pattern with an unexpected element can also add interest and draw attention to a specific frame area.
Post-Processing Tips
Post-processing is an integral part of night photography, allowing you to fine-tune your images and bring your creative vision to life. By learning essential post-processing techniques and using tools like Adobe Lightroom, Photoshop, or other editing software, you can enhance your photos and achieve professional results. In this section, we will explore various post-processing tips and techniques to improve your images and streamline your workflow.
Global Adjustments
Global adjustments affect the entire image, helping you create a consistent look and feel. Here are some essential global adjustments to consider:
Exposure and Contrast
Adjusting exposure and contrast can improve the overall brightness and tonal range of your image. Experiment with the highlights, shadows, whites, and blacks sliders to create a balanced and visually appealing result.
White Balance
Correcting white balance ensures accurate and consistent colors in your images. Use the temperature and tint sliders to fine-tune the color balance or select a preset to match the lighting conditions during the shoot.
Saturation and Vibrance
Enhancing saturation and vibrance can make your images more visually striking. Use these sliders to boost or reduce the color intensity, but be cautious not to overdo it, as oversaturated images can appear unnatural.
Clarity and Dehaze
The clarity slider can enhance mid-tone contrast and texture, while the dehaze slider can reduce atmospheric haze or fog. Use these sliders sparingly to avoid introducing unwanted artifacts or noise.
Local Adjustments
Local adjustments allow you to target specific areas of your image for more precise editing. Here are some common local adjustments:
Dodging and Burning
Dodging (lightening) and burning (darkening) can be used to selectively enhance specific areas of your image. Use brushes or gradients to apply these adjustments and create more depth and dimension.
Selective Sharpening
Apply to sharpen specific areas of your image to enhance detail without introducing noise or artifacts. Use masks or selection tools to isolate the areas you want to sharpen.
Healing and Cloning
Use healing and cloning tools to remove unwanted objects, blemishes, or sensor dust from your images. Be careful to maintain consistency in texture and color when applying these adjustments.
Advanced Post-Processing Techniques
For more specialized editing, consider these advanced post-processing techniques:
High Dynamic Range (HDR) Processing
HDR processing involves combining multiple exposures of the same scene to create an image with a greater dynamic range. Use dedicated HDR software or built-in tools within your editing program to blend exposures and create a natural-looking result.
Panorama Stitching
Panorama stitching involves combining multiple images to create a wide or panoramic view. Use specialized software or built-in tools within your editing program to align and blend images seamlessly.
Focus Stacking
Focus stacking involves blending multiple images with different focus points to create a final image with increased depth of field. This technique is particularly useful for macro and landscape photography, where a single image may not capture the entire scene in sharp focus. Use dedicated focus stacking software or manual blending techniques in your editing program to combine the images and create a sharp, well-focused result.
Tips for Organizing and Managing Your Workflow
A well-organized and efficient workflow can save time and reduce frustration during post-processing. Consider these tips for managing your workflow:
- Use consistent file naming and folder structure to easily locate and organize your images.
- Utilize collections, keywords, and ratings to categorize and sort your photos.
- Create and save presets for commonly used adjustments to streamline your editing process.
- Work non-destructively by using layers, masks, and adjustment layers to preserve your original image data.
- Regularly back up your work to protect against data loss.
Post-processing is an essential part of the night photography process, allowing you to enhance your images and bring your creative vision to life. By mastering global and local adjustments, as well as advanced techniques like HDR processing, panorama stitching, and focus stacking, you can create professional-quality images. Organizing and managing your workflow effectively can save time and ensure a more enjoyable post-processing experience. Keep in mind that practice and experimentation are crucial to identifying the best techniques and workflow for your individual photography style.
End Note
In conclusion, taking better photos at night and night photography requires understanding the right camera settings, mastering composition and framing techniques, and employing effective post-processing tips. By experimenting with various settings, such as ISO, aperture, and shutter speed, you can capture stunning nighttime images despite the challenging low-light conditions. Composition principles like the rule of thirds, leading lines, and framing can help enhance the visual appeal of your photos. Finally, post-processing lets you fine-tune your images, giving them a professional finish. As you practice and refine your skills in these areas, you’ll be well-equipped to create captivating, memorable night photographs that truly stand out.
FAQs
For stable and sharp images, it’s essential to stabilize your camera with a tripod and use a remote shutter release to minimize camera shake. When shooting in low light conditions, experiment with various shutter speeds to strike a balance between capturing sufficient light and avoiding motion blur.
While any camera can be used for night photography, cameras with larger sensors and better low-light performance, such as full-frame DSLRs or mirrorless cameras, are ideal.
Autofocus can struggle in low-light conditions. Switch to manual focus, and use live view with zoom or focus peaking features to ensure your subject is sharp.
Use a long exposure (several minutes or longer) to capture the movement of the stars. To prevent a camera shake, make sure to mount your camera on a sturdy tripod and utilize a remote shutter release to trigger the shutter without physically touching the camera.