
Estimated reading time: 7 minutes
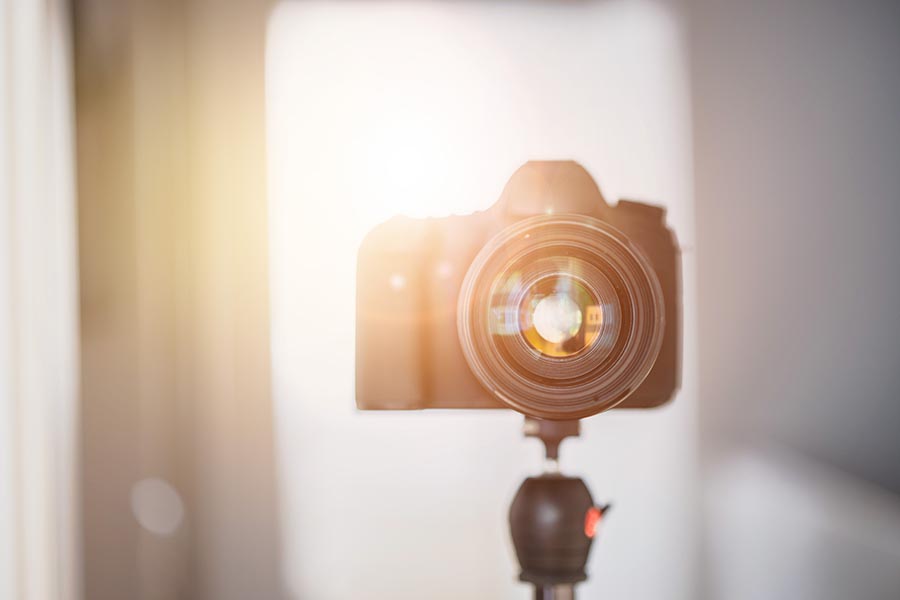
Capturing the perfect photograph involves a blend of technique, creativity, and a good grasp of light. This tutorial aims to delve into the crucial role of light in photography and how to manage its exposure to achieve stunning results effectively. With mastery in controlling light exposure, you can elevate your photography skills to the next level.
Table Of Contents
Understanding the Foundation of Light Control
A photograph’s essence lies in the way it captures light. Achieving a well-lit image requires a perfect balance of brightness and darkness. This equilibrium, known as exposure, determines how your photo will appear. To accomplish the desired outcome, it’s essential to understand the three key components contributing to this balance: ISO, aperture, and shutter speed.
Key Components: ISO, Aperture, and Shutter Speed
ISO
ISO represents your camera’s sensitivity to light. A lower ISO value (e.g., 100) signifies low sensitivity and is ideal for bright conditions. Higher values (e.g., 800 or 1600) indicate greater sensitivity, suitable for darker environments. However, increasing ISO can lead to increased image noise or graininess. Strive to find the perfect balance for each shooting situation.
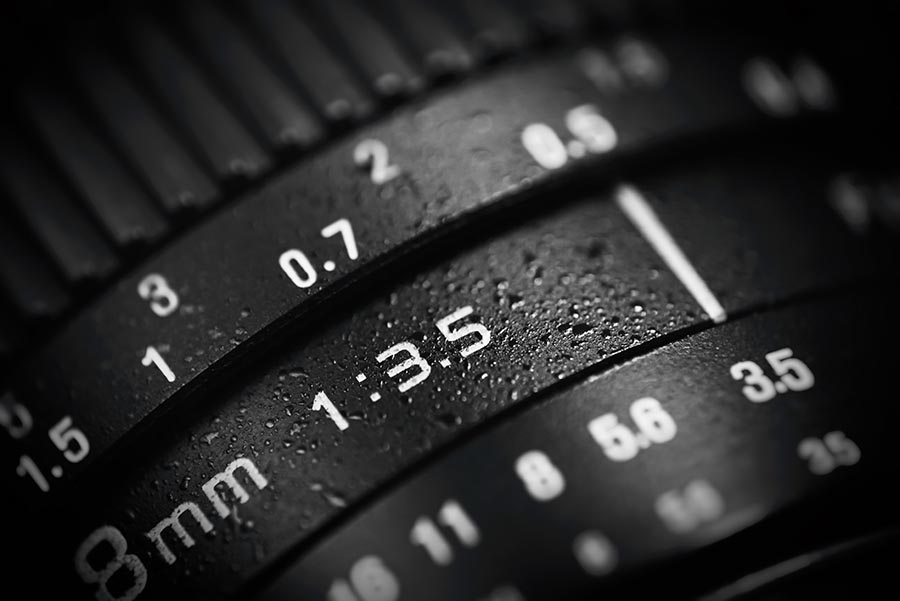
Aperture
Aperture refers to the opening size in your camera’s lens, which controls the amount of light entering the camera. A wider aperture (e.g., f/1.8) allows more light in, creating a shallow depth of field, resulting in a blurred background. A smaller aperture (e.g., f/16) permits less light, creating a deeper depth of field and sharper images overall.
Shutter Speed
Shutter speed is the duration your camera’s shutter remains open, controlling the amount of light that reaches the sensor. Faster shutter speeds (e.g., 1/1000s) freeze motion and let in less light, while slower speeds (e.g., 1/30s) create motion blur and let in more light. Experiment with various shutter speeds to achieve the desired effect in your photos.

Balancing the Exposure Triangle
The exposure triangle represents the relationship between ISO, aperture, and shutter speed. Adjusting these three elements allows you to manipulate the light entering your camera and produce well-exposed images. Finding the ideal balance between these components is the key to successful photography.
Using Exposure Compensation
Exposure compensation is a feature that allows you to override your camera’s automatic exposure settings, providing you with greater creative control. Adjusting this setting in positive values (e.g., +1 or +2) makes your image brighter, while negative values (e.g., -1 or -2) darken it. This tool is handy when working with challenging lighting conditions.
Metering Modes Explained
Metering modes help your camera evaluate the scene’s light and calculate the optimal exposure. Familiarize yourself with the following common modes:
Evaluative or Matrix Metering
This mode evaluates the entire frame, prioritizing focus points, and provides a balanced exposure for most shooting situations.
Center-weighted Metering
This mode emphasizes the central portion of the frame, making it ideal for portraits and subjects that occupy the center.
Spot Metering
This mode measures light from a small area (typically 1-5% of the frame), allowing you to target a specific subject or area within the scene. This mode is useful when working with high-contrast lighting or backlit subjects.
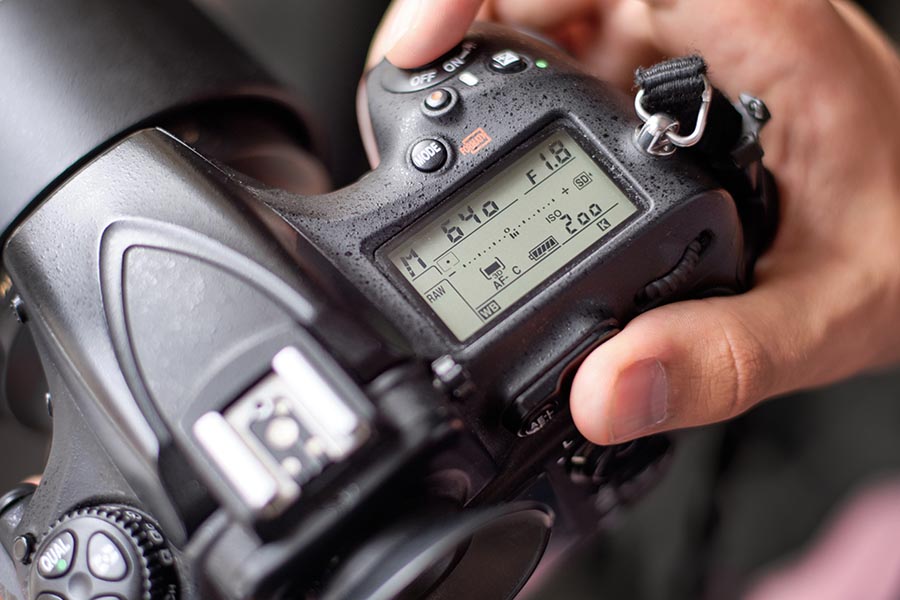
Mastering Manual Mode
Manual mode grants you complete control over your camera’s settings, including ISO, aperture, and shutter speed. By taking charge of these elements, you can refine your photographic technique and capture images that reflect your unique vision. Follow these steps to become proficient in manual mode:
Set Your ISO
Begin by selecting an appropriate ISO value for your shooting environment. Generally, use a lower ISO for brightly lit scenes and a higher ISO for low-light situations.
Choose Your Aperture
Determine the desired depth of field for your image and adjust the aperture accordingly. Wider apertures create a shallower depth of field, while narrower apertures yield greater overall sharpness.
Adjust Shutter Speed
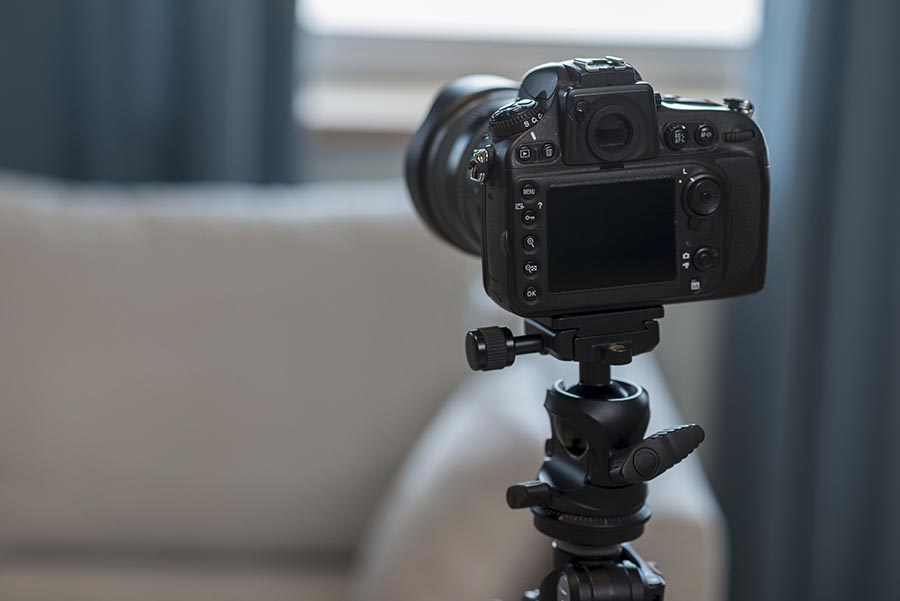
Lastly, modify the shutter speed to achieve the desired motion effect, such as freezing action or introducing motion blur. Remember that slow shutter speeds may require a tripod to prevent camera shake.
Review and Fine-Tune
Examine your image on the camera’s LCD screen and make any necessary adjustments to the exposure settings. You’ll become more adept at finding the ideal settings quickly and efficiently with practice.
Essential Tips for Better Light Management
Understand Your Camera
You can familiarize yourself with your camera’s features and settings, as each model may have unique exposure capabilities and limitations.
Learn to Read Histograms
A histogram represents your image’s tonal range, providing valuable information about its exposure. Learn to interpret histograms to ensure your photos are correctly exposed.
Bracket Your Shots
Bracketing involves capturing multiple images at varying exposure settings to guarantee at least one well-exposed shot. This technique is helpful in challenging lighting situations.
Utilize Filters
Filters like neutral density and graduated neutral density filters can help manage light by reducing its intensity or balancing uneven light distribution within a scene.
End Note
Mastering light control is an essential skill for any photographer. By understanding the exposure triangle and learning to manipulate ISO, aperture, and shutter speed, you’ll be well-equipped to capture stunning images in any lighting situation. Embrace manual mode and experiment with different settings to unleash your creative potential and elevate your photography to new heights.
FAQs
What is the exposure triangle in photography?
The exposure triangle is a concept that represents the relationship between ISO, aperture, and shutter speed. These three elements determine the amount of light a photograph captures and dictate its overall exposure. Balancing these components is crucial for achieving well-lit, visually appealing images.
How do I choose the right ISO setting?
Select an ISO value based on the available light in your shooting environment. Lower ISO values (e.g., 100) are suitable for bright conditions, while higher values (e.g., 800 or 1600) work well in low-light situations. Remember that increasing ISO can lead to increased image noise, so finding a balance that maintains image quality is essential.
What is the difference between a wide and narrow aperture?
A wide aperture (e.g., f/1.8) has a larger opening in the camera lens, allowing more light to enter and resulting in a shallow depth of field. This creates a blurred background effect often used in portrait photography. In contrast, a narrow aperture (e.g., f/16) has a smaller opening, permitting less light and generating a deeper depth of field for sharper, more detailed images.
How can I avoid the camera shaking with slow shutter speeds?
To minimize camera shake when using slow shutter speeds, consider using a tripod or other stabilizing equipment. Alternatively, you can increase your camera’s ISO setting to enable a faster shutter speed while maintaining proper exposure. Another option is to utilize your camera’s built-in image stabilization feature.
What are the benefits of using manual mode?
Manual mode gives photographers complete control over their camera’s exposure settings, allowing for greater creative freedom and precision. By manually adjusting ISO, aperture, and shutter speed, photographers can tailor their images to their unique vision and achieve results that may not be possible with automatic modes.
When should I use exposure compensation?
Exposure compensation is useful when your camera’s automatic exposure settings don’t yield the desired results. In situations with challenging lighting conditions or when you want to intentionally overexpose or underexpose an image for creative purposes, adjusting exposure compensation can help you achieve the perfect shot.