
Estimated reading time: 10 minutes
We understand the importance of having a thorough understanding of digital camera modes. As technology evolves, digital cameras have become more complex and versatile, offering a range of modes and settings that can overwhelm even the most experienced photographers.
This comprehensive guide will explore the different digital camera modes and their functions, providing you with the knowledge and skills to take your photography to the next level.
Understanding Digital Camera Modes
Digital cameras offer a range of modes and settings that can be customized to suit various shooting conditions and subjects. These modes optimize camera settings for specific scenarios, such as portraits, landscapes, or action shots.
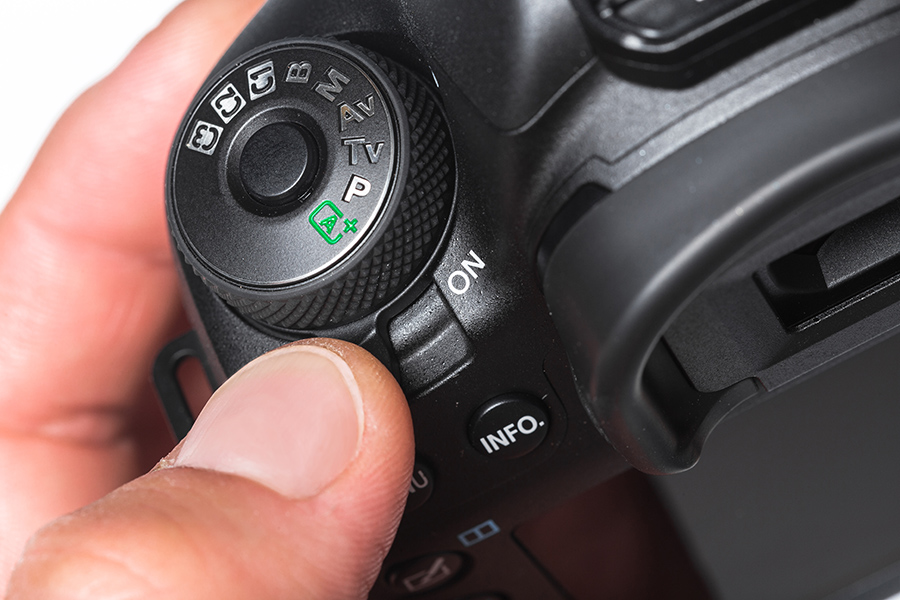
Automatic Mode
Automatic mode, or “Auto” mode, is the simplest and most beginner-friendly mode on digital cameras. When this mode is selected, the camera makes all the decisions for the user regarding the settings required for good exposure.
In this mode, the camera evaluates the scene and automatically selects the appropriate shutter speed, aperture, and ISO settings to produce a well-exposed image. This makes it a perfect option for those new to photography or for situations without time to adjust camera settings.

However, this mode does have its limitations. The automatic mode may only sometimes produce the desired results, especially in challenging lighting conditions or when the photographer wants to create a specific artistic effect. Additionally, the automatic mode may have images with higher ISO settings, resulting in more digital noise and lower image quality.
Despite these limitations, the automatic mode can be a helpful tool for beginners to learn about the camera’s basic functions and to capture images quickly and easily. As photographers gain more experience, they can experiment with other camera modes to achieve more creative control over their pictures.
Program Mode
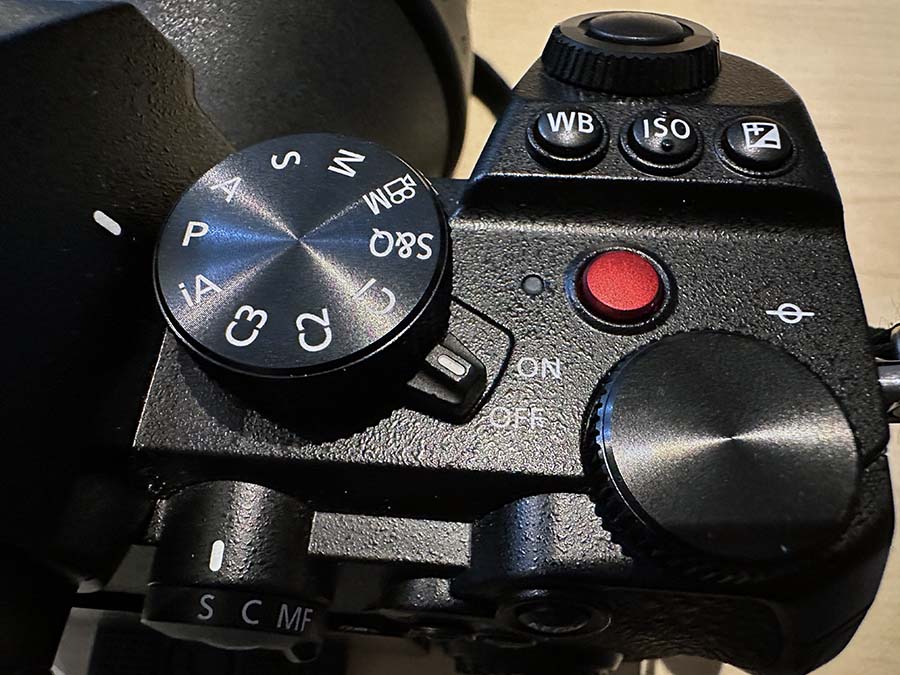
Program mode, often represented by the letter “P” on a camera’s mode dial, is similar to the automatic mode in that it automatically sets the aperture and shutter speed. However, program mode allows users to adjust other settings, such as ISO, exposure compensation, and white balance.
In program mode, the camera selects a combination of aperture and shutter speed settings to produce a properly exposed image based on the scene’s lighting conditions. However, unlike automatic mode, the user can adjust the ISO setting to control the camera’s sensitivity to light and can also use exposure compensation to adjust the overall exposure level of the image.

One advantage of program mode over automatic mode is that it allows the user more control over the final image without manually adjusting all of the camera’s settings. Additionally, program mode often selects more conservative settings for aperture and shutter speed, which can result in a sharper image with less motion blur.
Another advantage of program mode is that it can be helpful when lighting conditions change rapidly, such as during a sunset or sunrise. The camera can adjust its settings quickly and automatically to compensate for the changing light conditions.
Program mode is a versatile and useful camera mode that can provide a good balance between automatic settings and user control. It is an excellent option for intermediate-level photographers who want to experiment with different camera settings without adjusting everything manually.
Aperture Priority Mode
Aperture priority mode sometimes referred to as “A” or “Av” mode, is a semi-automatic shooting mode that gives the photographer control over the aperture setting while allowing the camera to automatically adjust the shutter speed for correct exposure.
The aperture refers to the opening in the camera lens that allows light to enter. It plays a critical role in determining the depth of field, which controls the amount of the photograph that appears in sharp focus. When using aperture priority mode, the photographer can manually adjust the aperture setting to achieve the desired depth of field while the camera automatically adjusts the shutter speed to maintain the proper exposure.

wider aperture
A wider aperture, denoted by a smaller f-number, produces a shallow depth of field that can be employed to create a pleasing blurred background or foreground effect, commonly known as bokeh. Conversely, a narrower aperture, indicated by a larger f-number, generates a deeper depth of field that can be utilized to ensure that more of the image is in sharp focus.
One advantage of aperture priority mode is that it allows the user to control the creative aspect of the image while still allowing the camera to determine the appropriate shutter speed. This can be especially useful when the lighting conditions change quickly, or the photographer wants to control the depth of field in the image.
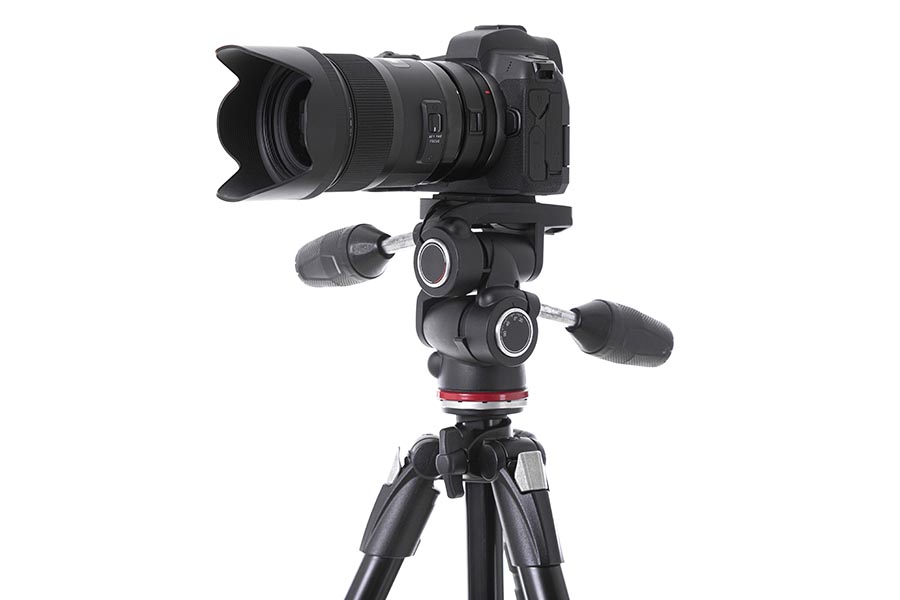
However, one limitation of aperture priority mode is that the camera may select a slow shutter speed in low light conditions, resulting in blurry images if the camera is not stabilized properly. It’s essential to be aware of the camera’s shutter speed and to use a tripod or other stabilization device when necessary.
Overall, aperture priority mode is a useful tool for photographers who want more control over the depth of field in their images while still allowing the camera to make some technical decisions.
Shutter Priority Mode
Shutter priority mode also referred to as “S” or “Tv” mode, is a semi-automatic shooting mode that empowers the photographer to manually adjust the shutter speed setting while leaving the camera to automatically adjust the aperture for the appropriate exposure.
The shutter speed controls the time the camera’s shutter remains open, determining how long the camera’s sensor is exposed to light. A faster shutter speed (represented by a higher number) will freeze motion, while a slower shutter speed (represented by a lower number) will allow motion blur.
In shutter priority mode, the user can select the desired shutter speed setting to control the amount of motion blur in the image. At the same time, the camera automatically adjusts the aperture to achieve the correct exposure.

One advantage of the shutter priority mode is that it allows the user to capture fast-moving subjects with a fast shutter speed or to create motion blur in a scene with a slow shutter speed. This can be especially useful for capturing action or sports photography and creative effects such as light trails or blurred waterfalls.
However, one limitation of shutter priority mode is that the camera may select a wider aperture in low light conditions, resulting in a shallower depth of field and potential focus issues. It’s important to be aware of the camera’s aperture setting and to adjust it manually if necessary.
Overall, shutter priority mode is a useful tool for photographers who want more control over the amount of motion blur in their images while still allowing the camera to make some technical decisions.
Manual Mode
Manual mode is a camera mode that gives the user complete control over the camera settings, including aperture, shutter speed, and ISO. This means that the user is responsible for manually adjusting all of these settings to achieve the desired exposure.
Manual mode is typically used by more experienced photographers who want to have complete creative control over their images. It can be beneficial when the lighting conditions are tricky, or the photographer wants to achieve a specific creative effect.
In manual mode, the user sets the aperture to control the depth of field, the shutter speed to control the amount of motion blur, and the ISO to control the camera’s sensitivity to light. The camera’s light meter provides feedback on the exposure levels, but it is up to the user to adjust the settings until the desired exposure is achieved.

One advantage of manual mode is that it allows the photographer to be more precise and creative in their image-making. As an illustration, a photographer may opt for a slower shutter speed to create an intentional motion blur effect or select a wider aperture to create a shallow depth of field, isolating the subject from the background.
However, one limitation of manual mode is that it requires more time and practice to master the settings and achieve the desired exposure. Additionally, it may be difficult to adjust the settings quickly enough to capture the perfect shot in fast-changing or unpredictable lighting conditions.
Overall, manual mode is a powerful tool for experienced photographers who want complete control over their images and are willing to adjust the settings manually.
Other Modes
Digital cameras may also offer other modes, such as scene modes, which are pre-programmed settings for specific types of scenes or subjects (such as portrait, landscape, or sports), and custom modes, which allow the user to save and recall customized settings.
Conclusion
Understanding digital camera modes are essential for achieving the best possible results in your photography. By mastering the different modes and their functions, you can take control of your camera and unleash your creative potential.
Remember, the best camera mode is the one that allows you to achieve the desired result, whether that’s freezing motion, creating a shallow depth of field, or capturing a stunning landscape. Experiment with different modes and settings to discover what works best for you.
FAQs
The mode you should use depends on the situation and the effect you want to achieve. If you’re starting, we recommend experimenting with aperture and shutter priority modes to understand how the different settings affect your images.
ISO refers to the sensitivity of the camera’s sensor to light. A higher ISO will make the sensor more sensitive, which can be helpful in low-light situations. However, a high ISO can also introduce digital noise and reduce image quality.
The method for adjusting the camera mode will depend on your camera model. Consult your camera manual or do a quick internet search to find instructions for your specific camera.