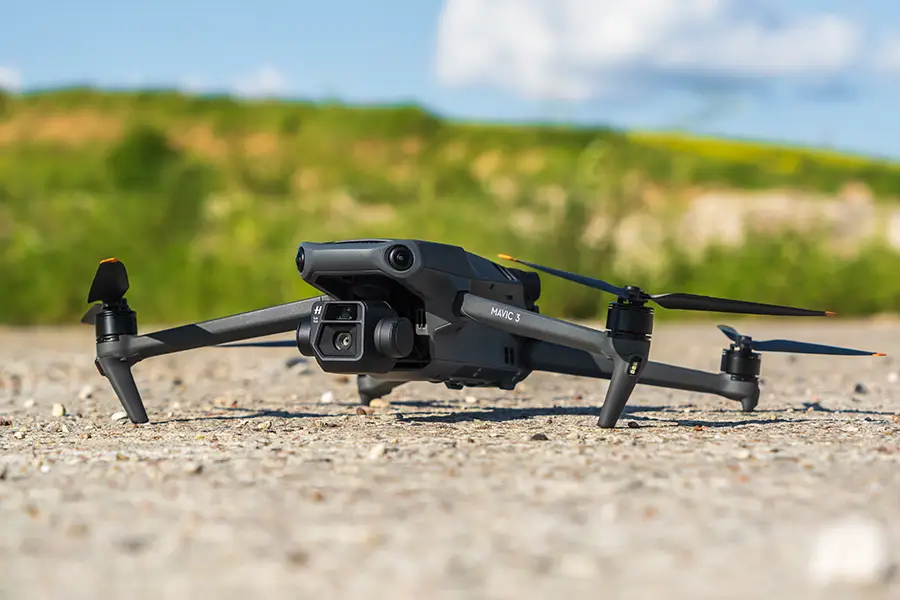
Aerial photography, particularly with drones, has revolutionized the world of photography. Capturing stunning images from unique perspectives has become more accessible and affordable, thanks to the rise of unmanned aerial vehicles (UAVs). This guide will provide essential tips and techniques to help you master drone photography and elevate your skills.
Table of contents
- Choosing the Right Drone for Aerial Photography
- Preparing for Your Drone Photoshoot
- Discover More
- Essential Drone Photography Techniques
- Getting to Know Your Drone’s Features
- Post-Processing Tips for Drone Images
- Legal and Safety Considerations
- Remember These Must-Have Accessories for Drone Photography
- End Note
- FAQs
Choosing the Right Drone for Aerial Photography
Your journey to amazing aerial images begins with selecting the right UAV. Here are some key features to consider:
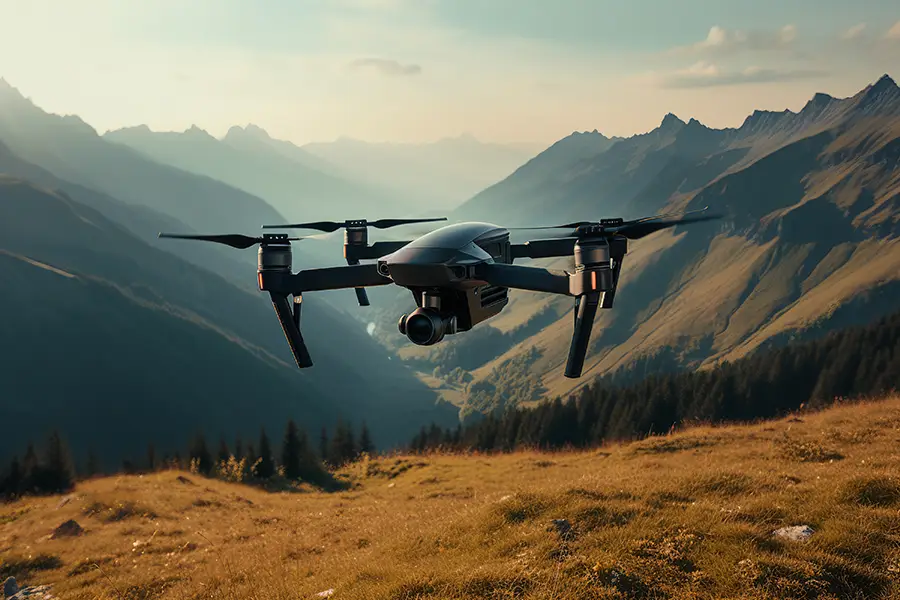
Camera Quality
Choose a drone with a high-quality camera, preferably 12 megapixels or more. Ensure the camera supports RAW format to have greater control over post-processing.
Gimbal Stabilization
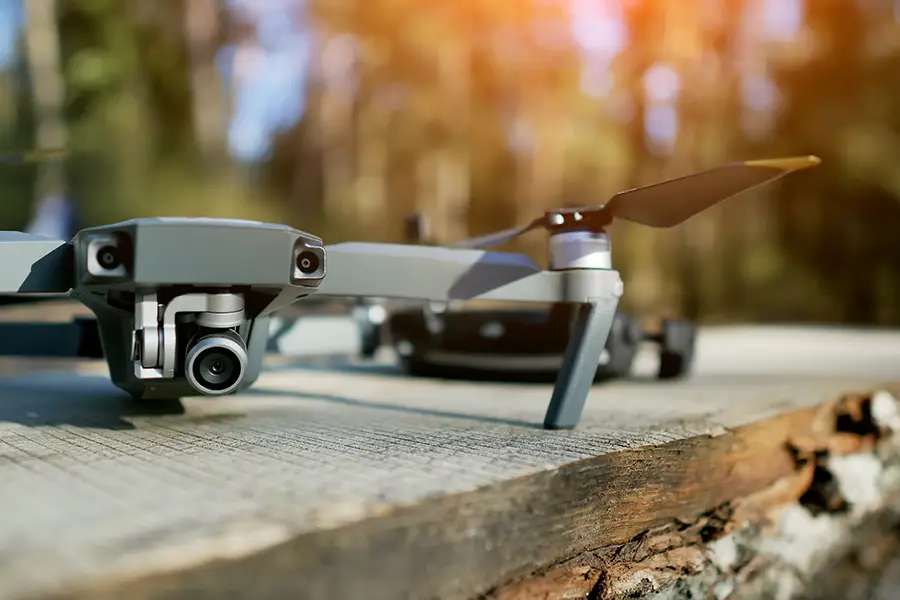
A gimbal stabilizes the camera during flight, resulting in sharper images. For the best stabilization, search for a drone that has a 3-axis gimbal.
Flight Time and Range
A longer flight time (20 minutes or more) and range (at least 1 km) provide more flexibility and freedom to explore different perspectives.
GPS and Obstacle Avoidance
Advanced features like GPS and obstacle avoidance systems enhance flight stability and safety, making it easier to focus on capturing stunning images.
Portability
A compact, foldable drone is easier to transport and ideal for photographers on the go. However, larger drones may offer better stability in windy conditions.
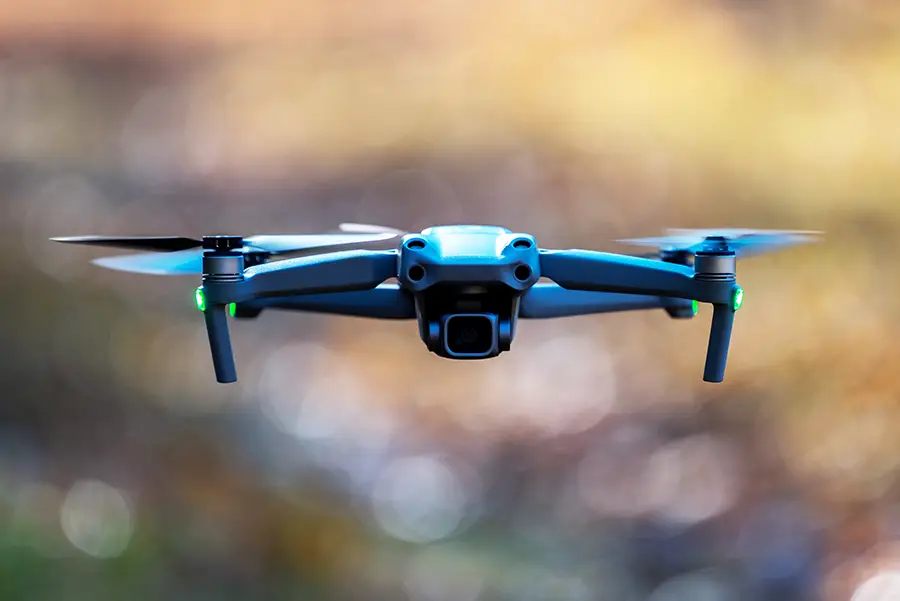
Sensor Size
A larger sensor can capture more light and detail, producing superior image quality. Look for drones with a 1-inch sensor or larger for optimal performance.
Video Capabilities
If you’re interested in capturing aerial video, consider drones with 4K or higher video resolution and high frame rates for smooth, cinematic footage.
Price and Budget
Drones come in a wide range of prices, so consider your budget. While higher-end drones may offer more features, affordable options can still produce stunning aerial images.
Preparing for Your Drone Photoshoot
Before you take to the skies, it’s essential to prepare for your aerial photo shoot:
Scout Your Location
To maximize the visual impact of your aerial images, thoroughly scouting your location is crucial. Here are some tips to help you scout effectively:
Use Online Tools
Utilize satellite imagery, topographic maps, and street views on platforms like Google Earth and Google Maps to study your location virtually.
On-Site Visit
Conduct a physical visit to your chosen location to familiarize yourself with the terrain, potential hazards, and photographic opportunities. This also allows you to assess the feasibility of launching and landing your drone.
Determine the Best Vantage Points
Identify key points of interest and the most visually appealing angles to capture them. Take note of any obstacles or challenges you may encounter while flying.
Timing
Consider the best time of day to shoot, considering factors such as natural lighting and potential crowd presence.
Check Weather Conditions
Weather conditions significantly influence the quality of your aerial images and the safety of your drone. Keep these considerations in mind:
Wind Speed
Avoid flying in high winds, as they can reduce stability, battery life, and image quality. Calm conditions are ideal for drone photography.
Lighting
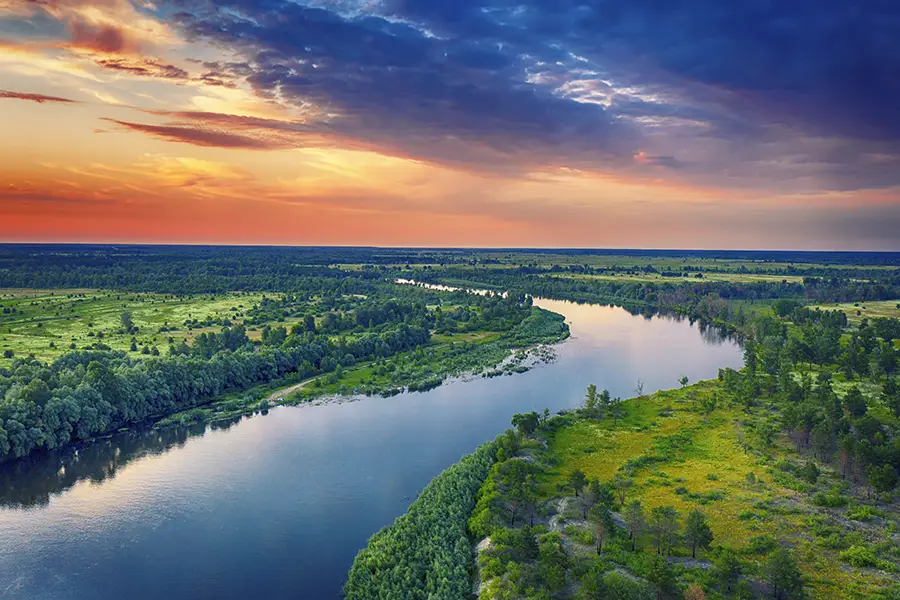
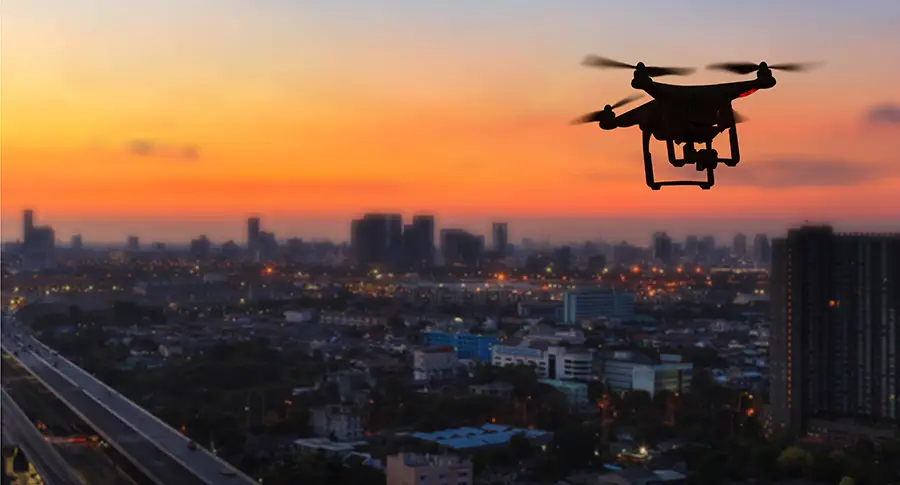
Plan your photoshoot during golden hours (sunrise and sunset) for soft, warm light and long shadows that add depth to your images.
Cloud Cover
Overcast days can provide diffused lighting and minimize harsh shadows but may also result in dull and flat images. Clear days with scattered clouds often produce more dynamic and visually interesting images.
Precipitation
Avoid flying in rain or snow, as it can damage your drone and impair visibility.
Update Firmware and Calibrate Sensors
Regularly updating your drone’s firmware and calibrating its sensors are essential for optimal performance:
Firmware Updates
Manufacturers release firmware updates to fix bugs, improve stability, and add new features. Always check for and install the latest updates to ensure your drone operates at its best.
Sensor Calibration
Calibrate your drone’s sensors, such as the compass, IMU, and gimbal, to maintain flight stability and prevent drifting or erratic behavior.
Pre-Flight Checklist
Develop a pre-flight checklist to ensure all necessary updates and calibrations are completed before each flight.
Plan Your Shots
Planning your shots helps you make the most of your drone’s flight time and improves the quality of your images:
Create a Shot List
Outline the specific shots you want to capture, including desired perspectives, camera angles, and subject matter.
Establish a Flight Plan
Design a flight plan that efficiently covers all your desired shots while considering your drone’s battery life, range, and any obstacles or hazards.
Prioritize
Prioritize your shots based on their importance and the likelihood of changing conditions, such as shifting light or weather.
Adaptability
Be prepared to adapt your plan if necessary, as conditions may change unexpectedly during your photoshoot.
Check Battery Life
Ensure your drone batteries are fully charged, and consider carrying spare batteries to extend your flight time.
Set Your Camera Settings
Configuring your drone’s camera settings before your flight ensures optimal image quality and allows you to focus on framing and composition during your photoshoot. Consider these important camera settings:
ISO
The ISO setting controls your camera’s sensitivity to light. Lower ISO values (e.g., ISO 100) produce cleaner, noise-free images but require more light. In brighter conditions, keep your ISO as low as possible. You may need to increase the ISO for darker scenes or when shooting at higher shutter speeds to achieve proper exposure.
Shutter Speed
The duration of light exposure on the camera’s sensor is determined by the shutter speed. Faster shutter speeds (e.g., 1/1000) can freeze motion and minimize camera shake, while slower shutter speeds (e.g., 1/30) can create motion blur or light trails. In most cases, you’ll want to use a fast shutter speed to maintain sharpness in your aerial images.
Aperture
Lens aperture determines the size of the opening in your camera, impacting the quantity of light that reaches the sensor. A wider aperture (e.g., f/2.8) allows more light to enter, while a narrower aperture (e.g., f/11) reduces light. Aperture also impacts the depth of field—the range of distance within which objects appear sharp. Wider apertures create a shallower depth of field, while narrower apertures produce a greater depth of field.
White Balance
White balance adjusts the color temperature of your images to account for different lighting conditions. Common white balance presets including daylight, cloudy, and tungsten, each designed for specific lighting conditions. Most drones offer automatic white balance (AWB) settings, but you can also manually adjust the white balance to achieve more accurate and consistent colors.
Image Format
Your drone’s camera may offer the option to shoot in JPEG, RAW, or both. JPEG files are smaller and more suitable for sharing but have limited editing capabilities. RAW files, on the other hand, contain more data and allow for greater flexibility in post-processing. If you plan on editing your images, shooting in RAW format is recommended.
Exposure Compensation
Exposure compensation allows you to manually adjust the brightness of your image, measured in stops (e.g., +1, -1). This can be useful when your drone’s camera is struggling to properly expose a scene, such as when shooting against the sun or in high-contrast environments.
By carefully adjusting your drone’s camera settings based on your shooting conditions, you can capture high-quality aerial images that require minimal post-processing.
Practice Flying
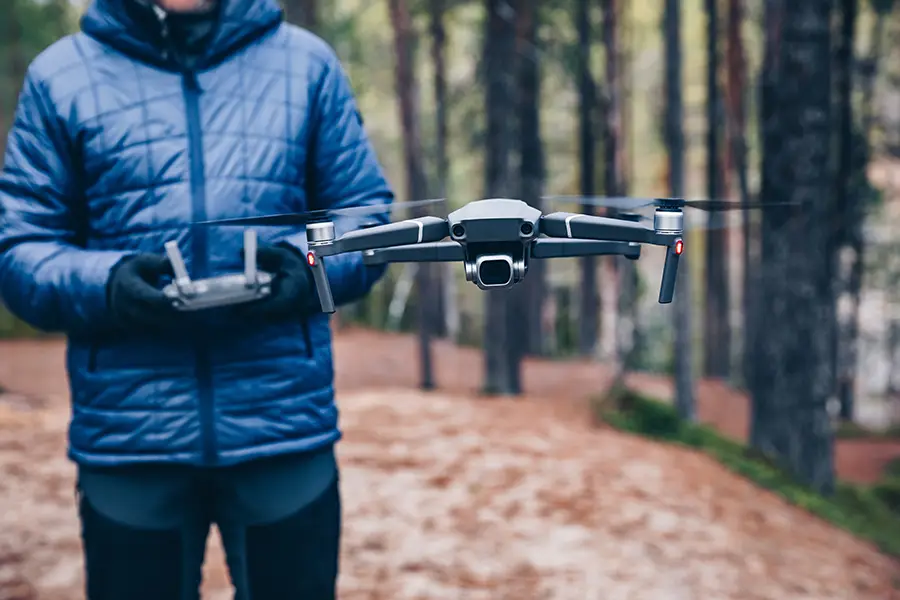
Becoming proficient in flying your drone is essential for capturing stunning aerial images while ensuring safety and efficiency during your photoshoots. These are some pointers that can assist you in improving your drone piloting abilities:
Start with the Basics
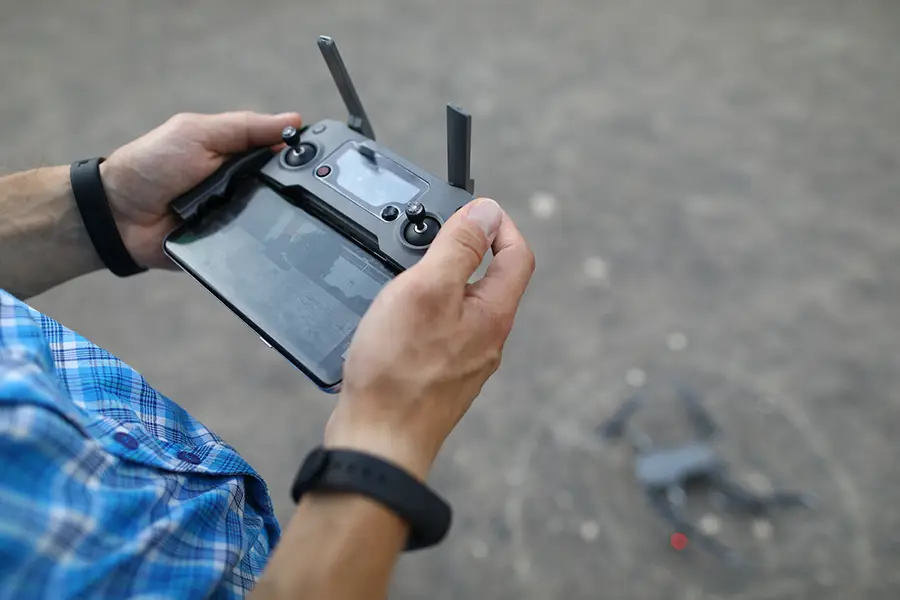
Familiarize yourself with your drone’s controls, such as throttle, yaw, pitch, and roll. Practice maintaining a stable hover, flying in straight lines, and making gentle turns. Mastering these basic maneuvers lays a solid foundation for more advanced flying techniques.
Progress Gradually
As you gain confidence in your basic flying skills, gradually introduce more complex maneuvers, such as flying in circles, figure-eights, and navigating around obstacles. Take your time and progress at a pace that feels comfortable and safe.
Controlled Environment
Begin your practice sessions in a controlled, open environment with minimal obstacles, such as an empty field or park. This will allow you to focus on honing your skills without the added pressure of potential hazards.
Indoor and Outdoor Practice
If your drone is small enough, practice flying indoors to improve precision and control. Additionally, flying outdoors in various weather conditions, such as light winds or overcast skies, will help you become a more adaptable and confident pilot.
Learn Advanced Techniques
As you become more proficient in flying, explore advanced techniques like subject tracking, waypoint navigation, and orbiting. These maneuvers can add dynamic elements to your aerial images and enhance your storytelling capabilities.
Use Flight Simulators
Drone flight simulators on your computer or smartphone provide a safe and cost-effective way to practice your piloting skills. Many simulators can be customized to simulate the specific drone model you own, giving you an even more accurate training experience.
Discover More
Essential Drone Photography Techniques
Mastering these techniques will help you capture compelling and creative aerial images:
Bird’s Eye View
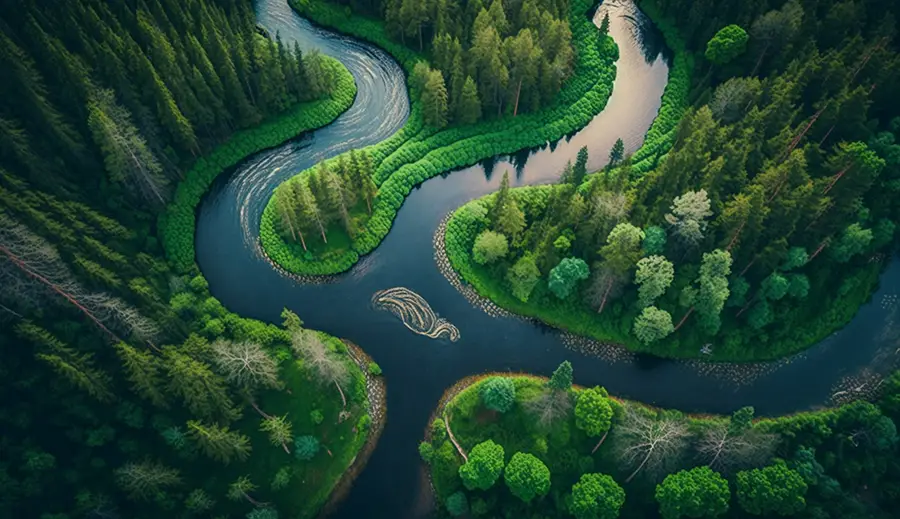
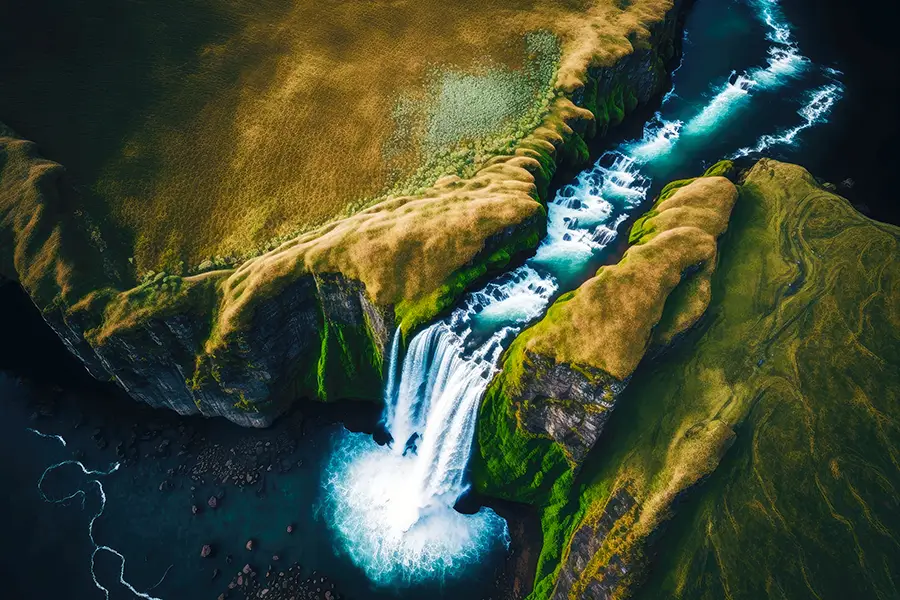
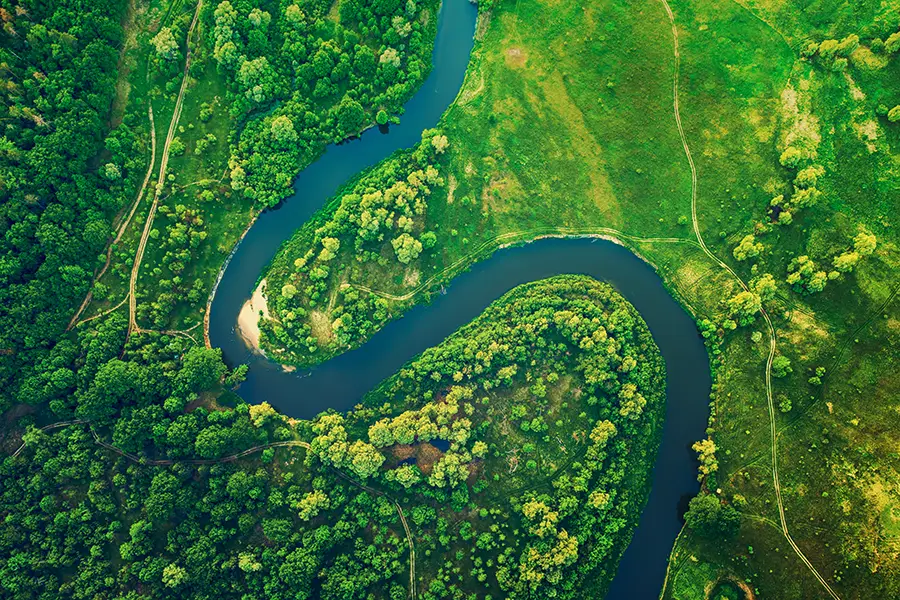
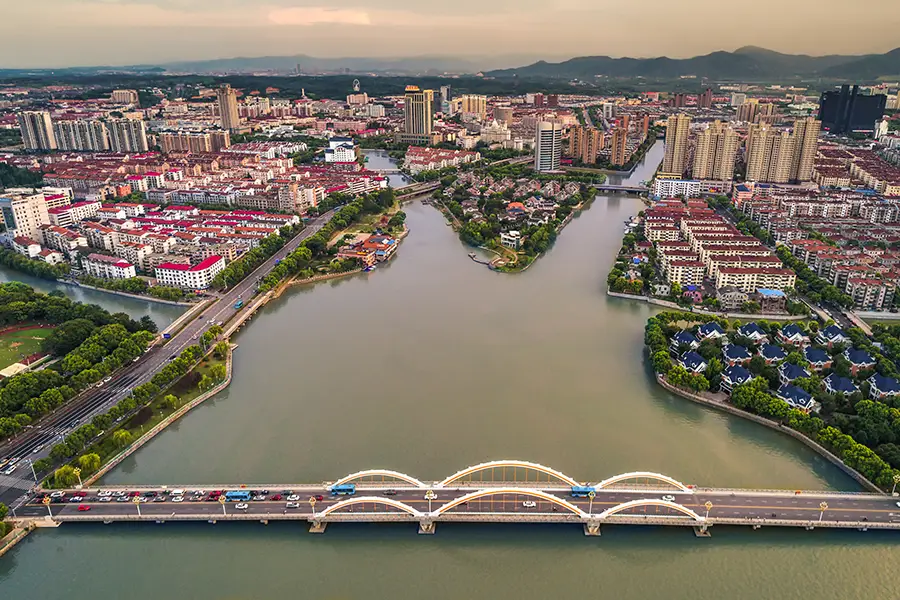
Capture images directly from above to showcase interesting patterns and textures, creating abstract and visually striking images.
Low Angle Shots
For a more intimate and detailed view, lower your altitude and approach your subject closely before capturing your shot.
Orbiting
Circle your subject to capture dynamic, 360-degree views. This technique is perfect for revealing the full context of a scene.
Panoramic Images
Take a series of overlapping images and stitch them together in post-processing to create breathtaking, high-resolution panoramas.
Bracketing
Capture multiple photos of the same scene at different exposure levels (bracketing) to ensure optimal exposure for your final image.
Leading Lines
To create a sense of depth and direct the viewer’s attention through your image, use leading lines.
Rule of Thirds
Compose your photos using the rule of thirds, placing points of interest along the grid lines or at their intersections for a balanced and visually appealing result.
Experiment with Camera Angles
Explore various camera angles and tilt settings to find unique perspectives and reveal hidden details in your images.
Lighting
Understand how different lighting conditions impact your images, and learn to use natural light to your advantage.
Getting to Know Your Drone’s Features
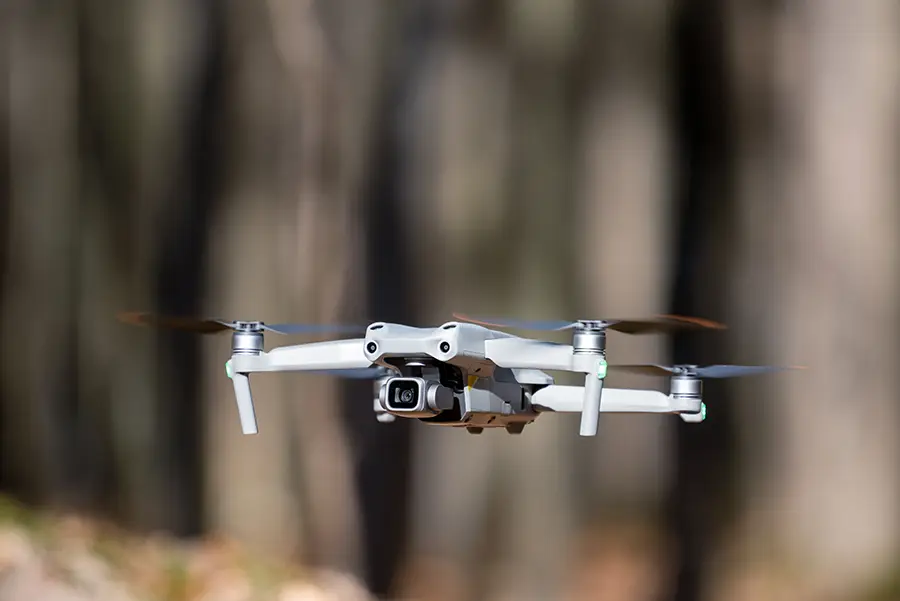
To fully harness the capabilities of your drone for aerial photography, it’s essential to familiarize yourself with its features:
Flight Modes
Most drones have various flight modes, such as GPS-assisted hover, waypoint navigation, and subject tracking. Understanding how these modes work will help you achieve precise control and capture dynamic shots.
Camera Settings
Learn about your drone’s camera settings, including aperture, shutter speed, ISO, and white balance, to optimize image quality and adapt to lighting conditions.
Return to Home (RTH) Function
The Return to Home (RTH) feature enables your drone to come back to its takeoff position automatically in case it experiences a loss of signal or the battery gets depleted. Ensure you know how to activate this feature to avoid potential accidents or loss of your drone.
Post-Processing Tips for Drone Images
To elevate your aerial images, follow these post-processing tips:
RAW Format
Shoot in RAW format to retain maximum detail and have greater control over editing.
Image Editing Software
Utilize powerful image editings software like Adobe Lightroom or Photoshop to optimize your images.
Adjust Exposure and Contrast
Correct exposure and enhance contrast to bring out the best in your aerial images.
Saturation and Vibrance
Boost saturation and vibrance for more vivid and captivating colors.
Sharpening
Apply appropriate sharpening to enhance the clarity and detail of your aerial images, but be careful not to overdo it, as it may introduce noise and artifacts.
Noise Reduction
Apply noise reduction techniques, especially for images taken in low light conditions or at higher ISO settings.
Panorama Stitching
Use dedicated stitching software or built-in features in your editing software for panoramic images to seamlessly merge your images.
HDR Processing
For scenes with high dynamic range, use HDR processing to merge bracketed images, capturing details in shadows and highlights.
Correct Lens Distortion
Some drone cameras may introduce lens distortion, especially at the edges of the frame. Use editing software to correct this distortion for more accurate and natural-looking images.
Dodge and Burn
Use dodge and burn techniques to selectively brighten or darken specific areas of your image, adding depth and dimension.
Legal and Safety Considerations
To ensure safe and responsible drone photography, always adhere to local regulations and follow these guidelines:
Know the Rules
Familiarize yourself with local drone regulations, including altitude limits, no-fly zones, and registration requirements.
Respect Privacy
Avoid flying over private property or capturing images of people without their consent.
Maintain Line of Sight
Always keep your drone in your line of sight during flight, ensuring better control and situational awareness.
Observe Flight Restrictions
Steer clear of airports, military installations, and other restricted areas.
Use Common Sense
Fly your drone responsibly and be aware of your surroundings, especially when flying near people, animals, or property.
Insurance
Consider obtaining liability insurance to protect yourself in the event of an accident or damage caused by your drone.
Be Mindful of Wildlife
Avoid disturbing wildlife with your drone, as this may distress the animals and violate wildlife protection laws.
Emergency Procedures
Familiarize yourself with emergency procedures, such as performing a controlled descent or returning to home (RTH) in case of technical difficulties or loss of GPS signal.
By considering these additional factors and tips, you’ll be well-equipped to capture stunning aerial images while ensuring a safe and enjoyable experience.
Remember These Must-Have Accessories for Drone Photography
To enhance your drone photography experience, consider investing in these essential add-ons:
Extra Batteries
Having multiple batteries extends your flight time and allows you to capture more images during a single session.
ND Filters
Neutral density (ND) filters help control exposure, especially in bright conditions, and can also produce smoother video footage by reducing shutter speed.
Carrying Case
A sturdy and protective carrying case will help safeguard your drone and accessories during transport.
Spare Propellers
Carry spare propellers in case of damage or breakage, ensuring you can continue flying and capturing images without interruption.
End Note
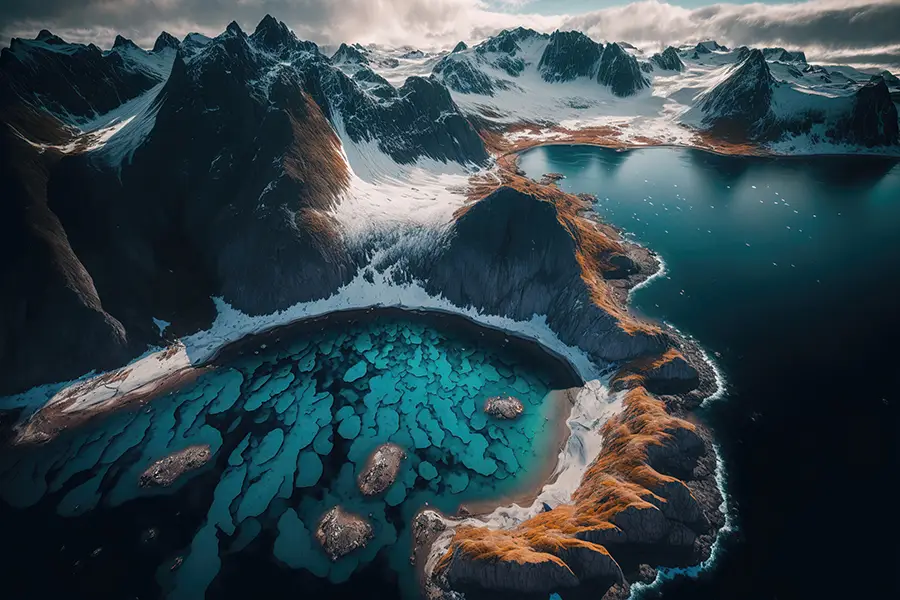
Drone photography captures stunning aerial images, offering a unique perspective from the skies. With practice and dedication, you’ll soon capture breathtaking aerial images that captivate and inspire. By selecting the right drone, mastering your piloting skills, understanding camera settings, and learning various techniques, you’ll be well-prepared to embark on your drone photography journey. Remember to prioritize safety, follow local regulations, and stay up to date with drone technology advancements.
FAQs
The need for a license depends on your location and the purpose of your aerial photography. In many countries, recreational drone pilots do not require a license, but commercial operators may need one. Always check your local regulations.
Generally, flying drones in national parks is prohibited, as it can disturb wildlife and other visitors. However, policies may vary from park to park, so it’s best to consult the specific park’s rules before flying.
The ideal altitude depends on your subject and desired perspective. Lower altitudes (10-50 meters) are ideal for capturing more detailed images, while higher altitudes (100-500 meters) can provide sweeping vistas and unique patterns.
To avoid blurry images in windy conditions, use a drone with a gimbal stabilization system, shoot at a faster shutter speed, and try to avoid flying during gusty conditions.


