

Sharp Photography Made Simple
Achieving sharp photos is an essential skill for any budding photographer; it doesn’t have to be a mystery. As a professional photographer, I am constantly asked how I capture such crisp, clear images. In this comprehensive guide, I will share 16 invaluable tips for taking sharp photos that will elevate your photography game.
16 Ingenious Tips for Capturing Sharp Photos
- 1. Use a Tripod to Capture Sharp Photo
- 2. Choose the Right Lens
- 3. Calibrate Your Lenses
- 4. Opt for a Fast Shutter Speed
- 5. Nail Your Focus
- 6. Use the Right Aperture
- 7. Master Manual Focus
- 8. Adjust ISO Wisely
- 9. Understand and Leverage the Depth of Field
- 10. Make the Most of Image Stabilization
- 11. Keep Your Gear Clean
- 12. Use High-Quality Filters
- 13. Pay Attention to the Composition
- 14. Shoot in RAW Format
- 15. Utilize Back-Button Focusing
- 16. Post-Processing Techniques
- End Note
- FAQs
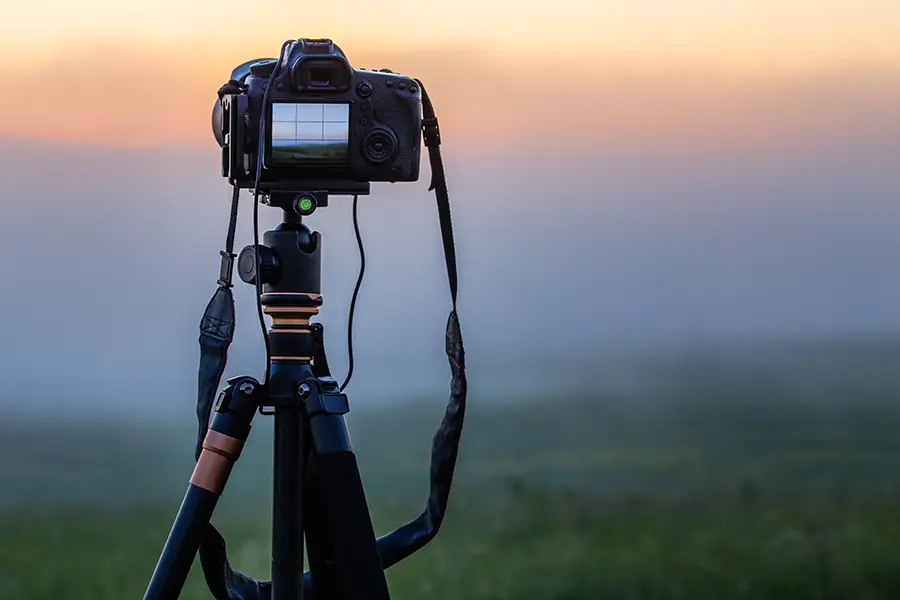
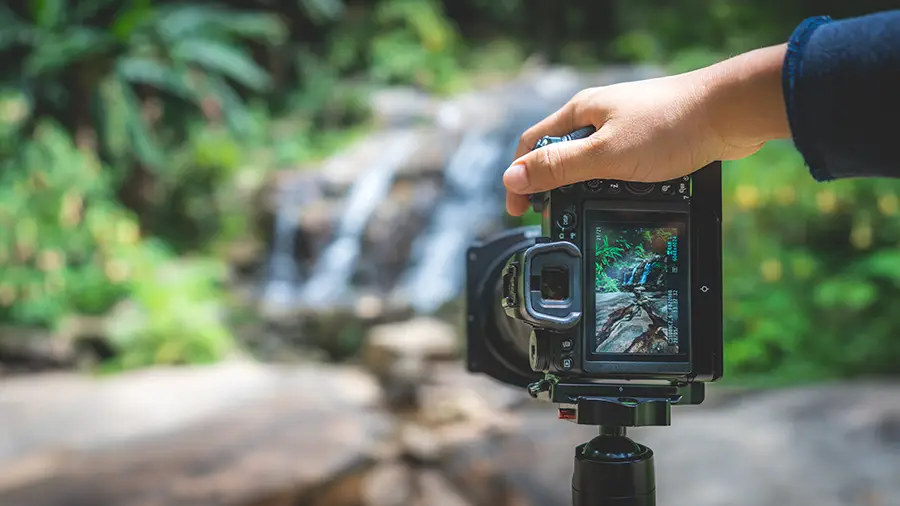
1. Use a Tripod to Capture Sharp Photo
A tripod is an important tool for photographers looking to capture sharp photos. Using a tripod provides a stable platform for your camera, reducing the likelihood of camera shaking and resulting in clearer images. Using a tripod also allows you to slow down, compose your shot more carefully, and fine-tune your focus.
When choosing a tripod, consider its weight capacity, height, stability, and portability. Ensure that the tripod can support the weight of your camera and lens and has a sturdy and reliable locking mechanism. A tripod with a ball head allows for smooth and precise adjustments, making it easier to frame your shot perfectly.
Additionally, consider using a remote shutter release or your camera’s self-timer feature to minimize any potential vibrations caused by physically pressing the shutter button.
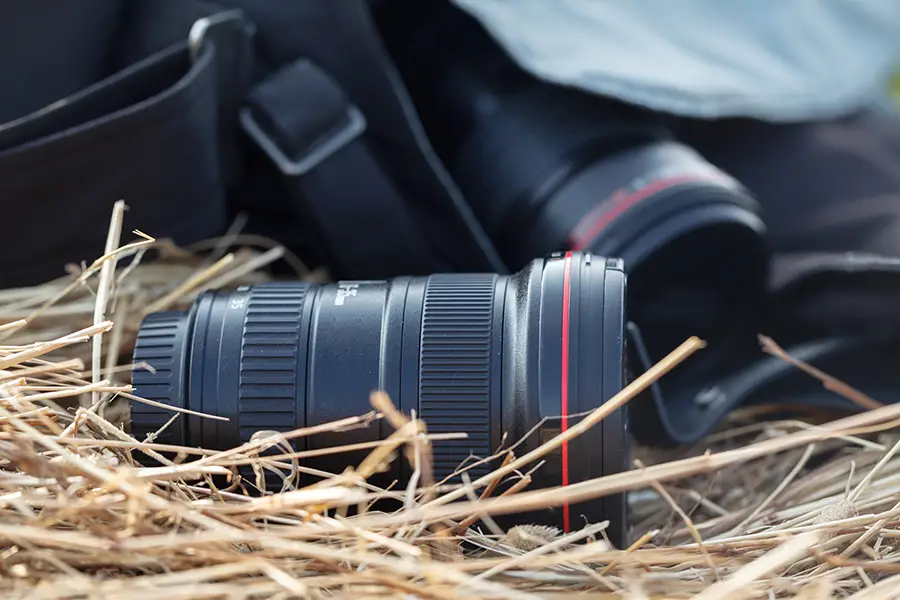
2. Choose the Right Lens
Selecting the appropriate lens for your photography needs can make a significant difference in the sharpness of your photos. Prime lenses, with a fixed focal length, are renowned for their exceptional optical quality compared to zoom lenses. This is because prime lenses have fewer glass elements and a simpler design, which results in less light diffraction and sharper images.
Some lenses are specifically designed for certain types of photography, such as macro lenses for close-up photography or telephoto lenses for wildlife and sports photography. These lenses are optimized to deliver sharp images within their specific use cases. It’s essential to research and invest in high-quality lenses that are best suited for your photography needs.
3. Calibrate Your Lenses
Lens calibration is fine-tuning the autofocus system of your camera and lens to ensure the most accurate focus possible. Even the most expensive lenses can sometimes exhibit minor focus inaccuracies due to manufacturing tolerances, resulting in slightly soft or misfocused images.
Properly calibrating your lenses to your camera is crucial to achieving the sharpest possible images. Some modern cameras have built-in autofocus micro-adjustment features that allow you to calibrate your lenses without additional equipment. Consult your camera’s manual to learn if this feature is available and how to use it.
For cameras without built-in lens calibration features or for more precise calibration, consider using a dedicated lens calibration tool, such as the LensAlign or SpyderLensCal. These tools consist of a target and a ruler, which help you measure and adjust the autofocus accuracy of your camera and lens combination.
To calibrate your lenses, follow these steps:
- Position the calibration tool appropriately for the focal length of your lens and set up your camera on a tripod. Consult the instructions provided with the calibration tool for specific guidelines.
- Adjust your camera settings to use a wide aperture (low f-number) and a single autofocus point, and ensure the camera is parallel to the calibration target.
- Use your camera’s autofocus system to focus on the target, then take a photo.
- Review the photo on your computer and zoom in to evaluate the sharpness of the target and the ruler markings. If your focus is accurate, the target should be sharp, and the ruler markings should be equally sharp at the point corresponding to the target.
- If necessary, adjust the autofocus micro-adjustment settings on your camera or calibration tool according to the manufacturer’s instructions, and repeat the process until the focus is accurate.

4. Opt for a Fast Shutter Speed
A fast shutter speed is crucial for capturing sharp images, particularly when shooting handheld or when your subject is in motion. Fast shutter speeds to freeze movement and help reduce the risk of camera shake, resulting in sharper photos.
Generally, your shutter speed should be at least double your lens’s focal length when shooting handheld. This rule helps minimize the impact of camera shake and ensures that your images are sharp and blur-free. Suppose you’re using a 50mm lens; strive for a minimum shutter speed of 1/100th of a second.
In situations where your subject is moving quickly, such as sports or wildlife photography, even faster shutter speeds may be necessary to freeze the action and capture sharp images. Try out various shutter speeds to discover the ideal setting for your particular shooting situation.

5. Nail Your Focus
Achieving perfect focus is a critical factor in capturing sharp images. Modern cameras typically offer a range of autofocus options, including single-point, continuous, and tracking autofocus. Familiarize yourself with these settings and choose the appropriate mode for your subject and shooting conditions.
For example, when shooting a stationary subject, single-point autofocus allows you to lock onto your subject and ensure it is in perfect focus. On the other hand, continuous or tracking autofocus is better suited for moving subjects, as it continuously adjusts focus to keep up with your subject’s movement.
In some situations, your camera’s autofocus may struggle to lock onto your desired subject, such as in low-light conditions or when photographing a subject with low contrast. In these cases, switching to manual focus and making precise focus adjustments using your lens’s focus ring may be necessary.
Additionally, techniques like focus stacking can be used to create images with increased depth of field. Focus stacking involves taking multiple photos with different focal points and combining them in post-processing to create a single, sharp image.

6. Use the Right Aperture
Aperture refers to the size of the opening in your lens through which light enters your camera. The aperture you choose directly impacts your images’ depth of field and overall sharpness. Using a smaller aperture (higher f-number) creates a greater depth of field, making more of the image appear in focus. Conversely, a larger aperture (lower f-number) results in a shallower depth of field with a more isolated focus area.
To achieve sharp images is essential to strike a balance between the depth of field and the overall sharpness of your image. While a smaller aperture provides a deeper depth of field, using the smallest aperture setting on your lens can lead to diffraction, which reduces image clarity. Instead, find the sweet spot of your lens, which is typically around two to three stops from the widest aperture. This will provide a good balance between depth of field and image sharpness.
Sometimes a larger aperture is necessary, like when shooting portraits or when you want to create a pleasant background blur (bokeh) and isolate your subject. In these situations, ensure your focus is spot-on to achieve sharp images.

7. Master Manual Focus
Although modern cameras come equipped with advanced autofocus systems, there are instances where autofocus may struggle to lock onto your desired subject. Switching to manual focus can help you achieve the perfect focus in these situations.
To master manual focus, practice using your lens’s focus ring and learn how to make precise adjustments. Some cameras also offer focus aids, such as focus peaking or magnification, which can assist you in nailing focus when using manual mode.
Manual focus can be particularly useful in low-light conditions, when photographing subjects with low contrast, or when shooting through obstacles such as fences or glass.

8. Adjust ISO Wisely
ISO refers to your camera’s sensitivity to light. Increasing the ISO setting allows your camera to capture more light, which is helpful when shooting in low-light conditions. However, higher ISO settings can also increase noise, reducing image clarity.
Achieving sharp images is essential to balance the necessary ISO setting and maintaining image quality. Always try to use the lowest possible ISO setting for your shooting conditions. In some cases, a slightly higher ISO may be necessary to achieve a fast enough shutter speed to capture sharp images, especially in low-light conditions. Experiment with different ISO settings to find the optimal balance for your specific shooting conditions.

9. Understand and Leverage the Depth of Field
Depth of field (DoF) refers to the area in your image that appears acceptably sharp and in focus. Understanding and controlling depth of field can greatly impact the perceived sharpness of your images, allowing you to direct the viewer’s attention to the most important elements of your composition.
Depth of field is influenced by three primary factors: aperture, focal length, and distance between the camera and subject. Using a smaller aperture (higher f-number) creates a greater depth of field, making more of the image appear in focus.
Conversely, using a larger aperture (lower f-number), longer focal length, and positioning the camera closer to the subject makes a shallow depth of field, resulting in a more isolated focus area.
To take full advantage of the depth of field, consider the following:
- Determine the desired depth of field for your image: Do you prefer a shallow depth of field to isolate your subject or a deep depth of field to keep everything in focus? This decision will guide your choice of aperture, focal length, and subject distance.
- Use a depth-of-field calculator or an app to help you estimate the depth of field for your chosen settings. These tools can help plan your shots and ensure the desired parts of your image are in focus.
- Practice and experiment with different aperture settings, focal lengths, and subject distances to develop an intuitive understanding of how depth of field works and how to control it effectively.
More to Love: Find Your Next Favorite Guide

10. Make the Most of Image Stabilization
Many modern cameras and lenses come equipped with image stabilization technology, which can help minimize camera shake and improve image clarity. Image stabilization compensates for small camera movements, enabling you to capture shots at slower shutter speeds without producing blur.
When shooting handheld or in challenging conditions, such as low light or when using a telephoto lens, ensure that your image stabilization is enabled to capture the sharpest possible images. However, turning off image stabilization is generally recommended when using a tripod, as it can sometimes introduce unwanted vibrations.
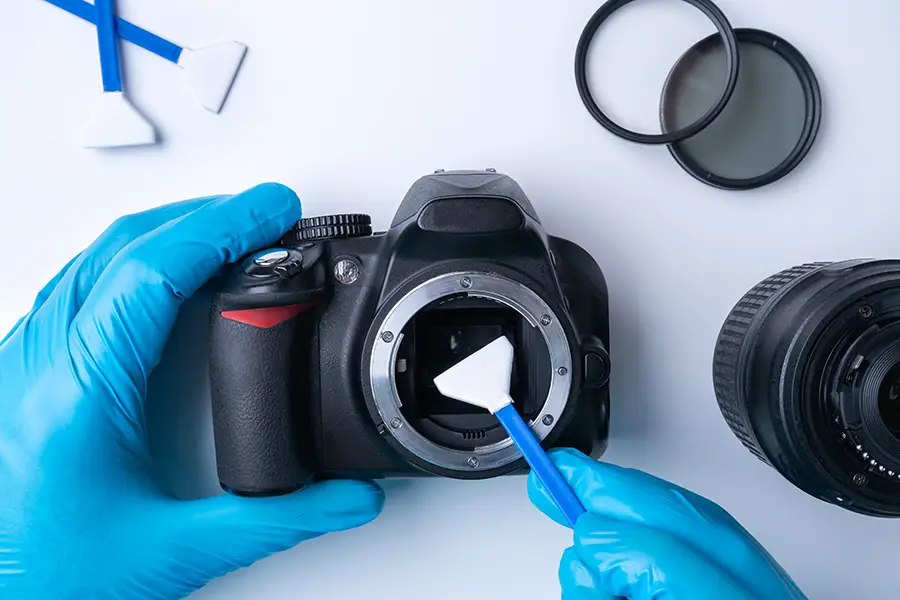
11. Keep Your Gear Clean
Maintaining clean camera gear is crucial for capturing sharp images. Dust, dirt, and smudges on your camera sensor, lens, or filters can significantly impact your photos’ sharpness and overall quality.
Make a habit of regularly cleaning your gear using the proper tools and techniques. Invest in a sensor cleaning kit and learn how to safely clean your camera sensor. Maintain clean and smudge-free lenses by using a lens-cleaning solution and a microfiber cloth. Regularly inspect and clean any filters to ensure they do not add dirt or distortion to your images.
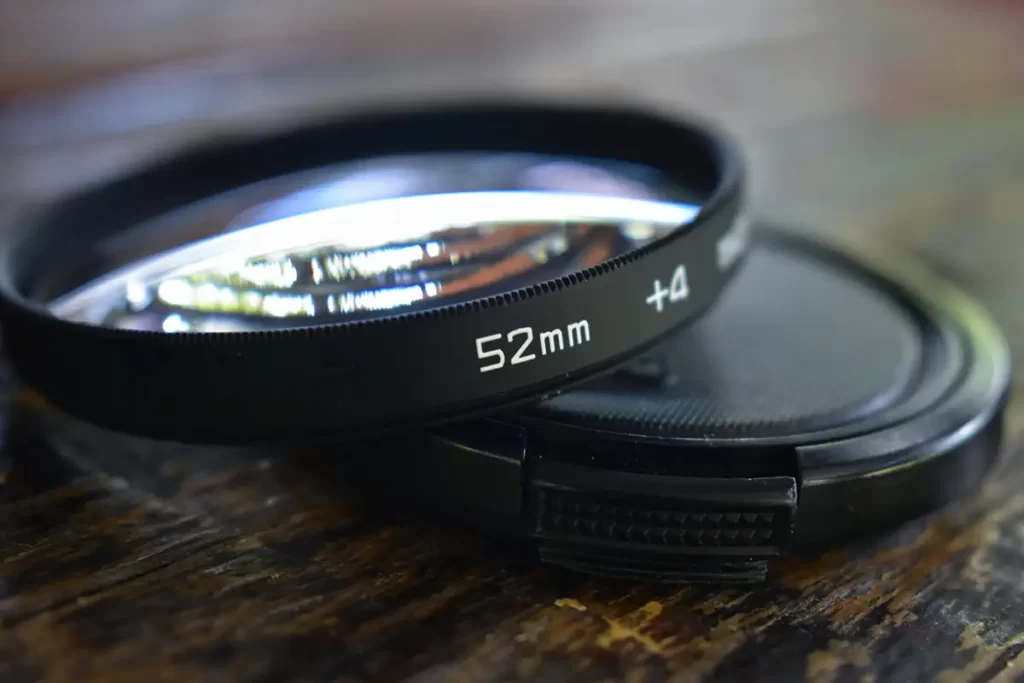
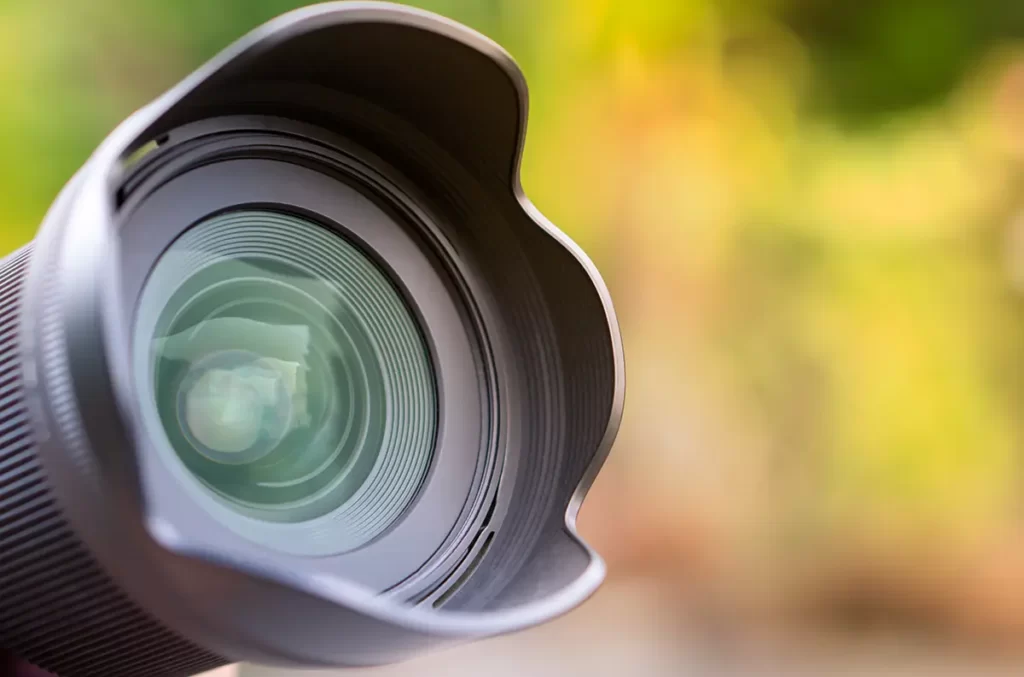
12. Use High-Quality Filters
Filters can be a valuable addition to your photography toolkit, but low-quality filters can negatively impact the sharpness of your images. Cheap filters often use lower-quality glass, which can introduce distortion, ghosting, or reduce overall image clarity.
Always invest in high-quality filters from reputable brands to maintain the sharpness and clarity of your images. Additionally, only use filters when necessary, as adding more glass elements to your lens can affect image quality. Some commonly used filters that can enhance your images without compromising sharpness include polarizing, neutral density, and UV filters.

13. Pay Attention to the Composition
A well-composed image looks more visually appealing and can appear sharper and more engaging. Using composition techniques such as the rule of thirds, leading lines, and natural framing can help create images with a strong focal point and a sense of depth, making your images appear more striking and clear.
The rule of thirds involves dividing your frame into a 3×3 grid and placing your subject or points of interest along the grid lines or at their intersections. This builds a more balanced and visually interesting composition, drawing the viewer’s eye to the sharp areas of the image.
Leading lines can guide the viewer’s eye through the frame and toward the main subject, creating a sense of depth and making the image appear sharper. Look for natural lines in your environment, such as roads, fences, or rivers, and use them to enhance your composition.
Natural framing involves using elements in your scene, such as trees, archways, or windows, to frame your subject. It highlights the sharp and focused areas of the image, creating a more engaging composition.

14. Shoot in RAW Format
RAW format captures more data than JPEG, providing greater flexibility and control during post-processing. When you shoot in RAW, you can apply sharpening, noise reduction, and other adjustments more effectively, resulting in clearer and more detailed images.
Familiarize yourself with the advantages of shooting in RAW and learn how to process RAW files using software such as Adobe Lightroom or Photoshop. Shooting in RAW and honing your post-processing skills can significantly enhance your images’ sharpness and overall quality.
15. Utilize Back-Button Focusing
Back-button focusing is a technique that separates the autofocus function from the shutter button. Lock focus pre-shot for sharper images with control over focus points.
Check your camera’s manual to set up back-button focusing and learn how to assign the autofocus function to a button at the back. Remember that this process may differ depending on your camera’s make and model.
Back-button focusing allows you to more easily maintain focus on a moving subject or quickly switch between different focus points without half-pressing the shutter button. This can help you capture sharper images and ensure your subject is always in perfect focus.

16. Post-Processing Techniques
Even with the best in-camera techniques, some post-processing may be necessary to achieve razor-sharp images. Learn the sharpening tools in your editing software, such as Unsharp Mask, Smart Sharpen, or High Pass filter in Photoshop.
When applying sharpening, be cautious not to overdo it, as over-sharpening can introduce unwanted artifacts and degrade image quality. Instead, apply sharpening selectively to the most important areas of your image and adjust the settings gradually to achieve the desired effect.
In addition to sharpening, other post-processing techniques can help enhance the sharpness of your images, such as noise reduction, contrast adjustments, and selective dodging and burning. By mastering these techniques, you can refine your images and achieve the highest level of sharpness and detail.
End Note
Capturing sharp images has always been critical to creating visually appealing and professional-quality photographs. By understanding and applying the tips I’ve shared in this article, I’ve significantly improved the sharpness of my images, making them more engaging and impactful.
From using a tripod and choosing the right lens to mastering focus, aperture, and depth of field, these techniques will provide the foundation you need to capture stunning, razor-sharp images. Remember to maintain clean gear, use high-quality filters, and leverage post-processing techniques to enhance your images’ clarity.
As with any aspect of photography, practice is essential. Experiment with different settings, techniques, and equipment to find the optimal combination for your specific shooting conditions and photography style. By continually refining your skills and knowledge, you’ll be well on your way to capturing consistently sharp and impressive images.
FAQs
In low-light situations, use a tripod, fast lens, and image stabilization to minimize camera shake. You may also need to increase your ISO setting to achieve a fast enough shutter speed, but be cautious of introducing too much noise.
Larger sensors, such as full-frame sensors, generally produce sharper images with better detail and dynamic range than smaller sensors, like APS-C or Micro Four Thirds. However, sharpness also depends on lens quality, aperture, and focus.
Yes, smartphone cameras have improved significantly in recent years, and many now feature advanced technologies, such as computational photography and image stabilization. To achieve sharp images with a smartphone, ensure your lens is clean, use a steady hand, and use any built-in stabilization or manual focus features.
Q:
A: Test the sharpness of your lens by photographing detailed subjects like newspapers or textured surfaces. Review the images at 100% magnification, and compare the results to images taken with other lenses or online reviews. If your lens appears to be underperforming, consider upgrading to a higher-quality lens or servicing your current lens.