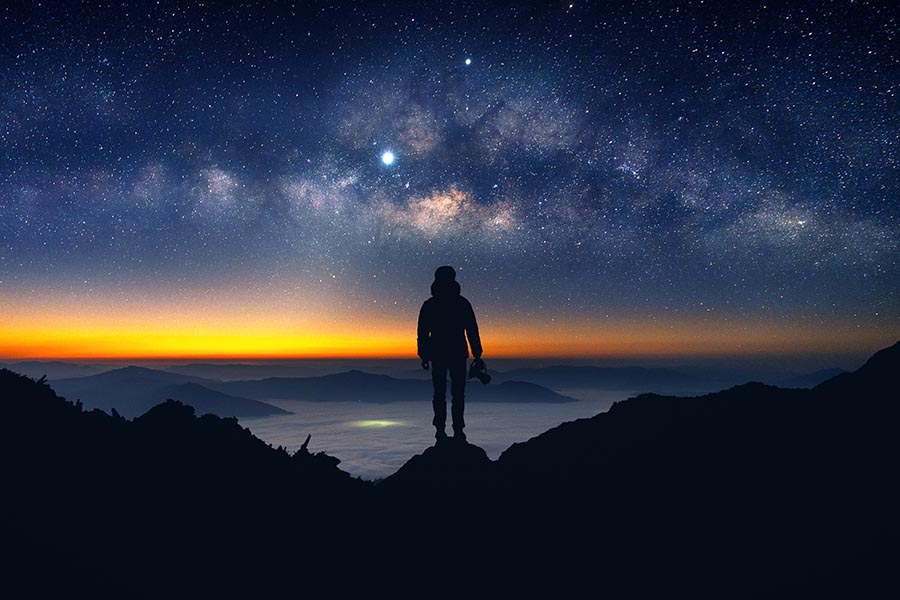
Starry nights have captivated humankind for millennia, inspiring awe and wonder. Milky Way photography, an increasingly popular niche, enables you to capture the grandeur of our home galaxy. Our comprehensive tutorial aims to equip you with the necessary knowledge and skills to embark on your journey into the world of galactic photography. Furthermore, we will guide you through every process step, from careful planning and preparation to capturing the perfect shot and refining your masterpieces in post-processing. With dedication, patience, and a keen eye for detail, you also can create awe-inspiring images of the night sky that will leave a lasting impression on all who behold them. So, gather your gear and get ready to venture into the vast cosmos expanse through your camera’s lens. Together, we will unlock the secrets of Milky Way photography.
Table of contents
- Essential Equipment for Milky Way Photography
- Camera
- Lens
- Tripod
- Remote Shutter Release
- How to Plan Your Milky Way Photo Shoot
- Discover More
- Setting Up Your Camera for Milky Way Photography
- Composition Techniques for Milky Way Photography
- Post-Processing Tips
- Light Pollution and Its Impact on Milky Way Photography
- Finding a Place with Low Light Pollution
- What is the 500 rule in photography?
- Why can’t I photograph the Milky Way?
- What is the best time of night to photograph the Milky Way?
- FAQs
Essential Equipment for Milky Way Photography
Milky Way photography is a fascinating and rewarding genre of photography that captures the stunning beauty of our galaxy. To capture the Milky Way in all its glory, it is essential to have the right equipment. The right gear will help you achieve sharp, high-quality images that truly showcase the wonder of the Milky Way. From cameras and lenses to tripods and filters, there are several pieces of equipment that are crucial for Milky Way photography. In this guide, we’ll explore the essential equipment needed for capturing breathtaking Milky Way photos. Whether you’re a beginner or an experienced photographer, having the right gear is crucial for success in Milky Way photography.
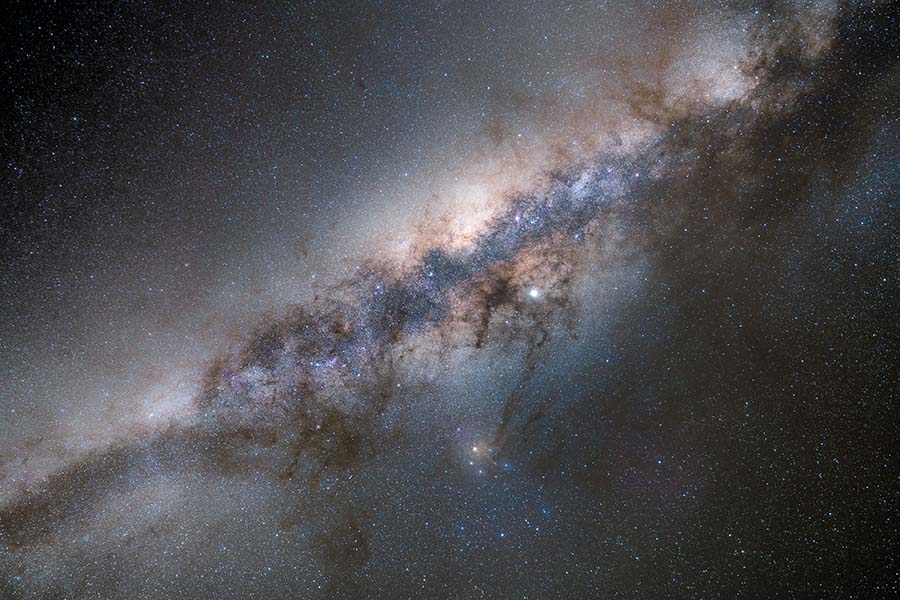
Camera
A DSLR or mirrorless camera with a full-frame or crop sensor is essential for galactic photography. Full-frame cameras typically perform better in low-light conditions, but crop sensor cameras can still yield impressive results.
Best Cameras for Milky Way Photography
When selecting a camera for capturing the Milky Way, consider factors like sensor size, low-light performance, and dynamic range. Here are some popular choices:
- Sony A7S III: This full-frame mirrorless camera is renowned for its exceptional low-light performance, boasting a wide dynamic range and high ISO capabilities.
- Nikon D850: This full-frame DSLR offers a high-resolution 45.7MP sensor, excellent dynamic range, and superb low-light performance, making it a popular choice for astrophotographers.
- Canon EOS R6: This full-frame mirrorless camera has a 20.1MP sensor, impressive low-light capabilities, and excellent dynamic range, ideal for capturing the night sky.
- Fujifilm X-T4: This crop sensor mirrorless camera provides excellent image quality, high ISO performance, and an impressive dynamic range, making it a solid option for Milky Way photography.
Remember that crop sensor cameras yield impressive results with the right lens and settings.
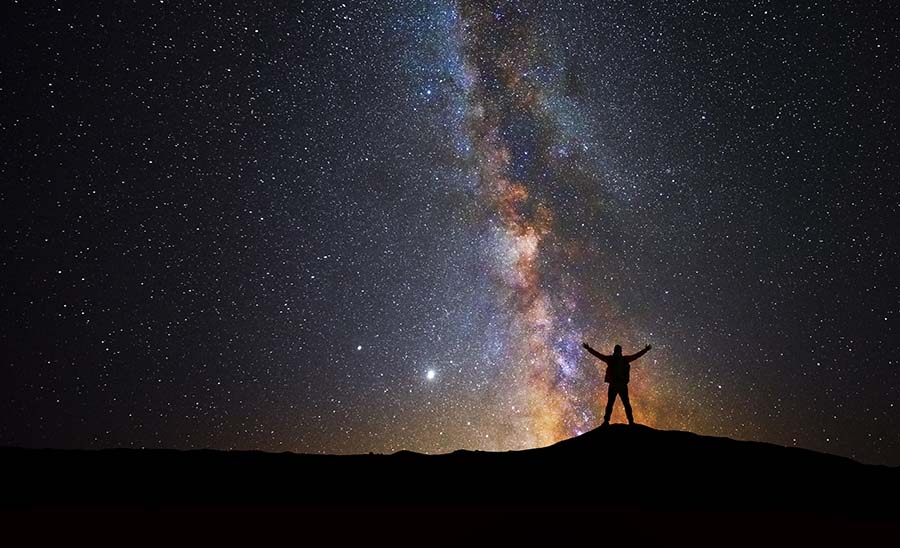
Lens
A fast, wide-angle lens is crucial. Look for lenses with an aperture of f/2.8 or wider to capture the maximum light. A focal length between 14mm and 24mm is ideal for expansive compositions.
Best Lenses for Milky Way Photography
A fast, wide-angle lens is essential for capturing the Milky Way. Key factors include a wide aperture (f/2.8 or lower) and a focal length between 14mm and 24mm. Some top choices include:
- Sigma 14mm f/1.8 DG HSM Art: This ultra-wide-angle lens offers an impressive f/1.8 aperture, allowing for excellent light collection and sharp images.
- Rokinon/Samyang 14mm f/2.8: A budget-friendly option, this manual focus lens provides sharp images and good light-gathering capabilities.
- Tamron 15-30mm f/2.8 Di VC USD: This versatile wide-angle zoom lens offers a constant f/2.8 aperture and image stabilization, ideal for Milky Way photography and other low-light situations.
- Canon EF 16-35mm f/2.8L III USM: This wide-angle zoom lens offers a fast f/2.8 aperture and excellent image quality, suitable for full-frame and crop sensor Canon cameras.
Ensure the lens matches your camera’s mount system and sensor size.
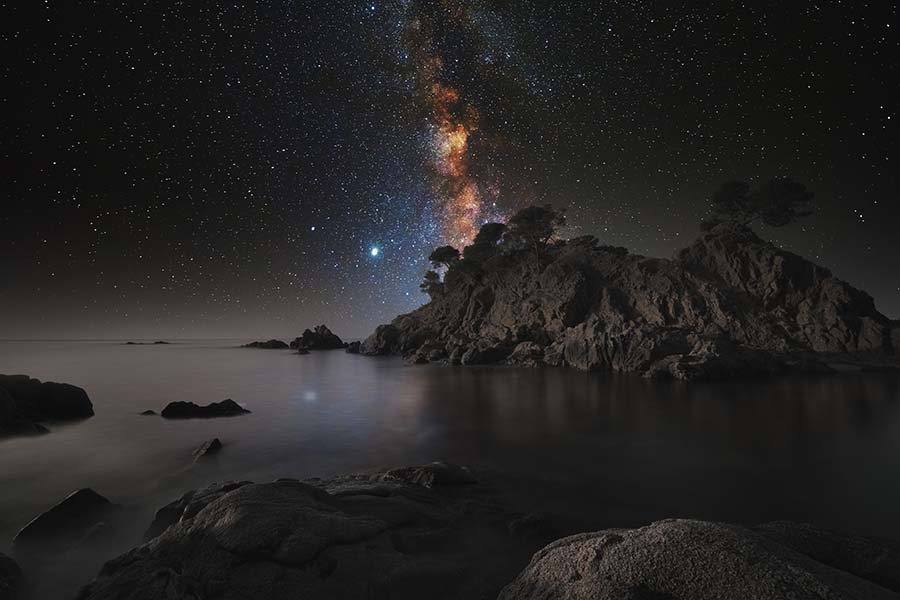
Tripod
A sturdy tripod is necessary for long exposure times. It stabilizes your camera, preventing blurry images. Ensure the tripod is robust enough to support your camera and lens combination.
Best Tripods for Milky Way Photography
A sturdy and stable tripod is crucial for long exposures. Here are some top options for various budgets and requirements:
- Manfrotto 055 Carbon Fiber 4-Section Tripod: This lightweight and sturdy tripod offers excellent stability for heavy camera setups, with a maximum height of 67 inches.
- Vanguard Alta Pro 2+ 263AB 100: Combining stability and versatility, this tripod features an aluminum build, a multi-angle center column, and a maximum height of 68.2 inches.
- Benro TMA28A Series 2 Mach3 Aluminum Tripod: This durable aluminum tripod offers stability and a maximum height of 63 inches, making it a reliable choice for astrophotography.
- MeFOTO GlobeTrotter Carbon Fiber Travel Tripod: Ideal for travelers, this compact and lightweight tripod provides stability and a maximum height of 64.2 inches.
Consider the maximum height, weight capacity, build material, and portability when selecting a tripod for your Milky Way photography adventures.
Remote Shutter Release
A remote shutter release is an essential accessory for Milky Way photography and other long-exposure photography types. This device allows you to trigger your camera’s shutter without physically touching it, helping to eliminate vibrations and camera shake that can cause blurry images.
There are two main types of remote shutter releases: wired and wireless. Both serve the same purpose, but each has its advantages and drawbacks.
Wired Remote Shutter Release
A wired remote shutter release connects directly to your camera through a dedicated port. These remotes usually have a cable that varies in length, depending on the model.
Advantages:
- Reliable connection
- No need for batteries or charging
- Typically less expensive
Disadvantages:
- Limited range due to the cable length
- Can get tangled or caught on objects
Wireless Remote Shutter Release
A wireless remote shutter release uses radio frequencies, infrared, or Bluetooth technology to communicate with your camera. These remotes typically require a receiver that attaches to your camera or relies on your camera’s built-in wireless capabilities.
Advantages:
- Greater range and flexibility in positioning
- No cables to manage or trip over
- Can control multiple cameras with a single remote (depending on the model)
Disadvantages:
- Requires batteries or charging
- May experience interference or signal loss
- Typically more expensive than wired remotes
When choosing a remote shutter release for Milky Way photography, consider factors such as compatibility with your camera, range, and ease of use. A remote shutter release helps you capture sharp images by reducing camera shake. It allows you to trigger your camera from a distance, providing more creative freedom and flexibility. Additionally, many remote shutter releases also feature functions such as intervalometers and timed exposures, which can be beneficial for creating time-lapses and other advanced techniques.
How to Plan Your Milky Way Photo Shoot
Planning is crucial for a successful Milky Way photography session. Follow these steps to prepare for your galactic adventure:
Determine the Milky Way’s position
Use astronomy apps like Stellarium or PhotoPills to identify when and where the Milky Way will be visible in the sky. The best time for Milky Way photography is during the galactic core’s visibility, which varies depending on your location and time of year.
Check the moon phase
Aim for a night with little moonlight, as the moon’s brightness can wash out the Milky Way. New moon or crescent moon phases are ideal for astrophotography.
Monitor the weather
Clear skies are essential for Milky Way photography. Check weather forecasts and satellite imagery to ensure cloud cover will not obstruct your view of the night sky.
Scout your location
Visit your chosen location during the daytime to familiarize yourself with the area, identify potential hazards, and plan your compositions. Look for interesting foreground subjects and consider how they will complement the Milky Way in your images.
Prepare your gear
Ensure your camera, lenses, tripod, and further equipment are in good working order. Charge your camera batteries, pack extra memory cards, and bring accessories like a remote shutter release or headlamp.
Dress appropriately
Depending on your location, nighttime temperatures can drop significantly. Dress in layers, wear warm clothing and bring any necessary items like gloves, a hat, and a thermal blanket to stay comfortable during your photography session.
Safety first
Always prioritize safety when venturing out at night. Inform someone about your plans and estimated return time. Carry a fully charged phone, a first-aid kit, and any necessary personal items. Consider bringing a GPS device or satellite communicator in remote areas in emergencies.
Be patient and adaptable
Milky Way photography requires patience and adaptability. Be prepared to spend several hours shooting and adjusting your settings. If conditions change or your initial plan does not work, be flexible and adjust your approach.
By carefully planning your Milky Way photo session and setting up your camera properly, you will be well-equipped to capture stunning images of our galaxy. Remember that practice, patience, and experimentation are key to success in this specialized area of photography.
Discover More
Setting Up Your Camera for Milky Way Photography
Preparing your camera is essential for capturing the Milky Way. Here are the key steps to setting up your camera for astro photography:
Manual mode
Switch your camera to manual mode (M on the mode dial), giving you full control over exposure settings such as shutter speed, aperture, and ISO.
Aperture
Use the widest aperture available on your lens, typically f/2.8 or lower. This allows your camera to collect as much light as possible, which is essential for capturing the faint details of the Milky Way.
Shutter speed
Determine the appropriate shutter speed using the 500 Rule, which helps prevent star trails. Divide 500 by your lens’s focal length to get the maximum exposure time in seconds. For example, with a 14mm lens, the exposure time would be 35 seconds (500/14 ≈ 35).
ISO
Set your ISO to a higher value, such as 1600 or 3200, to increase your camera’s sensitivity to light. Experiment with different ISO settings to find the best balance between brightness and noise. We will explain more about the ISO.
Focus
Autofocus struggles in low-light conditions, so switch to manual focus. Set your lens to infinity (∞) and refine the focus using live view. Zoom in on a bright star or distant light to ensure crisp focus.
White balance
Choose a custom white balance setting, typically between 3500K and 4500K, for accurate color representation. Alternatively, if shooting in RAW format, you can adjust the white balance during post-processing.
Shoot in RAW format
Set your camera to capture images in RAW format. This format retains more data and allows for greater flexibility during post-processing, enabling you to adjust to exposure, white balance, and other settings without losing image quality.
Disable image stabilization
If your camera or lens has built-in image stabilization, be sure to disable it when using a tripod. Image stabilization can introduce unwanted movement or vibrations, resulting in blurry images.
Use a remote shutter release
To minimize camera shake, utilize a remote shutter release or your camera’s built-in self-timer. This ensures that pressing the shutter button does not introduce vibrations, which could lead to blurry images.
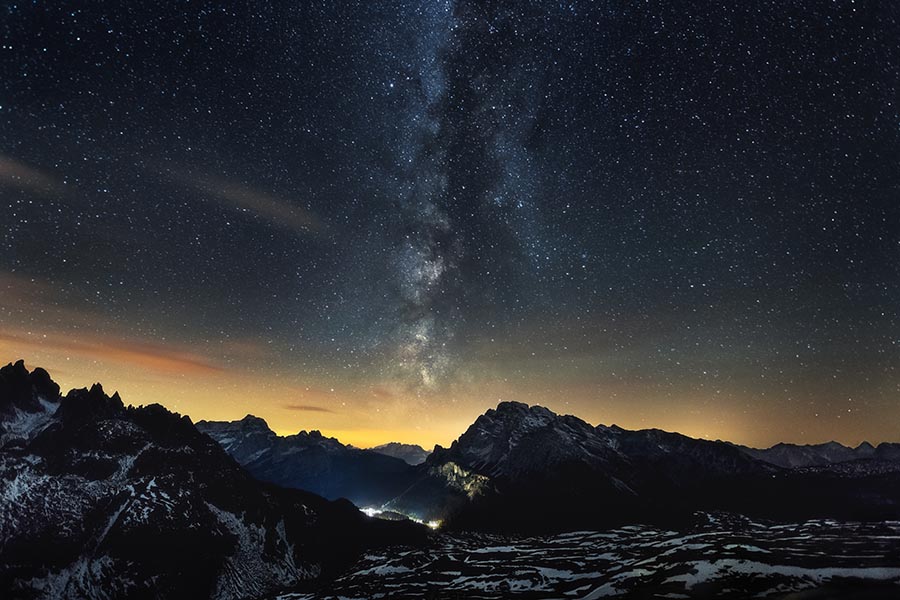
Composition Techniques for Milky Way Photography
Creating a visually appealing composition is crucial in Milky Way photography. Consider these techniques to enhance your images:
- Foreground interest: Including an interesting foreground subject (e.g., trees, rocks, or buildings) adds depth and context to your image. It anchors the viewer’s attention and creates a sense of scale.
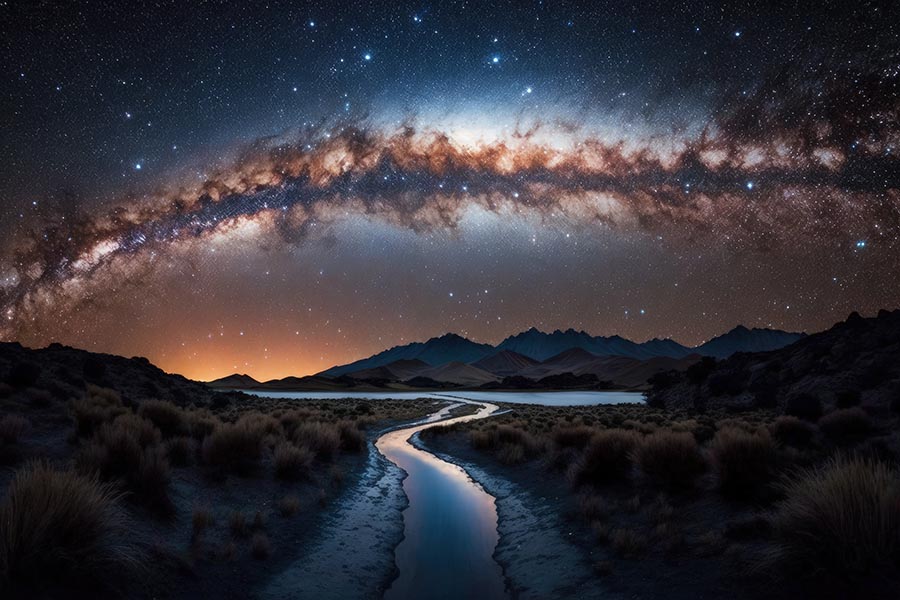
- Leading lines: Use natural or man-made lines to guide the viewer’s eye toward the Milky Way. Roads, fences, and rivers are examples of leading lines that can effectively draw attention to the galactic core.
- Reflections: Incorporate reflections from water sources like lakes, ponds, or even puddles to add a unique dimension to your photos. This technique can double the impact of the Milky Way and create a sense of symmetry.
- Rule of thirds: Position the Milky Way along the vertical or horizontal lines dividing the frame into thirds to create a balanced composition. Placing the galactic core at the intersection of these lines can make your image more dynamic and engaging.
- Experimentation: Try various angles, perspectives, and focal lengths to capture unique compositions. Creativity is essential in distinguishing your images from others.
Post-Processing Tips
Post-processing is a vital step in enhancing your Milky Way images. Use software like Adobe Lightroom or Photoshop to make the following adjustments:
- White balance and tint: Adjust the white balance and tint to achieve accurate and natural colors in your image. Capturing images in RAW format provides increased versatility when making adjustments during the post-processing stage.
- Exposure, highlights, and shadows: Fine-tune the exposure to optimize the image’s dynamic range. Increase or decrease the highlights and shadows to reveal more details in the brightest and darkest areas of the photo.
- Contrast: Increase the contrast to emphasize the Milky Way’s structure and make it stand out against the night sky. Be careful not to overdo it, as excessive contrast can introduce unwanted artifacts or noise.
- Clarity and vibrance: Boost clarity to enhance the galaxy’s details and textures and increase vibrance to bring out subtle colors. Avoid excessive adjustments, which can lead to unnatural or overly processed results.
- Noise reduction and sharpening: Reduce noise to minimize image noise, particularly in the shadows. Use sharpening to enhance the crispness of stars and foreground subjects. Balancing these adjustments is crucial to maintain image quality.
Post-processing can transform your galactic images from ordinary to extraordinary. By refining your compositions and mastering editing techniques, you can create stunning Milky Way photographs that showcase the beauty of the cosmos.
Light Pollution and Its Impact on Milky Way Photography
Light pollution is excessive and unnecessary artificial light that illuminates the night sky. The brightening of the sky is caused by streetlights, buildings, vehicles, and other artificial sources. These sources emit light upwards or sideways, scattering it in the atmosphere. Consequently, light pollution negatively impacts Milky Way photography by washing out the galaxy’s faint details, making it difficult or even impossible to capture in areas with high levels of light pollution.
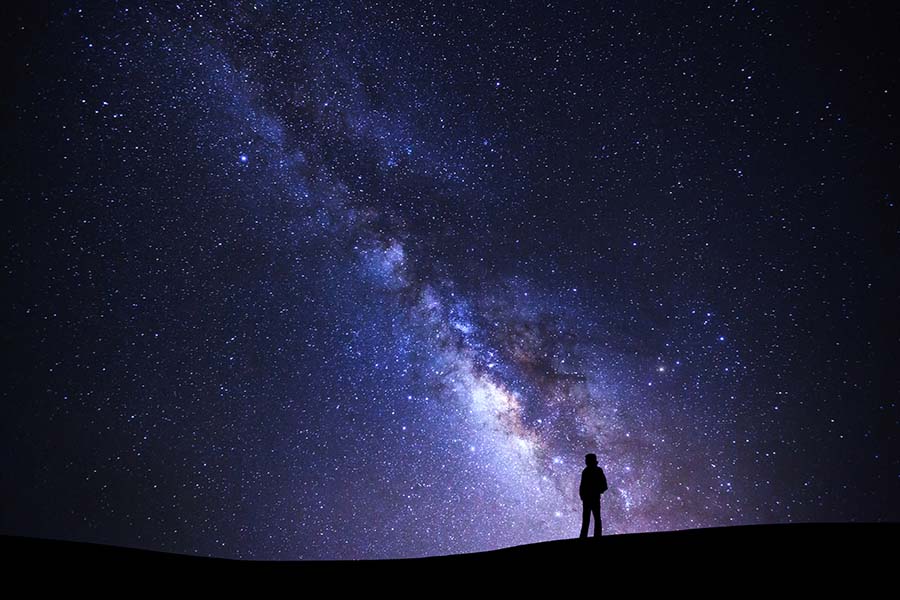
Finding a Place with Low Light Pollution
To successfully photograph the Milky Way, you must find a location with low light pollution. Here are some leads to help you locate the perfect spot:
- Get away from urban areas: As a general rule, the further you are from cities and towns, the darker the skies. Rural and remote areas typically have lower levels of light pollution, making them ideal for Milky Way photography.
- National parks and nature reserves: Protected natural areas like national parks, nature reserves, or designated dark sky parks often have strict lighting regulations, which help preserve the darkness of the night sky. These locations are excellent choices for astrophotography.
- Dark sky maps: Utilize online resources like Dark Site Finder or Light Pollution Map to find dark sky locations near you. These interactive maps display the levels of light pollution in different areas, allowing you to pinpoint suitable spots for your Milky Way photography session.
- Elevation: Higher altitudes can offer clearer and darker skies as you are further away from light sources, and there is less atmosphere to scatter light. If possible, consider heading to a mountain or elevated area for better Milky Way visibility.
- Local astronomy clubs: Connecting with local astronomy clubs or online forums can provide valuable insights into the best locations for Milky Way photography in your area. Experienced astrophotographers often share their favorite spots and can offer useful advice.
By finding a location with low light pollution, you will dramatically increase your chances of capturing the stunning beauty of the Milky Way. The darker the sky, the more vivid and detailed your galactic images will be.
What is the 500 rule in photography?
The 500 Rule is a guideline in astrophotography that helps prevent star trails in your images when using a tripod. The rule suggests dividing 500 by your lens’s focal length (in full-frame equivalent) to obtain the maximum exposure time in seconds. For example, with a 24mm lens, the exposure time would be approximately 20 seconds (500/24 ≈ 20). Following the 500 Rule ensures that your stars remain sharp and pinpoint rather than streaking across the image due to the Earth’s rotation.
What ISO do I need for Milky Way photography?
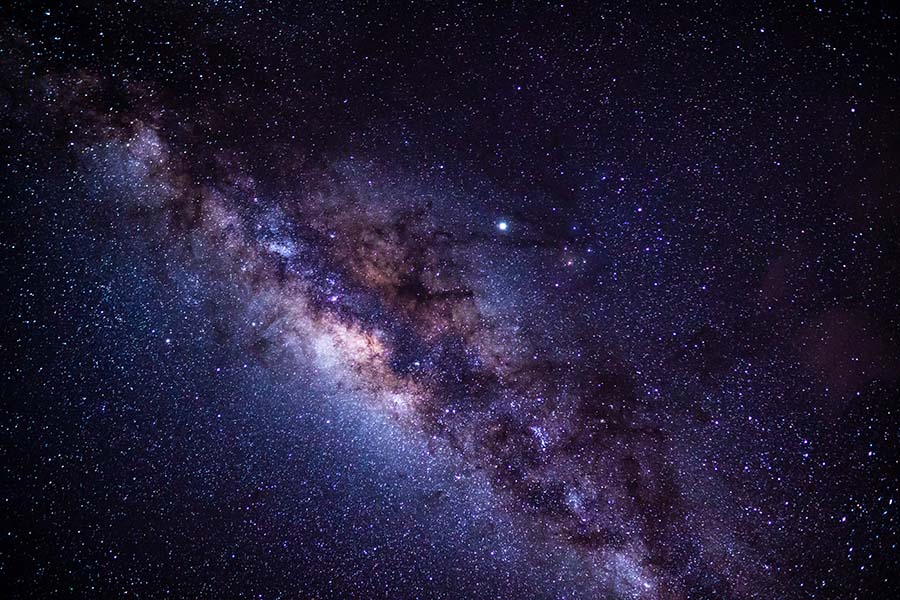
The optimal ISO for Milky Way photography depends on your camera’s capabilities and the surrounding conditions. Generally, you should use a higher ISO value, such as 1600, 3200, or even 6400, to increase your camera’s sensitivity to light and capture the faint details of the Milky Way. Each camera has its noise performance, so it’s essential to experiment with different ISO settings to find the best balance between brightness and noise for your specific gear.
Why can’t I photograph the Milky Way?
There could be several reasons why you’re struggling to photograph the Milky Way:
- Light pollution: If you’re in an area with high light pollution, the bright sky can wash out the Milky Way’s faint details, making it difficult to capture.
- Moon phase: A bright moon can also make it challenging to photograph the Milky Way. Aim to shoot during a new moon or crescent moon phase for the best results.
- Time of year: The Milky Way’s galactic core may not be visible during certain months or times of the night, depending on your location.
- Weather conditions: Cloudy or hazy skies can obstruct your view of the Milky Way.
- Camera settings: Incorrect camera settings, such as an inadequate aperture, shutter speed, or ISO, can prevent you from capturing the Milky Way effectively.
Addressing these factors can improve your chances of successfully photographing the Milky Way.
What is the best time of night to photograph the Milky Way?
The galactic core is most visible around the time of the new moon, as moonlight can wash out the Milky Way’s faint details. Generally, the darkest hours of the night, between astronomical twilight and just before dawn, provide the best opportunities for capturing the Milky Way.
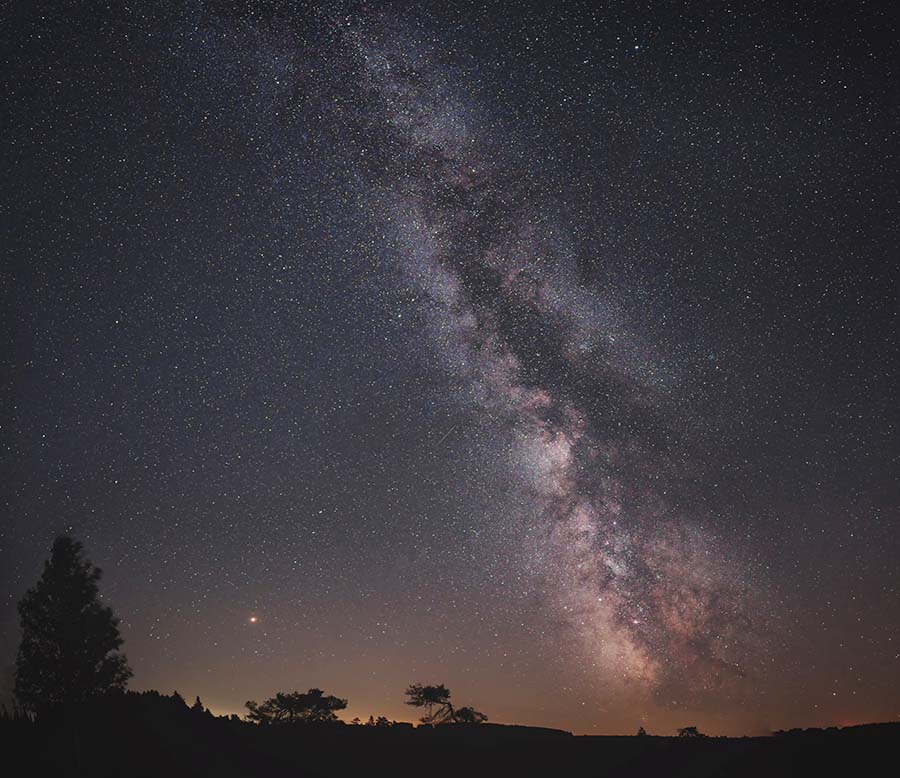
What time is the Milky Way most visible?
The visibility of the Milky Way depends on various factors such as your location, time of year, and the phase of the moon. The ideal months to capture the Milky Way in the Northern Hemisphere are typically between April and September. These months offer the best chance to observe the galactic core, which is the densest and most vibrant part of the Milky Way, in the night sky. The best time to capture the Milky Way is during the darkest hours of the night, between astronomical twilight and just before dawn. During this time, the sky is the least affected by sunlight, providing the best opportunities for photography.
The best time to photograph the galaxy is during a new moon or crescent moon phase, as the moon’s brightness can wash out the faint details of the Milky Way. Additionally, the moon’s phase plays a crucial role in the visibility of the Milky Way. To determine the optimal time for Milky Way visibility in your area, consult astronomy apps like Stellarium or PhotoPills, which provide detailed information about celestial events and the position of the Milky Way throughout the night.
Do I need a star tracker to photograph the Milky Way?
A star tracker is not a requirement for photographing the Milky Way. Star trackers move your camera in sync with the Earth’s rotation, allowing longer exposures without creating star trails. While they can benefit deep-sky astrophotography, where capturing faint celestial objects requires longer exposure, they are unnecessary for Milky Way photography.
FAQs
Although smartphones have improved significantly, they still struggle with low-light conditions. Dedicated camera apps and accessories like mini tripods may improve results, but DSLR or mirrorless cameras are recommended for optimal quality.
You can familiarize yourself with constellations, particularly Sagittarius and Scorpius, which point toward the galaxy’s core. Mobile apps like Star Walk or SkyView can also help locate the Milky Way.
Use Adobe Lightroom or Photoshop to adjust exposure, contrast, white balance, clarity, and vibrance. Noise reduction and sharpening can also enhance image quality. Also, you can use presets for your milky way shots.
You can use the 500 Rule to calculate the maximum shutter speed for your lens’s focal length. This guideline helps to avoid star trails due to the Earth’s rotation.


