Elevate Your Photography with Bokeh
As a photographer, I’ve always been captivated by the art of capturing life’s beauty in still frames, particularly the bokeh effect, which is the aesthetic quality of background blur. In this article, I’ll share my insights on bokeh, including the science behind it, how I achieve it, and its impact on my images. By understanding the principles and techniques associated with bokeh, you can elevate your photography skills and create visually stunning results.
What is Bokeh Effect?
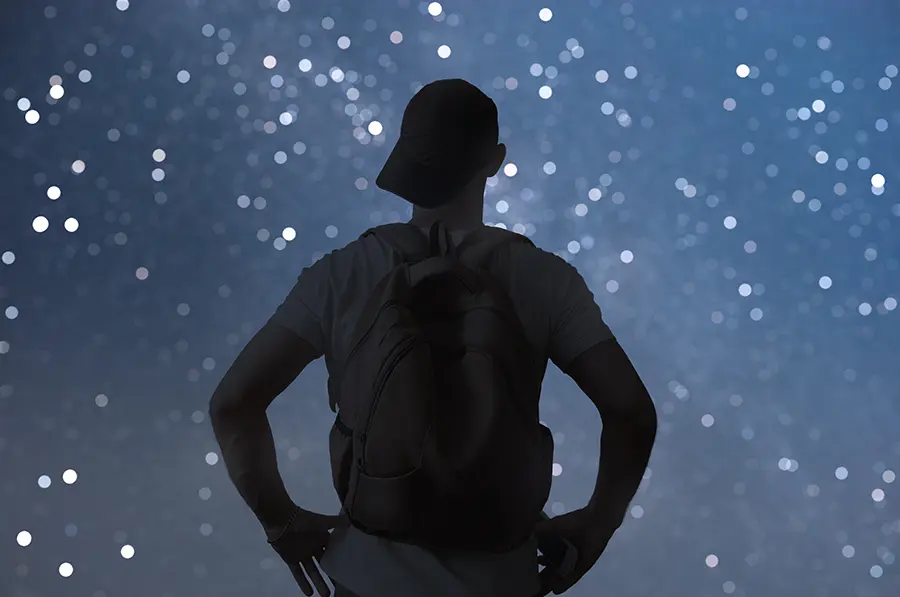
I first came across the term bokeh, derived from the Japanese word “boke,” meaning blur or haze. It refers to the out-of-focus areas in a photograph, characterized by the soft, smooth, and aesthetically pleasing transition of colors and light in the background. I quickly realized that bokeh was more than just a blur but also the quality and appearance of that blur. It can manifest as beautiful, dreamy circles of light or abstract shapes, adding depth and dimension to an image.
Which Lenses are the best for bokeh?
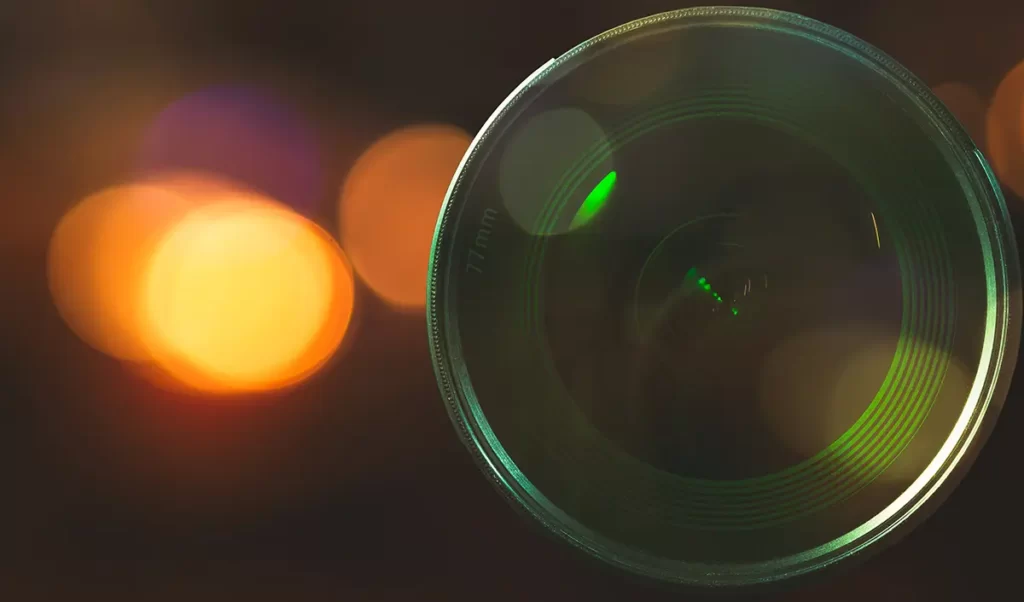
Certain lens features can contribute to creating beautiful bokeh effects. Some lens characteristics to consider when seeking lenses with exceptional bokeh include:
Large maximum aperture
Wide aperture lenses such as f/1.4, f/1.8, or f/2 create a shallower depth of field, leading to a more pronounced background blur in photographs. If you want to create bokeh in your photos, prime lenses with a fixed focal length are a great choice. These lenses typically have larger maximum apertures, making them ideal for capturing beautiful background blur.
Focal length
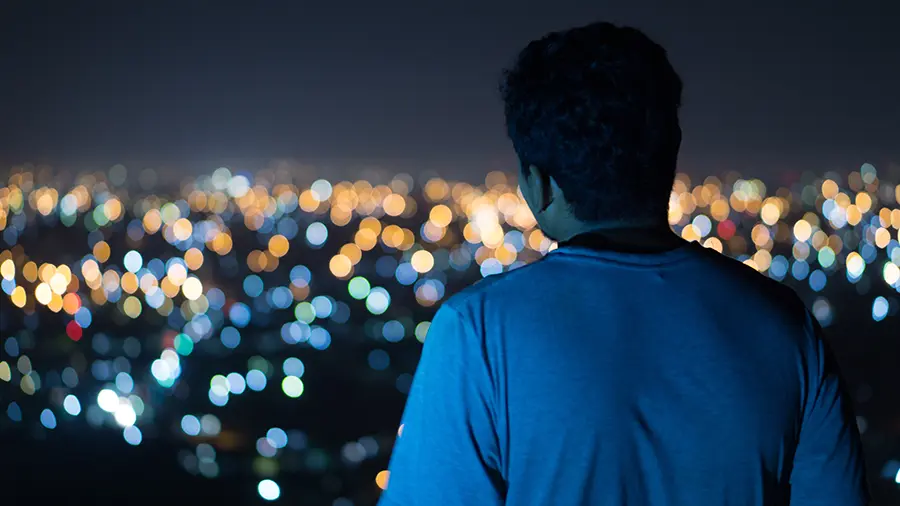
Longer focal lengths, like 85mm or 135mm, can produce a more pronounced bokeh effect by further compressing the background. These lenses are popular for portrait photography and can create stunning bokeh paired with a wide aperture.
Lens design and aperture blades
Lenses with more aperture blades and rounded blades generally produce smoother, more pleasing bokeh. The aperture blades’ shape can affect the shape and quality of the out-of-focus highlights in the image.
Some popular lenses known for their exceptional bokeh effects include:
- Canon EF 50mm f/1.2L USM
- Nikon AF-S NIKKOR 85mm f/1.4G
- Sigma 135mm f/1.8 DG HSM Art
- Sony FE 85mm f/1.4 GM
- Fujifilm XF 56mm f/1.2 R
Ultimately, the “best” lens for bokeh will depend on your specific needs, preferences, and the camera system you are using. Researching and testing various lenses is crucial to find the one that best suits your style and requirements.
Understand How Shutter Speed, Aperture, and Positioning Affect Bokeh
The aesthetic quality of the out-of-focus areas in a photograph can be influenced by various factors, including shutter speed, aperture, and positioning. Let’s explore how each of these elements can affect bokeh:
Shutter Speed
The length of time that the camera’s sensor is exposed to light is known as the shutter speed. While it doesn’t directly impact the bokeh itself, it plays a role in the overall exposure of the image. When shooting with a wide aperture to achieve bokeh, you often need to use a faster shutter speed to avoid overexposing the image. In certain situations, such as low light conditions, a slower shutter speed may be necessary to capture enough light, potentially leading to camera shake or subject movement, which can impact the subject’s sharpness. A tripod or image stabilization can help maintain the desired bokeh effect in such cases.
Aperture
Aperture has the most significant impact on bokeh among the three factors. The aperture affects the depth of field by controlling the amount of light that enters the camera lens. A wider aperture (lower f-number, such as f/1.4 or f/1.8) will create a shallower DOF, resulting in a more significant background blur and a more pronounced bokeh. The shape and quality of the aperture blades also influence the bokeh appearance, with more rounded blades producing smoother effects.


Positioning
The positioning of the subject, camera, and background plays a crucial role in creating bokeh. Here’s how:
- a. Subject-to-background distance: Increasing the distance between the subject and the background will result in a more pronounced bokeh effect, as the background elements will be more out of focus.
- b. Camera-to-subject distance: Positioning the camera closer to the subject while maintaining the subject-to-background distance will also create a more pronounced bokeh effect, further isolating the subject and enhancing the background blur.
- c. Focal length: A longer focal length (e.g., 85mm, 135mm) can compress the background, making the bokeh more pronounced. Longer focal lengths also create a shallower DOF, further enhancing the bokeh effect.
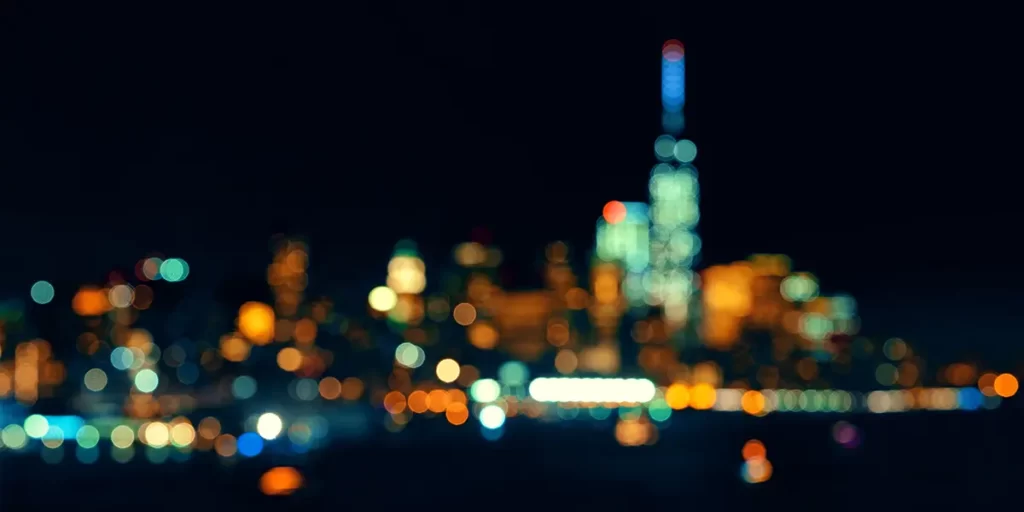
How to Create Incredible Bokeh Effects
Achieving stunning bokeh effects in photography can elevate the visual appeal of your images and add depth and dimension to your compositions. Here are some additional leads to help you achieve stunning bokeh effects:
Use a lens with a wide aperture
A wide aperture (low f-number) will create a shallow depth of field, resulting in a more pronounced background blur.
Choose the right lens
Prime lenses, especially those with wider maximum apertures, are ideal for achieving stunning bokeh effects. A 50mm, 85mm, or 135mm prime lens is perfect for portraits, while a 24mm or 35mm prime lens can be great for environmental or landscape shots.
Adjust the distance between the subject and background
Positioning the subject further from the background can create more separation and enhance the bokeh effect. This will also help to keep the background elements from competing with the subject.
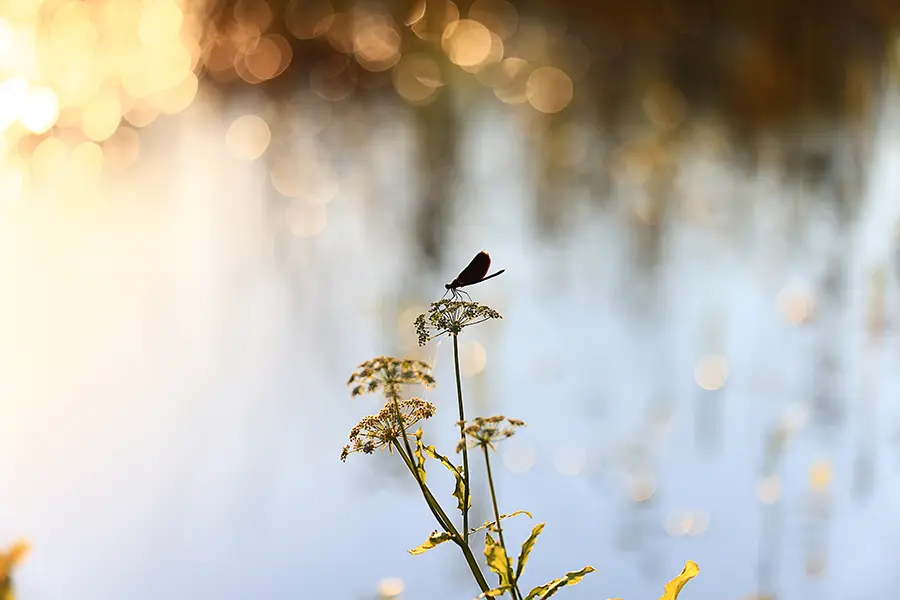
Use a longer focal length
A longer focal length lens can help create more pronounced bokeh effects by compressing the background and creating a shallower depth of field.
Utilize natural light
Look for natural light sources, such as sunlight filtering through trees or reflecting off the water, to create visually appealing bokeh shapes and add depth to your images.
Look for interesting background elements
Choosing a background with interesting textures, colors, or patterns can help create an engaging bokeh effect and complement the subject.
Experiment with custom bokeh shapes:
Custom bokeh shapes can be produced by using black paper or cardstock cutouts, adding a unique and creative touch to your images.
Practice and experiment
Achieving stunning bokeh effects takes practice and experimentation. Keep trying new things, experimenting with different settings, and refining your technique to find your unique style and capture captivating bokeh photos.
Following these tips and refining your technique over time, you can capture stunning bokeh effects that enhance your images and showcase your creative vision.
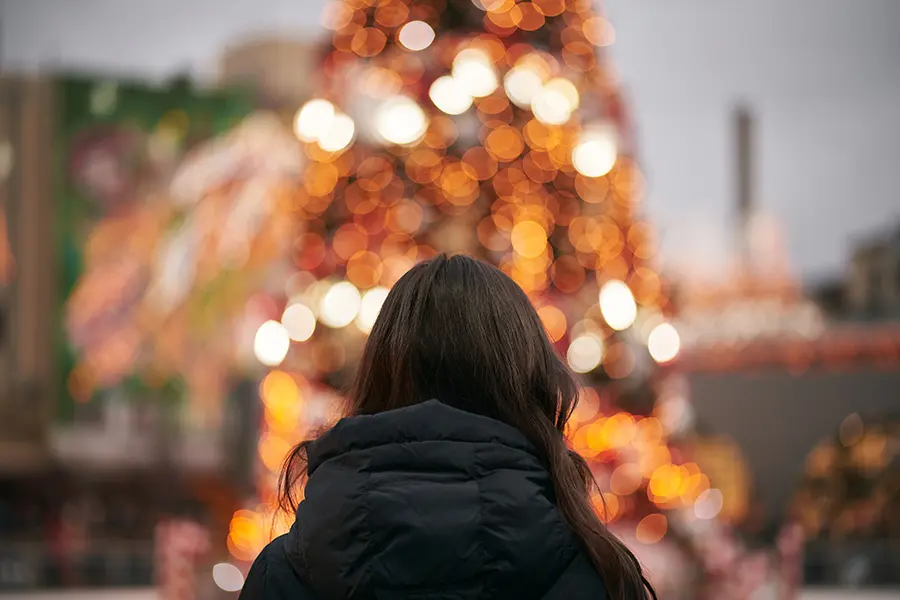
The Role of Bokeh in Visual Storytelling
Bokeh can play a crucial role in enhancing the visual narrative of a photograph. Photographers can harness their power to tell compelling stories by understanding their impact on images.
- Isolating the Subject: Bokeh can help draw attention to the main subject by clearly distinguishing between the subject and the background. This separation allows viewers to focus on the essential elements in the frame.
- Creating Mood and Atmosphere: Bokeh adds an ethereal, dreamy quality to photographs, setting the mood and evoking emotions. The soft, blurry background can create a sense of nostalgia, romance, or tranquility, depending on the context and the photographer’s vision.
- Adding Depth and Dimension: Bokeh adds depth to an image by creating a three-dimensional appearance. This visual depth can make the photograph more immersive and engaging, inviting viewers to explore the story within the frame.
- Enhancing Visual Aesthetics: Bokeh can elevate the overall visual appeal of an image. The abstract shapes and smooth transitions of colors and light can add an artistic touch, transforming a simple photograph into a captivating work of art.
Discover More
Bokeh Shapes
Bokeh shapes are formed by out-of-focus light sources or highlights in the background of an image. The aperture blades primarily influence the shape of these highlights in the lens. Most lenses have round aperture blades, resulting in circular bokeh shapes. However, lenses with a higher number of aperture blades or more rounded blades can create smoother, more pleasing bokeh shapes.

Custom bokeh shapes can also be created using a simple DIY technique. To achieve this, I cut out a shape (e.g., heart, star, or any other design) from a piece of black paper or cardstock, ensuring the shape’s size is smaller than the lens’s front element. Then, I attach the cut-out to the front of the lens using tape or a rubber band. When photographing with a wide aperture and out-of-focus light sources in the background, the light sources will take on the shape of the cut-out, creating a unique bokeh effect.
Bokeh Backgrounds
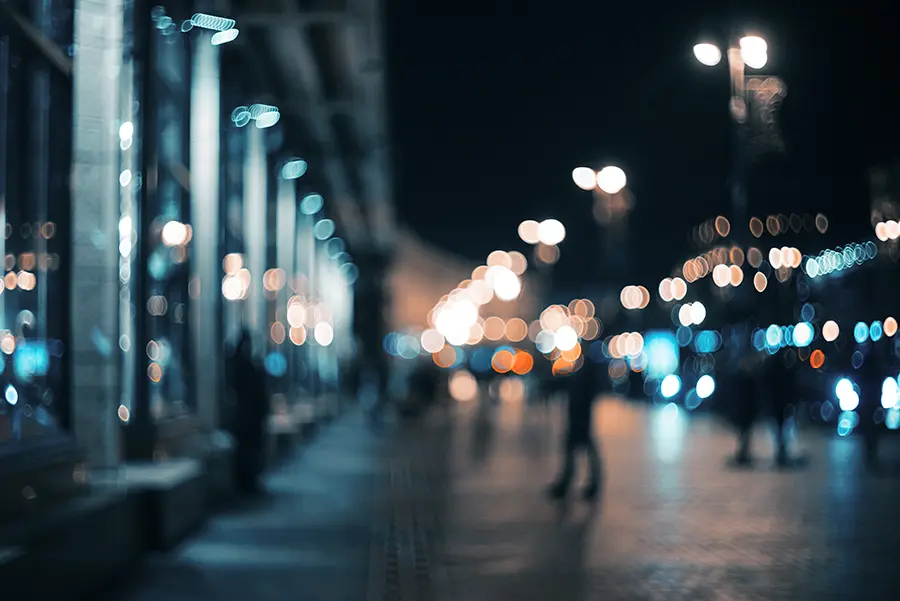
Bokeh backgrounds refer to the overall appearance and texture of the out-of-focus areas in a photograph. A well-executed bokeh background can create a smooth, creamy, and visually appealing backdrop that complements the subject and adds depth to the image.
The Pros and Cons of Bokeh
While bokeh can add visual interest and enhance storytelling, I’ve had to recognize its potential advantages and drawbacks.
Pros:
- Directs the viewer’s focus to the main subject
- Creates a sense of depth and dimension
- Evokes emotions and sets the mood
- Adds an artistic touch to photographs
Cons:
- It can be overused, resulting in clichéd or repetitive images.
- It may draw attention away from essential details in the background.
- Requires skill and practice to achieve desired results

How to Edit Photos for a better bokeh effect
While achieving bokeh in-camera is the ideal approach, you can still enhance or create bokeh effects in post-processing using photo editing software. Here are some steps to edit for better bokeh after the fact:
Select the right software
Choose a photo editing software that offers tools to create or enhance bokeh effects. Popular options include Adobe Photoshop, Adobe Lightroom, and Affinity Photo. Some smartphone apps, such as Snapseed or AfterFocus, also provide bokeh editing features.
Separate the subject from the background
To enhance or create a bokeh effect, you first need to isolate the subject from the background. In Adobe Photoshop, you can use the Quick Selection Tool, the Pen Tool, or the Select and Mask workspace to precisely select your subject.
Create a layer mask
Once your subject is selected, create a layer mask to separate the subject from the background. This step allows you to apply the bokeh effect only to the background, keeping the subject sharp and in focus.
Apply blur effects to the background
With the layer mask applied, you can now add a blur effect to simulate bokeh. In Photoshop, you can use the Gaussian Blur, Lens Blur, or Field Blur filters to achieve this effect. Adjust the blur settings to achieve the desired level of background blur. Remember to keep the effect subtle and natural-looking.
Enhance out-of-focus highlights
If your image has them in the background, you can enhance them to create a more pronounced bokeh effect. You can use the Brush Tool with a soft, round brush and a low-opacity setting to gently paint over the highlights, brightening them and increasing their size if needed.
Fine-tune the results
After applying the blur and enhancing the highlights, you may need to fine-tune the overall image to ensure a natural and seamless result. You can adjust the background’s brightness, contrast, and color balance to make it blend well with the subject.
Save your edited image
Once satisfied with the result, save your edited image in the desired format, such as JPEG or TIFF.
While editing for better bokeh after the fact can improve the appearance of the background blur, it’s essential to note that achieving bokeh in-camera often yields more authentic and visually pleasing results. As a photographer, it’s beneficial to learn the techniques to capture bokeh during the shooting process and use post-processing as a supplementary tool to enhance the effect when needed.
Conclusion
In conclusion, understanding and mastering the art of bokeh in photography has been an exciting and rewarding journey for me. Bokeh adds a captivating and artistic touch to images, highlighting the subject and adding depth to the composition. By experimenting with different lenses, apertures, focal lengths, and positioning, I’ve created stunning bokeh effects that elevate my visual storytelling. I hope the insights and tips I’ve shared will inspire you to explore the world of bokeh and add a new dimension to your photography.
FAQs
Bokeh and depth of field have distinct meanings in photography. Bokeh relates to the visual quality and appearance of the out-of-focus areas in a photograph, whereas the depth of field refers to the distance range where objects appear in focus and sharp.
Although achieving bokeh with a smartphone can be more challenging due to their smaller sensors and lenses, many smartphones now offer portrait or depth effect modes that simulate bokeh.
One option is a point-and-shoot camera with manual aperture control or a specialized lens attachment. Alternatively, some smartphone apps and editing software can simulate bokeh effects in post-processing.
Custom bokeh shapes can be created using DIY techniques, such as cutting out shapes from a black piece of paper and attaching it to the front of the lens. Some specialty lenses also produce unique bokeh shapes.


