
In the ever-evolving world of photography, capturing stunning images is an art and a skill that can take years to master. Aspiring photographers often find themselves on a journey of continuous learning, exploring new techniques, and developing their unique vision. This comprehensive guide will delve into the 18 golden rules of photography that can elevate your work to new heights and help you create captivating, visually appealing images.
Understanding these fundamental principles will provide a solid foundation for building your skills and creating your photographic style. From mastering the technical aspects of your camera to honing your creative instincts, this guide aims to provide you with the knowledge and inspiration needed to excel in photography. So, Whether you’re a novice starting to delve into the realm of photography or an accomplished enthusiast seeking to hone your skills, these golden rules can act as a valuable resource in your endeavor to become a proficient and self-assured photographer. Embrace the learning process, and let your passion for photography guide you as you discover new ways to capture and share the beauty of the world around you.
Table of contents
- 1. Understand the Exposure Triangle
- 2. Use the Rule of Thirds
- 3. Exploit Leading Lines
- 4. Play with Depth of Field
- 5. Manage White Balance
- 6. Shoot at Low ISO
- 7. Shoot in RAW
- 8. Choose the Right Time
- 9. Master Lighting Techniques
- Discover More
- 10. Get the Right Gear
- 11. Utilize Framing Techniques
- 12. Experiment with Angles
- 13. Capture Motion Creatively
- 14. Break the Rules
- 15. Plan Your Shoot
- 16. Tell a Story
- 17. Edit Photos Wisely
- 18. Keep Learning and Practicing
- End Note
- FAQs
1. Understand the Exposure Triangle
The exposure triangle is a vital principle in photography that enables you to regulate the quantity of light that reaches the camera sensor, ultimately influencing the visual outcome of the image. The three fundamental elements of the exposure triangle are:
- Aperture: The aperture is the size of the lens opening that controls the amount of light that enters the camera. A larger aperture (represented by smaller f-numbers, e.g., f/1.8) allows more light in, while a smaller aperture (represented by larger f-numbers, e.g., f/16) allows less light in. Aperture also affects the depth of field, with larger apertures creating a shallower depth of field and smaller apertures creating a deeper depth of field.
- Shutter Speed: The time the camera’s shutter remains open, allowing light to reach the sensor. Faster shutter speeds (e.g., 1/1000th of a second) freeze motion and minimize camera shake, while slower shutter speeds (e.g., 1/30th of a second or longer) can create motion blur or require a tripod to prevent camera shake.
- ISO: The sensitivity of the camera’s sensor to light. Lower ISO values (e.g., 100) result in cleaner, less noisy images, while higher ISO values (e.g., 1600) increase sensitivity and can capture images in lower light situations, but at the cost of increased noise.
Balancing these three elements allows you to achieve the desired exposure, motion capture, and depth of field for your images.
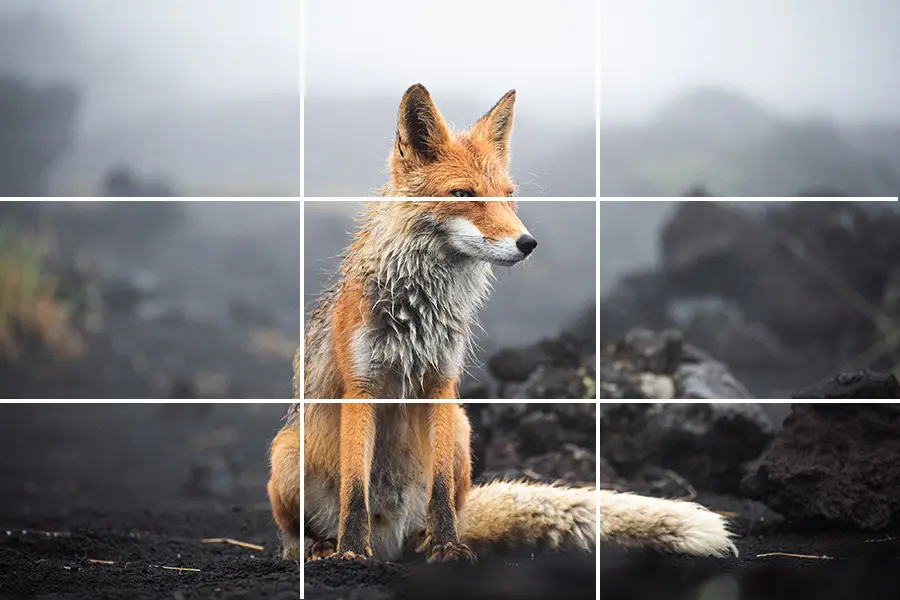
2. Use the Rule of Thirds
The rule of thirds is a principle of composition that assists in generating visually pleasing and balanced images. To implement the rule of thirds, a grid is created by dividing the frame into nine equal sections using two equally spaced horizontal and vertical lines. This grid can be used as a guide to compose the image. Placing your subject or key elements along these lines or at their intersections, known as “power points,” can make your images more dynamic and engaging.
This rule is not absolute, and there are times when breaking it can lead to more interesting compositions. However, it is a useful starting point for photographers looking to improve their compositional skills.
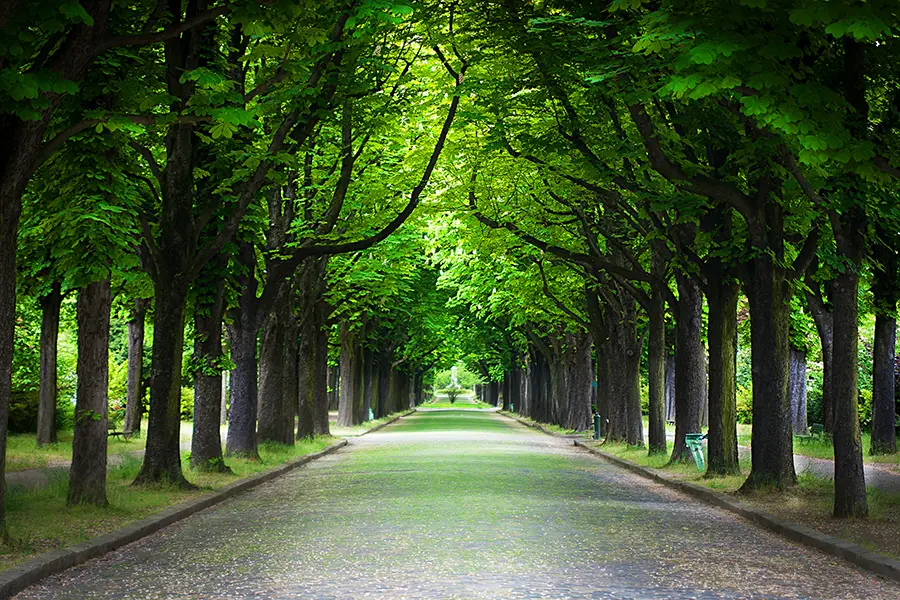
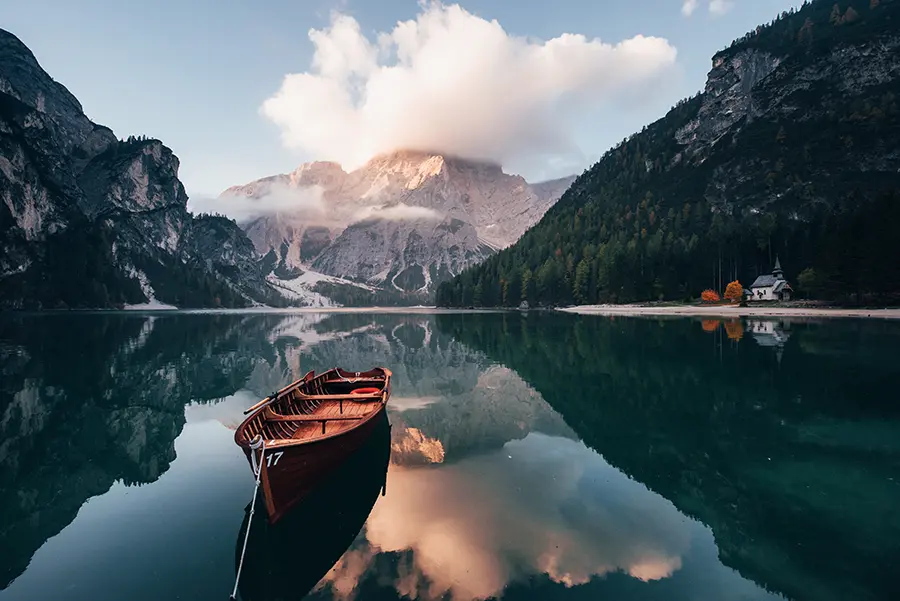
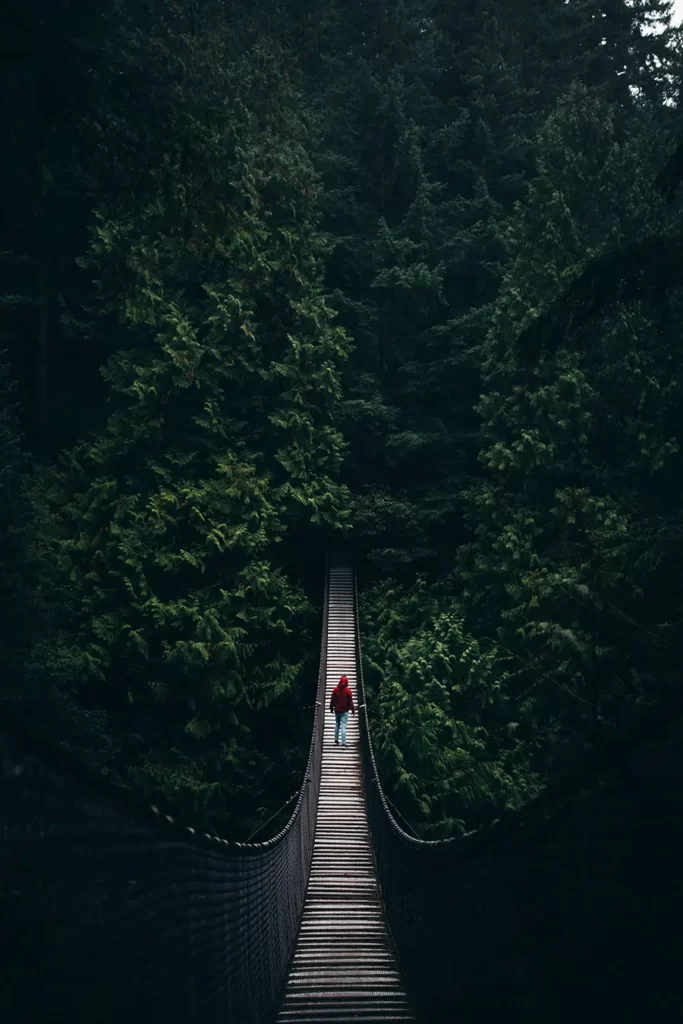
3. Exploit Leading Lines
Leading lines are a powerful compositional tool that can guide a viewer’s eye through an image and draw attention to the main subject or a specific area of interest. They can be natural, like rivers, roads, and the horizon, or man-made, such as fences, buildings, or bridges. Incorporating leading lines in your images can create a sense of depth, perspective, and movement.
To effectively use leading lines, identify elements within your scene that can act as lines and consider how they can direct the viewer’s gaze. Be mindful of how these lines interact with your subject and other compositional elements to create a harmonious and engaging image.

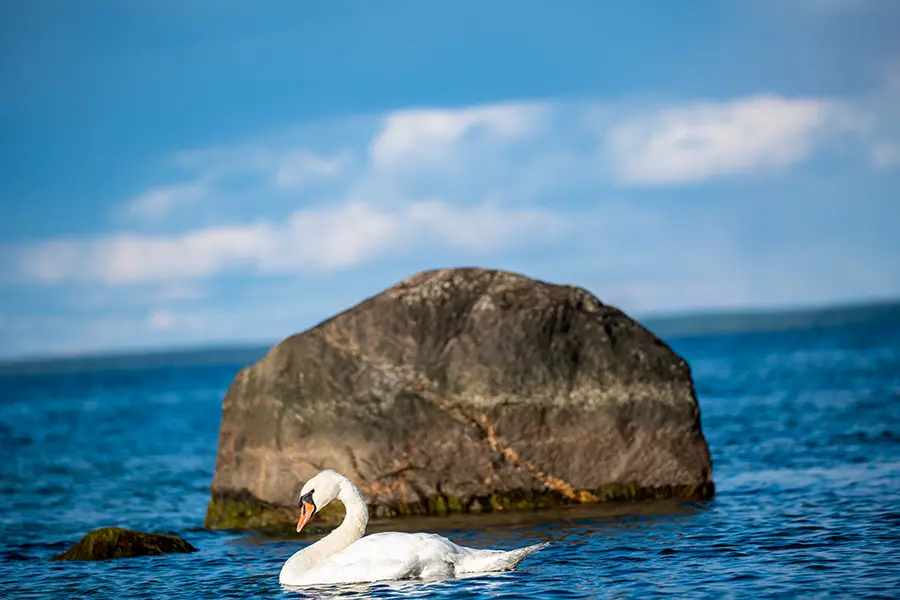
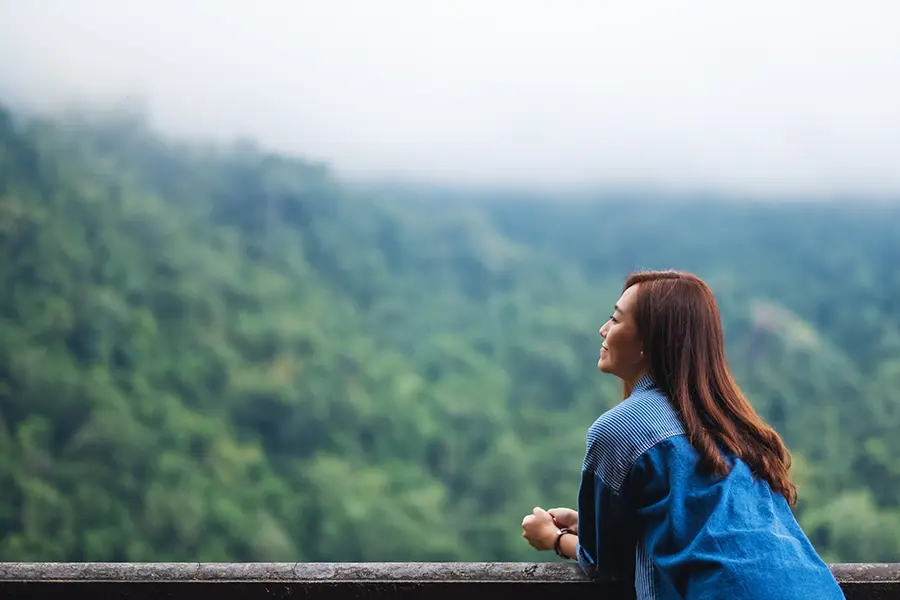
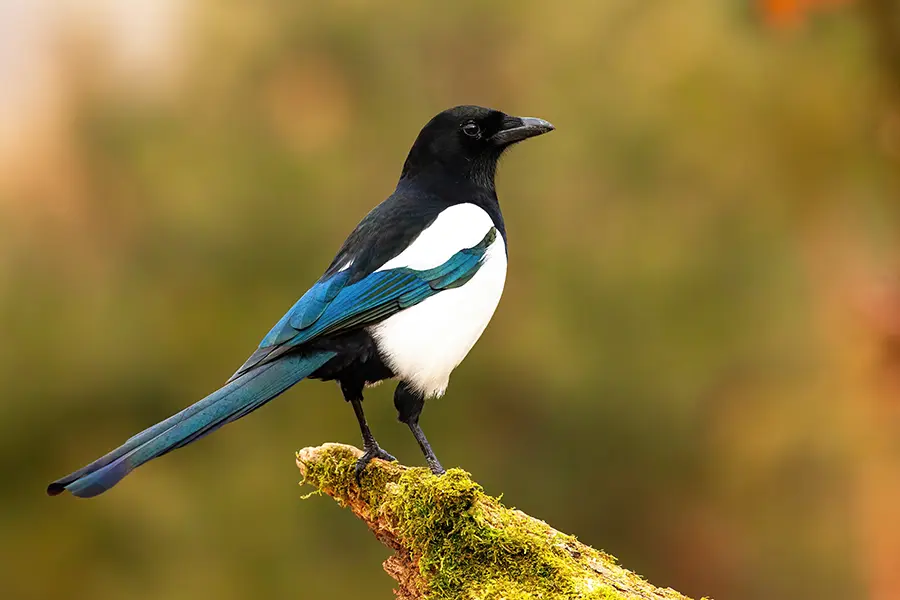
4. Play with Depth of Field
Depth of field (DOF) refers to the area of the image that appears acceptably sharp and in focus. Manipulating DOF can help you draw attention to your subject and create a sense of depth and dimension in your images. Three main factors affect DOF:
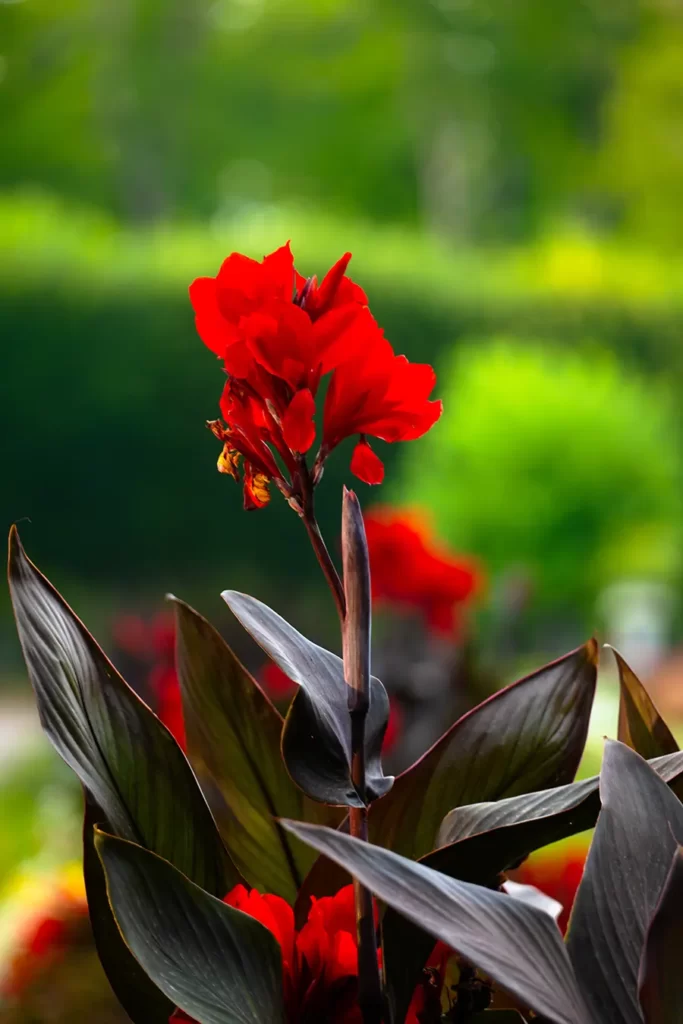
- Aperture: Larger apertures (e.g., f/1.8) produce a shallower DOF, while smaller apertures (e.g., f/16) produce a deeper DOF. Adjusting the aperture allows you to control how much of your image appears in focus and isolate your subject from the background or foreground.
- Focal Length: The depth of field (DOF) is also influenced by the focal length of the lens. Longer focal lengths (e.g., 200mm) tend to create a shallower DOF, while shorter focal lengths (e.g., 24mm) produce a deeper DOF. Choosing the appropriate focal length for your subject and desired effect is crucial for achieving the desired DOF.
- Distance from Subject: The distance between the camera and the subject also influences DOF. The depth of field (DOF) is affected by the distance between the subject and the camera. Specifically, as you move closer to the subject, the DOF becomes shallower. Conversely, as you increase the distance between the subject and the camera, the DOF becomes deeper.
By understanding and manipulating these factors, you can create images with a shallow DOF that isolates your subject from the background or foreground or images with a deep DOF that keeps everything in focus, depending on your creative intent.
5. Manage White Balance
White balance (WB) is a camera setting that adjusts the colors in your image to appear natural and accurate under different lighting conditions. Different light sources, such as sunlight, incandescent bulbs, or fluorescent lights, emit light at various color temperatures, which can cause color shifts in your images.
Adjusting the WB settings in your camera can correct these color casts, ensuring that whites appear white and other colors are rendered accurately. Most cameras offer several WB presets, such as daylight, shade, tungsten, or fluorescent, and an auto WB mode that attempts to determine the correct setting based on the scene. Additionally, you can manually set the WB using a Kelvin temperature scale or by using a gray card.
6. Shoot at Low ISO
ISO is a camera setting that controls the camera sensor’s sensitivity to light. To maintain the highest image quality, it’s generally best to shoot at the lowest ISO setting to achieve the desired exposure. In bright conditions, you can use lower ISO settings, while in low-light situations, you may need to increase the ISO to capture a properly exposed image. However, be mindful of the trade-off between ISO and image quality, and try to keep ISO as low as possible to minimize noise. Lower ISO values (e.g., 100 or 200) produce cleaner, less noisy images, while higher ISO values (e.g., 800, 1600, or higher) can result in grainy, noisy photos.
7. Shoot in RAW
Shooting in RAW format lets you capture the maximum amount of information from the camera sensor. RAW files are uncompressed and unprocessed and contain more color and dynamic range data than JPEGs. This gives you greater flexibility during post-processing, allowing you to adjust to exposure, white balance, and other settings without degrading the image quality. Most professional photographers prefer shooting in RAW for the control and creative freedom it provides.
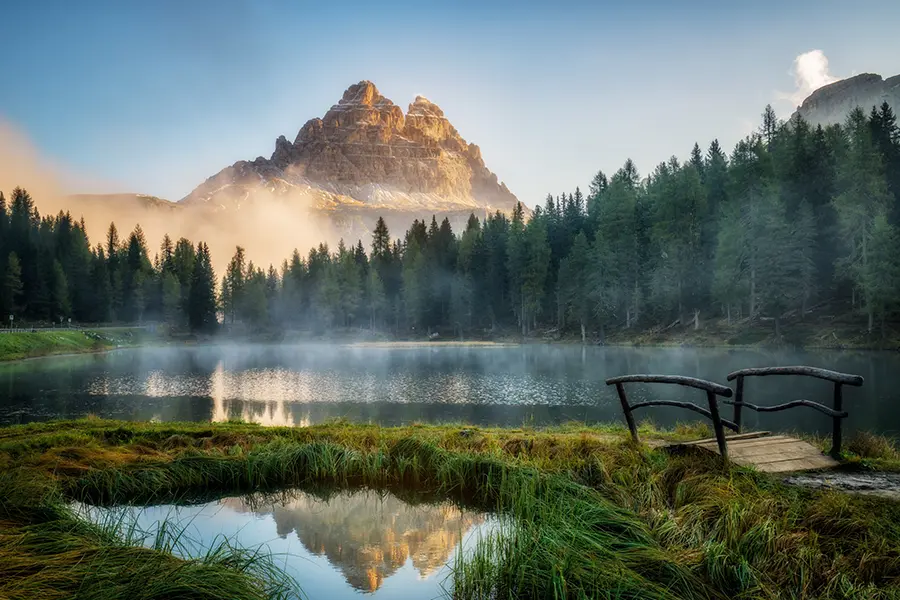
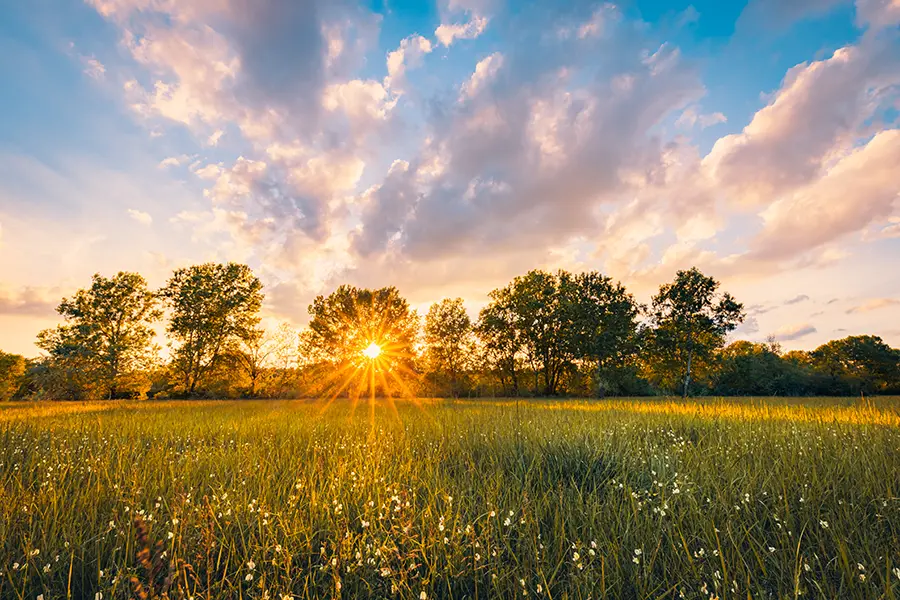
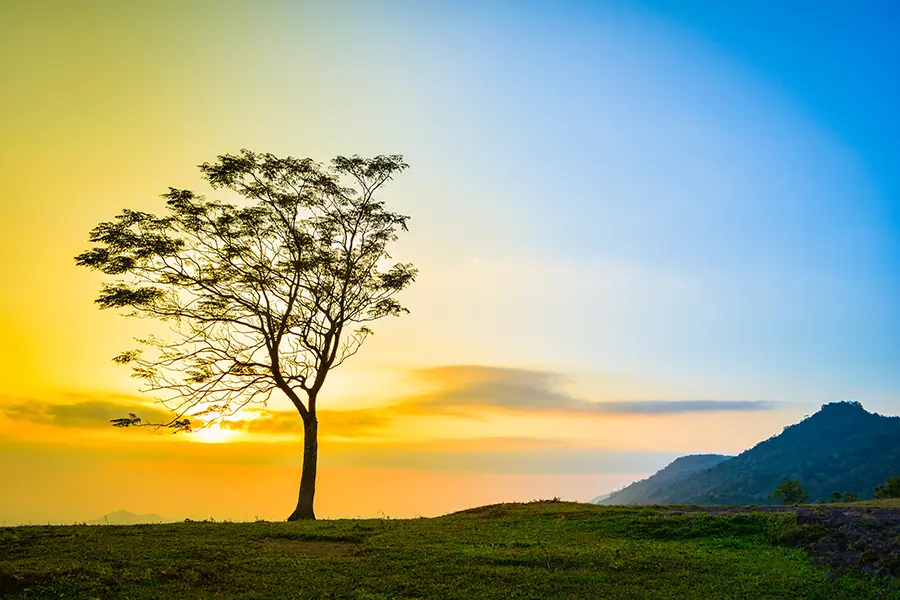
8. Choose the Right Time
The time of day can significantly impact the quality of light and the mood of your photos. The golden hour, which occurs shortly after sunrise and before sunset, provides soft, warm, and diffused light that is ideal for many types of photography, including portraits, landscapes, and cityscapes. During this time, the sun is low in the sky, creating long shadows and adding depth and dimension to your images.
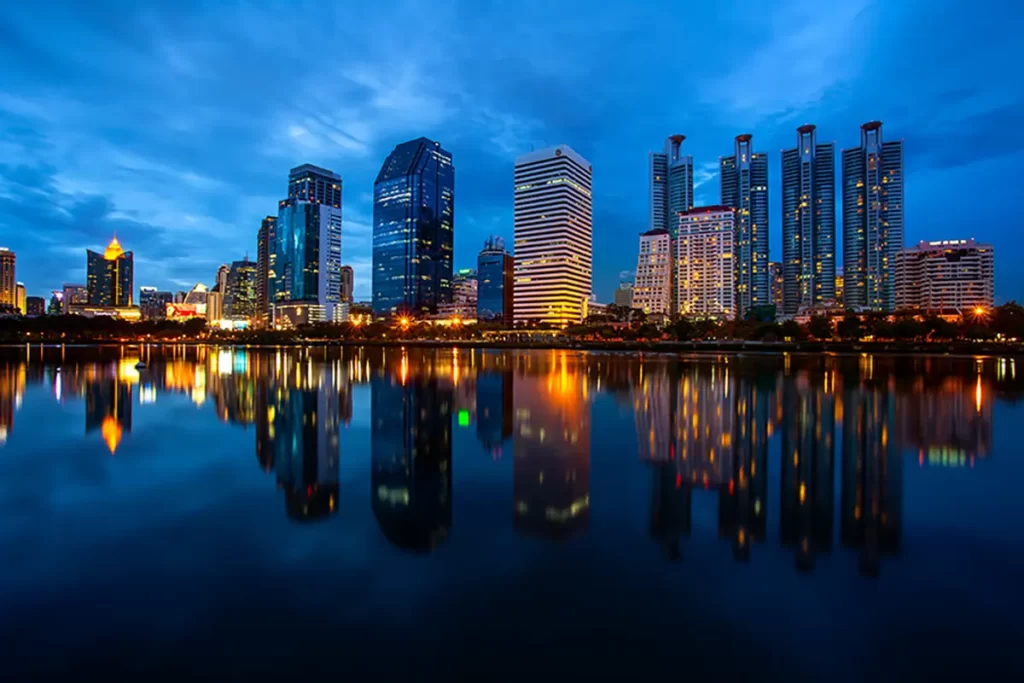
Conversely, the blue hour, which occurs just before sunrise and after sunset, offers a cool, blue-toned light that can create a serene and calming atmosphere. This time captures cityscapes, nightscapes, and other low-light scenes.
Midday light can be harsh, with strong shadows and high contrast, making it less desirable for many types of photography. However, you can still create compelling images by seeking out shade, using reflectors or diffusers, or employing other techniques to manage challenging lighting conditions.
Choosing the right time to shoot can significantly enhance the quality of your images and help you achieve the desired mood and atmosphere.
9. Master Lighting Techniques
Lighting is a crucial aspect of photography that can dramatically affect your images’ quality, mood, and atmosphere. Learning to control and manipulate natural or artificial light is essential for creating visually appealing photos.
- Natural Light: Sunlight is photographers’ most common and versatile light source. By understanding the characteristics of natural light at different times of the day, you can harness its potential to create a variety of effects, such as soft, warm light during the golden hour or cool, blue-toned light during the blue hour.
- Artificial Light: Studio lights, flash units, and other artificial light sources can provide consistent and controllable illumination for your photos. By using modifiers such as softboxes, umbrellas, and reflectors, you can shape and diffuse the light to create the desired effect.
- Flash: On-camera and off-camera flashes offer additional lighting options, allowing you to control the direction, intensity, and quality of light in your scene. Learning to balance flash with ambient light can help you achieve natural-looking, well-lit images, even in challenging lighting conditions.
Discover More
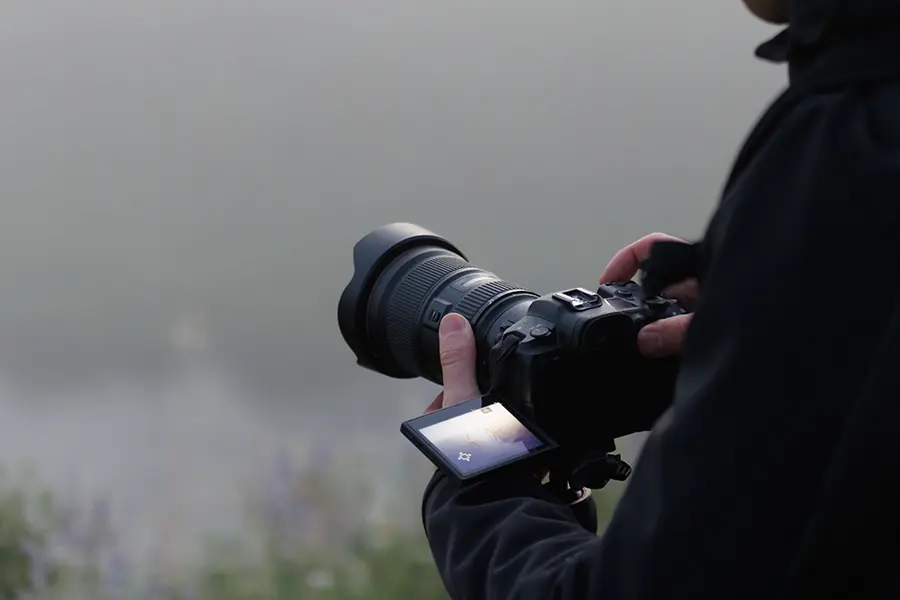
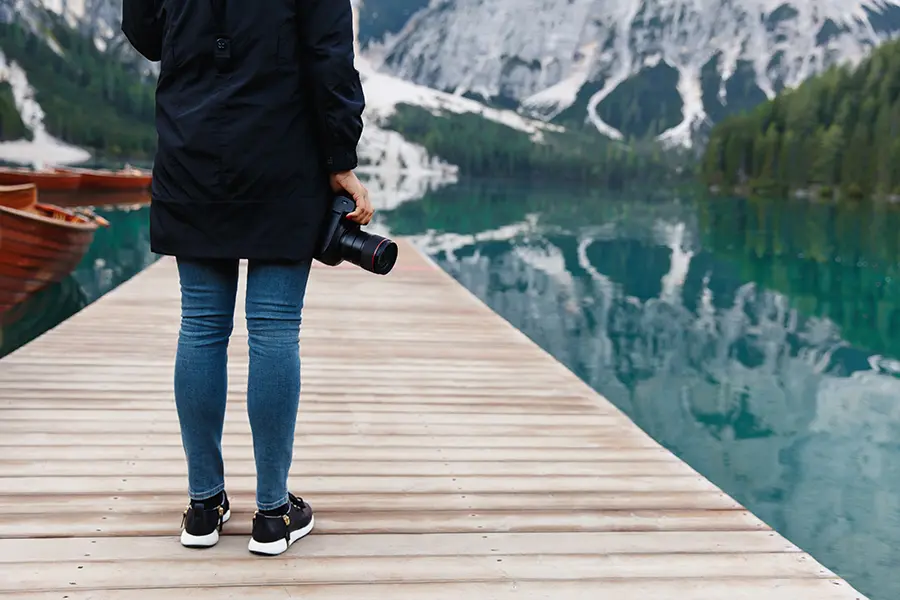
10. Get the Right Gear
Choosing the right gear is one of the most essential rules for photography. The right equipment can significantly impact the quality of your images and help you achieve your creative vision. While it is important not to rely solely on the gear, investing in quality equipment can enhance your photography and provide new opportunities for creative exploration. Some key pieces of gear to consider include:
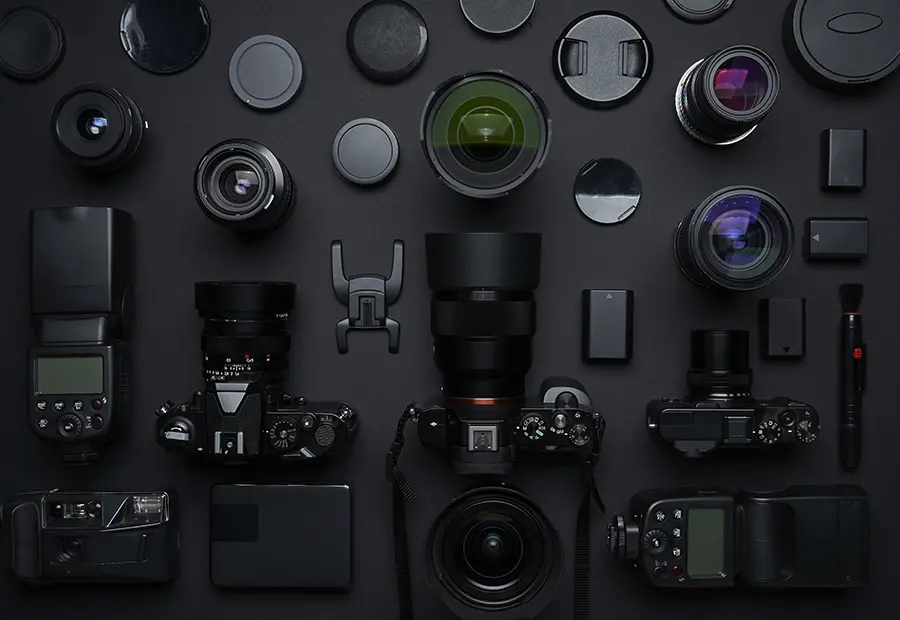
- Camera: Choose a camera that suits your needs and budget, whether a DSLR, mirrorless or even a high-end smartphone. Consider factors such as sensor size, resolution, autofocus capabilities, and low-light performance when deciding.
- Lenses: Select lenses based on your preferred subjects and style. Prime lenses offer excellent image quality, while zoom lenses provide versatility. Wide-angle lenses are suitable for landscapes and interiors, while telephoto lenses are perfect for wildlife and sports.
- Tripod: A sturdy tripod is essential for taking sharp photos in low-light conditions, long exposures, and when using telephoto lenses. Look for a tripod that is durable, lightweight, and easy to set up and adjust for your specific needs.
- Filters: Filters can help you control light, reduce glare, and enhance colors in your images. Some common filters include polarizing filters, neutral density filters, and graduated neutral density filters. Choose high-quality filters to avoid degrading the image quality.
- Accessories: Incorporating supplementary equipment such as additional batteries, memory cards, a camera strap, and a comfortable camera bag can enhance the enjoyment and efficiency of your photography experience.
Investing in quality gear tailored to your preferences and needs can help you achieve your creative goals and make your photography journey more enjoyable.
11. Utilize Framing Techniques
Framing is a compositional technique that involves using elements within your scene to create a visual frame around your subject. This can draw attention to your subject and add depth, context, and interest to your images. Framing elements can be natural, like trees or archways, or artificial, like windows or doorways, to create visually engaging compositions.
To effectively use framing, look for elements within your environment that can act as a frame and consider how they can accentuate your subject. Be mindful of the balance between the framing elements and your subject, ensuring that the frame complements rather than distracts from the main focus.
12. Experiment with Angles
Changing your perspective can dramatically alter the appearance of your subject and the overall image. Experiment with various shooting angles, such as low, high, or eye level, to discover unique and interesting compositions. Don’t be afraid to move around and try unconventional viewpoints for a fresh take on your subject.
Experimenting with angles can create a sense of depth, reveal hidden details, or emphasize the size and scale of your subject. Furthermore, you can find the most compelling and visually appealing way to capture your scene by considering different angles and perspectives.
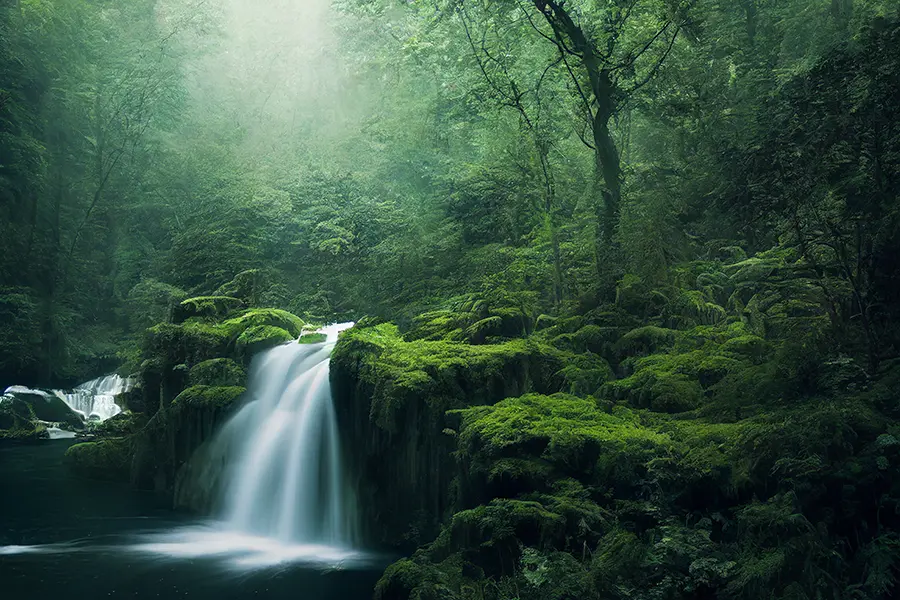
13. Capture Motion Creatively
Incorporating motion in your images can add energy, dynamism, and a sense of time. You can freeze motion with a fast shutter speed or blur it with a slower one, depending on the desired effect. Experiment with panning, zooming, and long exposure techniques to create captivating motion-filled images.
- Panning: Panning involves moving your camera horizontally, following a moving subject, while using a slower shutter speed. This technique can create a sharp subject against a blurred background, emphasizing the sense of movement and speed.
- Zooming: By adjusting the focal length during a long exposure, you can create a dynamic zoom effect that appears as if the subject is moving towards or away from the camera.
- Long Exposures: Using a slow shutter speed to capture movement over time, such as flowing water or moving clouds, can create a sense of motion and the passage of time in your images.

14. Break the Rules
While it’s essential to understand the fundamental principles of photography, sometimes breaking the rules can lead to unique and captivating images. Once you have a solid grasp of the basics, don’t be afraid to step outside the boundaries and experiment with new techniques and styles.
- Rule of Thirds: Despite the rule of thirds being a popularly accepted compositional principle, there are instances where situating the subject at the center of the frame or disregarding the gridlines can result in a more captivating image.
- Exposure Rules: Overexposing or underexposing an image intentionally can produce intriguing results, such as high-key or low-key photos, that add mood and atmosphere to your work.
- Focus: Deliberately using a shallow depth of field or selective focus can help draw attention to specific elements in the scene, creating images that evoke curiosity and mystery.
Breaking the rules encourages creativity, allowing you to develop your unique style and push the boundaries of your photography. Always remember there is no right or wrong approach, and experimentation is key to discovering new ways to express your vision.
15. Plan Your Shoot
Taking the time to plan your shoot can significantly improve the quality of your images and help you achieve your creative goals. Careful planning ensures that you’re prepared to capture the best possible photos under the given conditions and makes the entire process more enjoyable and efficient.
- Scout Locations: Research potential shooting locations and visit them in advance to assess lighting conditions, identify exciting subjects, and determine the best vantage points.
- Check Weather and Lighting: Be aware of the weather forecast and the position of the sun or other light sources to plan the optimal time for your shoot.
- Create a Shot List: Prepare a list of the specific images you want to capture, detailing the subject, composition, lighting, and any other relevant factors. By having these additional accessories, you can stay organized and focused throughout your photo shoot.
- Gather Necessary Equipment: Based on your shot list and location, ensure you have all the required gear, including lenses, filters, a tripod, and extra batteries.
Planning your shoot is essential because it reduces the chances of unexpected surprises. Additionally, it allows you to focus on capturing the best possible images while also making the most of your time on location.
16. Tell a Story
A compelling photograph can tell a story, evoke emotions, and deeply connect with viewers. To create images that tell a story, consider the following elements:
- Subject Matter: Choose subjects that are meaningful, relatable, or thought-provoking to engage your audience and encourage them to interpret the narrative behind the image.
- Composition: Carefully compose your images to emphasize the essential elements, create visual tension, and guide the viewer’s eye through the scene.
- Lighting: Utilize lighting to enhance the mood, atmosphere, and emotional impact of your photos. Different types of light can create a sense of drama, mystery, or tranquility that contributes to the overall narrative.
- Color and Contrast: Use color and contrast to convey emotions and create visual interest, helping to strengthen the story you’re trying to tell.
- Context: Provide context within your images by including relevant background elements or details that give viewers a sense of place and time, adding depth to your story.
- Sequence: Present your images in a series or sequence to create a visual narrative that unfolds over time, allowing viewers to follow the progression of your story.
By focusing on storytelling in your photography, you can create images that resonate with your audience and leave a lasting impression. Furthermore, developing your storytelling skills will elevate your photography and deepen your connection with your subjects and viewers.
17. Edit Photos Wisely
Post-processing is an essential part of the image-making process. Use editing software like Adobe Lightroom or Photoshop to enhance colors, contrast, sharpness, and more. Remember to be subtle with your edits and maintain a natural look, avoiding over-processed or unrealistic images.
When editing your photos, focus on adjustments that enhance the overall image quality and emphasize the subject without altering the scene’s authenticity. Some common editing tasks include cropping, straightening, adjusting exposure, and tweaking white balance. Additionally, you can apply local adjustments, such as dodging and burning, to selectively lighten or darken areas of your image.
By carefully and thoughtfully editing your photos, you can bring out the best in your images. Moreover, this allows you to create a polished, professional look that effectively showcases your vision and skills.
18. Keep Learning and Practicing
Photography, like any art form, requires practice and dedication to master. The more you shoot, the more you’ll develop your skills and refine your style. Make a habit of taking your camera with you and capturing images regularly, even when inspiration seems lacking.
- Set Goals: Establish specific goals for your photography, such as mastering a particular technique or shooting a specific subject. Clear objectives can enhance your focus and motivation toward achieving improvement.
- Experiment: Be bold in attempting new techniques, subjects, or styles, as experimentation may lead to unexpected discoveries and creative breakthroughs.
- Reflect on Your Progress: Review your images to assess your growth and identify improvement areas. This can help you stay motivated and aware of your progress as you continue your photography journey.
To become a proficient photographer, dedication and consistent practice are crucial. Additionally, embracing the learning process and enjoying the journey as you develop your unique photographic voice is essential.

End Note
To sum up, achieving mastery in photography necessitates a combination of dedication, passion, and an ongoing thirst for learning and personal growth. Following the 18 photography golden rules outlined in this guide, you can develop your skills, find your unique style, and create captivating images that resonate with your audience. Remember to practice regularly, embrace experimentation, and seek inspiration from the world around you. As you continue your photography journey, these principles will serve as a solid foundation for your growth and help you unlock your full potential as a visual storyteller.
FAQs
The golden hour is a time just after sunrise and before sunset when the sun’s low position in the sky creates a warm, soft, and diffused light. This light is highly desirable for many types of photography, including portraits, landscapes, and cityscapes, as it creates long shadows and adds depth and dimension to images.
The rule of thirds is a composition principle that involves dividing the image frame into nine equal parts through two equally spaced horizontal and vertical lines. Placing your subject or vital elements along these lines or at their intersections, known as “power points,” can make your images more dynamic and engaging.
Depth of field (DOF) refers to the area of the image that appears acceptably sharp and in focus. Factors that affect DOF include aperture, focal length, and distance from the subject. Manipulating DOF can help you draw attention to your subject and create a sense of depth and dimension in your images.
White balance (WB) is a camera setting that adjusts the colors in your image to appear natural and accurate under different lighting conditions. Changing the WB settings can correct color casts caused by various light sources, ensuring that whites appear white and other colors are rendered accurately.