
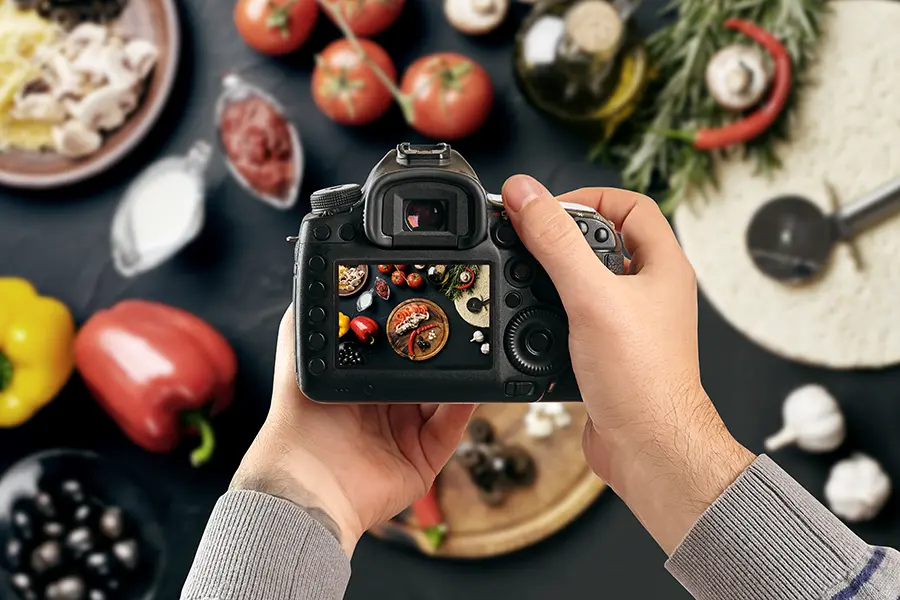
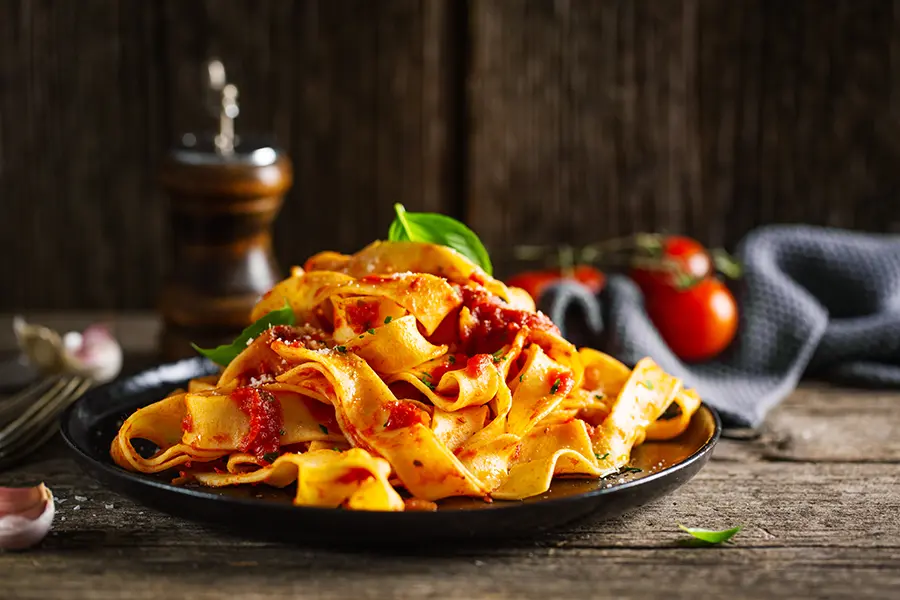
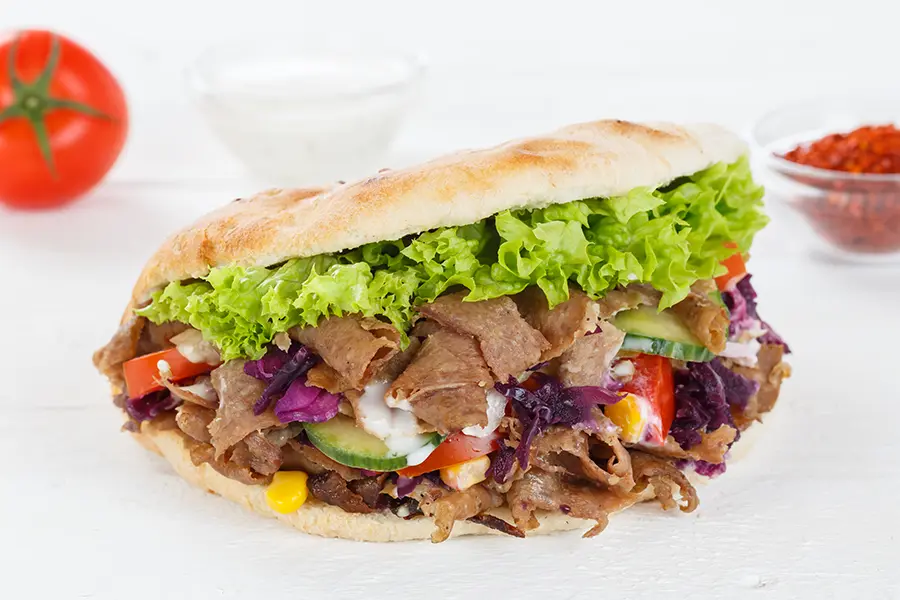
Food photography, or culinary imaging, is a specialized field that combines the love of food and the art of photography. This niche requires technical skills and an understanding of how to make dishes visually appealing. The goal is to create images that invoke the senses, making the viewer want to taste the dish.
What is Food Photography?
Food photography is a genre of photography that is distinct in its focus on visually captivating images of food and beverages. The primary objective of food photography is to showcase dishes in an enticing and appealing manner that evokes the viewer’s senses and entices them to try the dish or recipe. In this manner, the presentation of the dish plays a crucial role, from the colors and textures to the lighting and props used in the shot. Consequently, food photographers often collaborate with chefs, food stylists, and prop stylists to create compelling and successful images.
When it comes to food photography, photographers merge their technical skills with a comprehension of food styling, composition, and lighting to create irresistible images. Attending to every detail is crucial in food photography as the dish’s presentation, colors, and textures have a substantial impact on the final image’s allure. Therefore, food photographers often team up with chefs, food stylists, and prop stylists to achieve the desired result in their images.
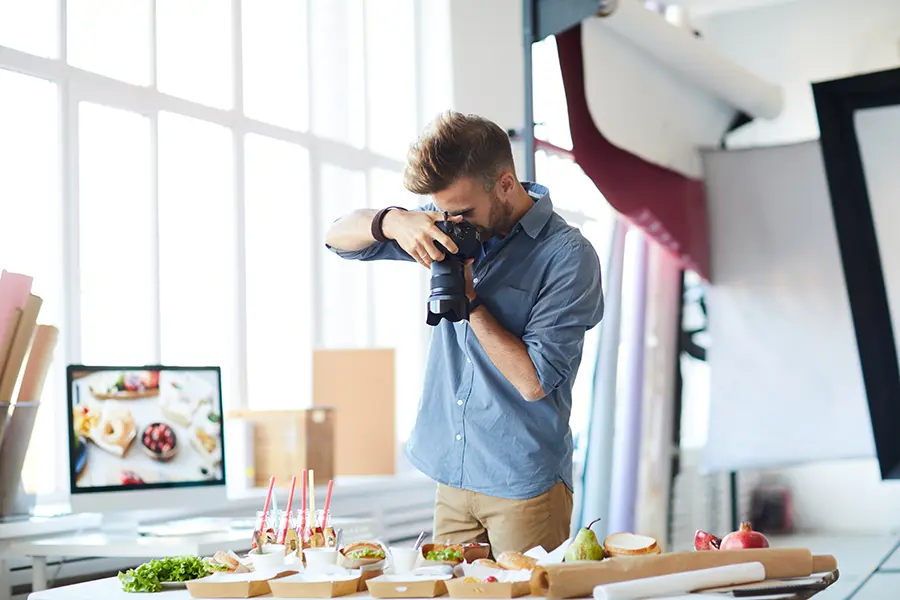
How To Start Food Photography
To commence your food photography journey, it is beneficial to examine professional culinary images as a starting point. These images can be found on the packaging, retailer websites, high-end restaurant pages, menus, and the online portfolios of professional food photographers. By scrutinizing these images, you can gain insight into the industry’s expectations and recognize the polished appearance that sets them apart from casual snapshots taken with your smartphone during lunch. Analyzing professional images will provide a solid foundation to begin your exploration of food photography and help you develop an eye for what works and what doesn’t.
Creating even seemingly simple images requires a considerable amount of effort and thought behind the scenes. These food photography tips will guide you in understanding the methods professionals use.
This guide will discuss food photography tips and techniques to kickstart your journey.
Here are the essential steps for becoming a food photographer:
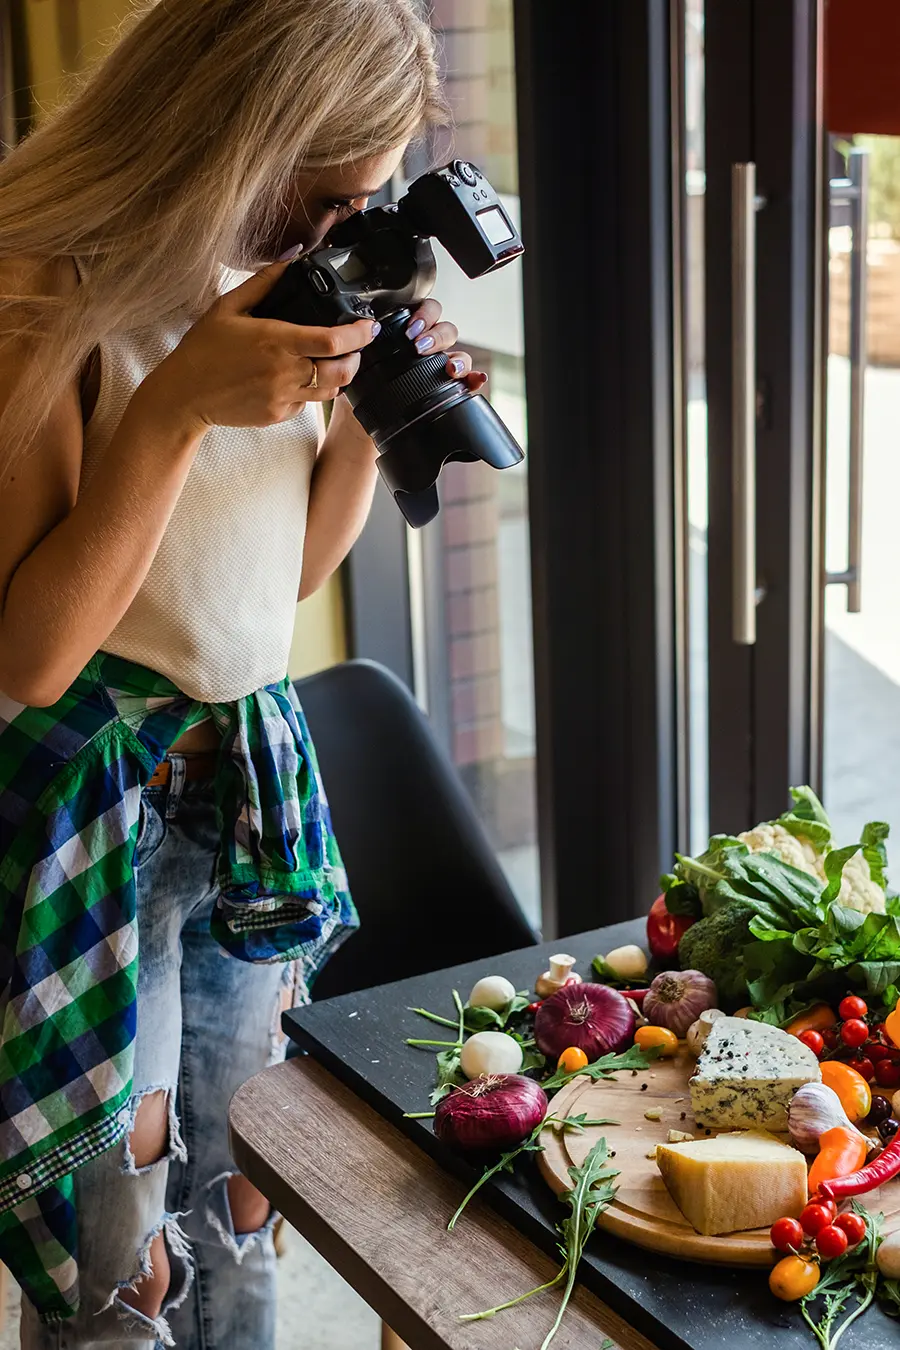
Essential Equipment for Food Photography
To produce stunning food photographs, investing in the right equipment is crucial. Here’s a more detailed breakdown of the essential gear for culinary imaging:
Camera
A high-quality camera is the foundation of food photography. Both DSLR and mirrorless cameras offer excellent image quality and control over settings. Research different models to find the one best suits your needs and budget. Consider factors like sensor size, resolution, and low-light performance.
Lenses
Having a variety of lenses allows you to capture food in different ways:
- 50mm prime lens: A versatile, affordable option ideal for beginners. It offers a natural perspective and excellent image quality.
- 60-100mm macro lens: This lens is perfect for close-ups and capturing intricate details, like the texture of a cake or the steam rising from a dish.
- 24-70mm zoom lens: This lens provides flexibility in focal length, allowing you to quickly switch between wide shots and close-ups.
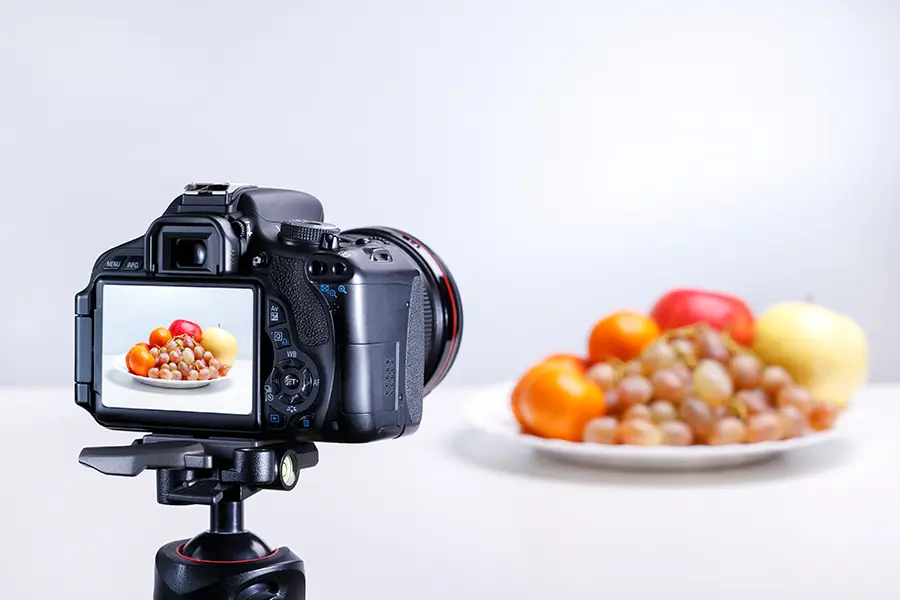
Tripod
Acquire a top-notch and robust tripod that can withstand the weight of your camera and lens. A tripod ensures stability and sharpness in your images. A tripod with a horizontal arm is especially useful for top-down shots, allowing you to position the camera directly above the dish.
Reflectors and Diffusers
When it comes to manipulating light in photography, reflectors, and diffusers are indispensable tools. Reflectors can bounce light onto your subject, illuminating shadows and producing a more balanced exposure. On the other hand, diffusers such as white fabric or translucent screens are beneficial for reducing harsh light and achieving a more natural appearance.
Backdrops and Props
Invest in various backdrops and props to add depth and context to your images. Textured surfaces, such as wooden boards or marble slabs, can contrast the food. Use cutlery, napkins, and other tableware to enhance the scene and create a story.
Mastering the Lighting Techniques
Lighting plays a significant role in making food look appetizing in photographs. Mastering lighting techniques is essential for creating mouth-watering images:
Natural Light
Natural light is the most flattering type of light for food photography. To make the most of it:
- Shoot near a large window with indirect sunlight to avoid harsh shadows.
- Use a white reflector or foam board to bounce light back onto the dish, filling in shadows.
- Experiment with different times of day to find the best light for your subject.
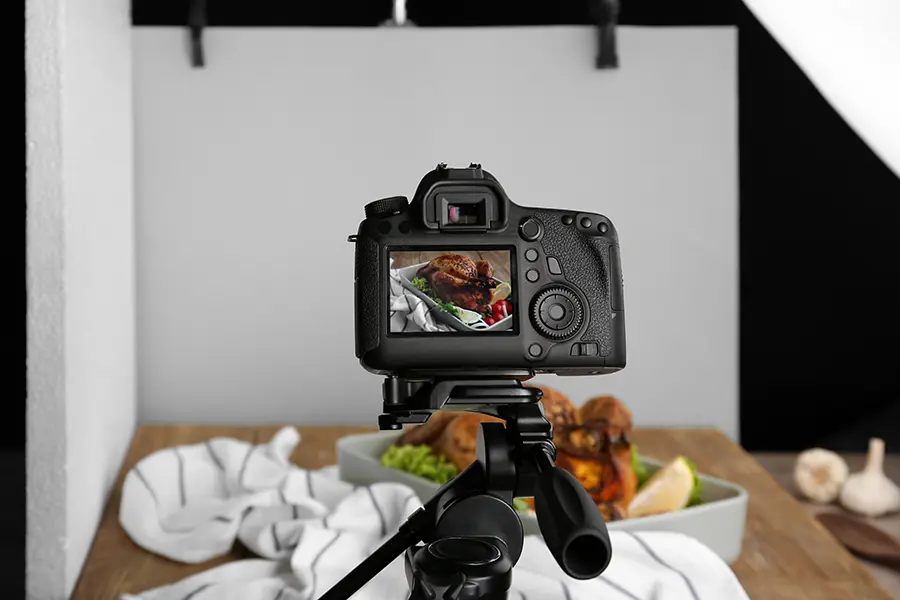
Artificial Light
When natural light isn’t available, artificial lighting can be used to mimic its effects:
- Continuous LED lights: These provide a constant light source, allowing you to see the effect of the light on your subject in real time.
- External flashes: Flashes offer a more powerful burst of light, which can be softened using modifiers like softboxes or umbrellas.
- Experiment with different light positions and modifiers to achieve the desired effect.
Light Direction
Experiment with different light directions to find the most flattering angle for your subject. Some popular options include:
- Side lighting: Illuminates the food from one side, creating depth and texture.
- Backlighting: Highlights the edges of the food and creates a glowing effect.
- Top-down lighting: Provides even illumination for flat lays and overhead shots.
Here are some helpful guides that are related:
Composition and Styling Tips for Food Photography
Creating visually appealing food photographs requires a keen eye for composition and styling. Here are some tips to elevate your images:
Layering
Layering different elements, such as plates, napkins, and cutlery, can add depth and interest to your images. Vary the colors, textures, and materials to create contrast and draw the viewer’s eye to the dish.
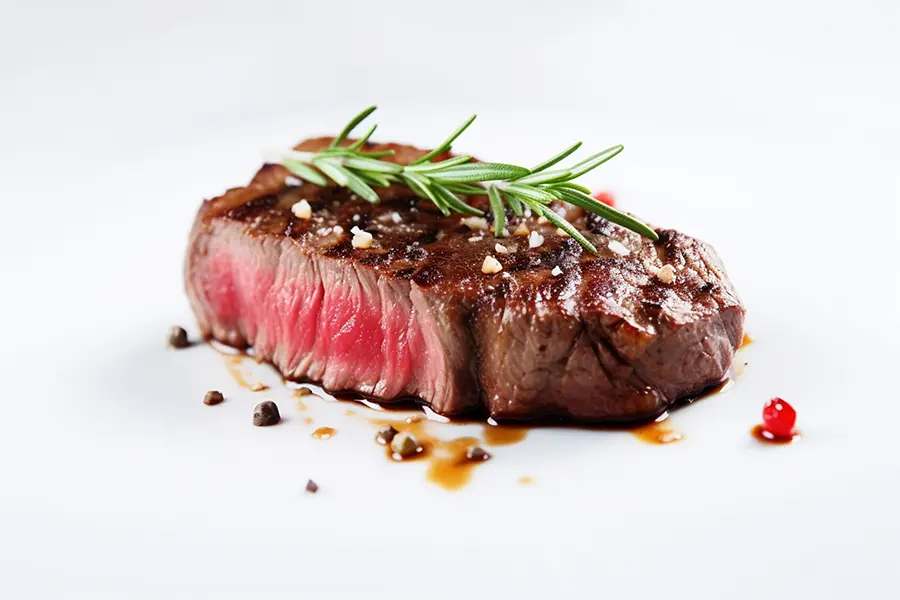
Garnishes
Garnishes, such as fresh herbs or a sprinkle of spices, are excellent for enhancing the visual appeal of a dish in food photography. When selecting garnishes, it’s important to consider the dish’s flavors and colors, choosing elements that complement them perfectly.
Food Preparation
To ensure your food photography is visually appealing, it’s important to use fresh ingredients and meticulously plate the dish. For precise adjustments, you can use tweezers or other tools, and adding moisture or shine to the food with a brush or spray bottle can enhance its presentation.
Rule of Thirds
The rule of thirds is a basic principle in photography that suggests dividing your frame into a 3×3 grid. Place the main elements of your scene along the lines or at their intersections to create a balanced and visually appealing composition.
Angles
Choose the best angle to showcase the food’s most appetizing features. Some common angles include:
- 45 degrees: Ideal for capturing the depth and layers of a dish.
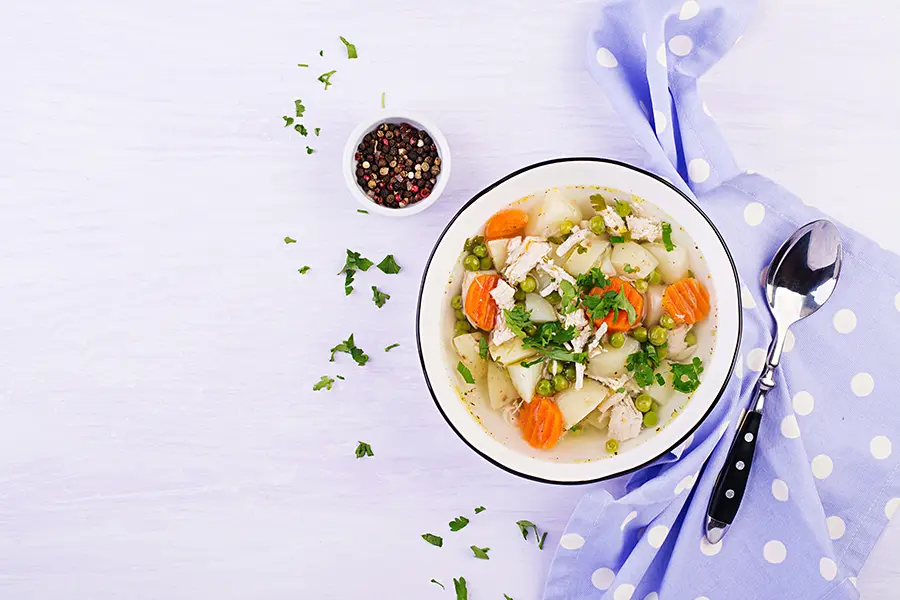
- Overhead: Perfect for flat lays and showcasing tablescapes.
- Straight-on: Great for tall dishes or showcasing layers.
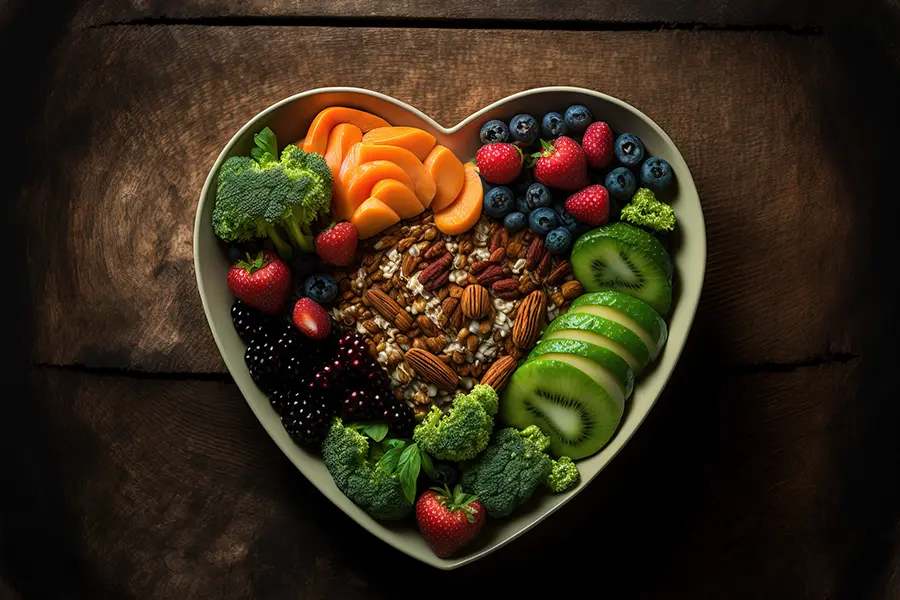
Color and Texture
Incorporate contrasting colors and textures to make your images visually captivating. Complementary colors, such as red and green, can make the food pop, while different textures create visual interest.
Negative Space
Leave some empty space around the main subject to create a balance and prevent the image from feeling cluttered. This also provides room for text overlays if you create content for social media or a blog.
Editing Your Images to Perfection
Post-processing plays a significant role in refining your food photographs and making them stand out. By using editing software like Adobe Lightroom or Photoshop, you can make subtle adjustments that enhance the overall image:
Cropping
Cropping allows you to fine-tune the composition of your image, removing any distracting elements and focusing the viewer’s attention on the dish.
Exposure and Contrast
Adjusting exposure and contrast can help to balance the image, brightening dark areas and deepening shadows to emphasize the food’s textures and colors.
Color Correction
Color correction ensures that the colors in your image accurately represent the dish. Adjust the white balance, saturation, and vibrance to enhance the food’s natural hues without overdoing it.
Retouching
Retouching tools, like the healing brush or clone stamp, can help remove imperfections or distractions in your images, such as crumbs, stains, or sensor dust.
Remember to keep your edits subtle and realistic, as over-processing can result in an artificial or unappetizing appearance.
By following these comprehensive tips and techniques for food photography, you’ll be well on your way to capturing delectable images that leave your audience craving more. Practice, experimentation, and patience are crucial for honing your skills and developing your unique style within the culinary imaging world.
Building Your Food Photography Portfolio
A strong portfolio is important for showcasing your skills and attracting clients or collaborations. Here are some leads to help you create a diverse and professional portfolio:
- Include a variety of dishes, cuisines, and styles to demonstrate your versatility.
- Showcase your ability to work with different lighting conditions, compositions, and angles.
- Feature personal projects or passion pieces to highlight your creativity and unique perspective.
- Add behind-the-scenes images or descriptions of your process to provide insight into your work.
- Ensure your portfolio stays current by adding your recent work and taking down earlier, less refined images as you progress.
6 Essential Tips for Food Photography
Experiment with color schemes and backgrounds
Consider the colors and backgrounds when photographing food to create a visually appealing scene. Experiment with complementary and contrasting color schemes to make the dish stand out. Use different backgrounds, such as wooden surfaces, textured fabrics, or solid-colored backdrops, to enhance the overall aesthetic. Ensure that the chosen colors and backgrounds do not overpower the dish but instead complement it.
Employ depth of field to create focus
Depth of field pertains to the extent of distance in a photograph that appears clear and in focus. By utilizing a shallow depth of field, you can highlight the dish and obscure the background, thus guiding the viewer’s gaze toward the food. In this manner, you can create a visually pleasing image with a distinct subject. Experiment with various depths of field to find the perfect balance for your image.
Incorporate movement and action
By incorporating movement and action in your food photography, you can infuse your images with dynamism and interest, thereby engaging your viewers. One way to achieve this is by capturing the cooking process, such as pouring sauces, sprinkling ingredients, or capturing steam rising from a hot dish. To further enhance the visual impact, you can adjust your shutter speed to freeze action or create motion blur in photography. This technique can effectively inject life and excitement into your images.
Utilize negative space
In photography, negative space denotes the area encircling the principal subject. By incorporating negative space, you can create a sense of balance and prevent the image from feeling cluttered. This also provides room for text overlays if you’re creating content for social media or a blog. Experiment with different amounts of negative space to find the most pleasing composition.
Play with different angles
Don’t limit yourself to one angle when photographing food. To capture the unique characteristics and textures of each dish, it’s crucial to explore different shooting perspectives in food photography. Experimenting with angles such as shooting from above (bird’s eye view), at eye level, and at a 45-degree angle can help identify the most appealing and captivating viewpoint. Incorporating diverse angles can also inject variety into your portfolio and demonstrate your flexibility as a photographer.
Focus on storytelling
Create a narrative within your food photographs by incorporating elements related to the dish’s origin, ingredients, or preparation. For example, include cultural props for an ethnic dish or display the raw ingredients used in the recipe. Storytelling adds context, making the image more engaging for the viewer and providing a deeper connection to the dish. Be thoughtful in your storytelling choices and ensure they enhance the main subject rather than distract from it.
End Note
In conclusion, food photography is a captivating and rewarding field that combines the love of food with the art of photography. With the right equipment, techniques, and a keen eye for detail, you can craft appetizing images that captivate your audience. By practicing and experimenting with various styles, compositions, and lighting setups, you can develop your distinctive approach and excel in this field. As you continue to learn and refine your skills, you’ll find fulfillment and achievement in the art of food photography.
FAQs
While a professional camera offers greater control and image quality, a smartphone can achieve stunning food photography. Use natural light, follow composition rules, and invest in a tripod or stabilizer to improve your smartphone food photography.
To create visually striking food photography, it’s crucial to pay attention to the dish’s colors, textures, and presentation. Use fresh ingredients and style the food to highlight its best features while integrating props or storytelling elements to craft an aesthetically pleasing scene.
To get started in food photography, begin by learning the basics of photography, including concepts like exposure, aperture, shutter speed, and ISO. Familiarize yourself with your camera’s manual settings for better control over your images. Invest in essential equipment, such as a high-quality camera, lenses, tripod, reflectors, and diffusers. Study food photography techniques, focusing on lighting, composition, and food styling. Develop your food styling and post-processing skills using Adobe Lightroom or Photoshop. Practice photographing a variety of dishes to hone your skills and experiment with different styles. As you gain experience, build a diverse portfolio showcasing your work and network with other professionals in the field to learn, collaborate, and grow.
Several ways to monetize your food photography skills include working as a freelance photographer for restaurants, brands, or publications, selling prints or licenses of your images, teaching workshops, or collaborating with other creators on sponsored content.