
Become a Better Bird Photographer
Bird Photography is a compelling sub-discipline within the broader scope of wildlife photography. Capturing the myriad of bird species, each with their unique traits, colors, and behaviors, can offer an endless stream of fascinating subjects and breathtaking images. It’s a practice that marries the appreciation of nature’s beauty with the technical challenges of photography, creating a fulfilling hobby or profession for those who venture into it.
While the activity can be as simple as capturing a bird perched on a tree branch, the true depth of avian photography lies in the journey toward mastering it. Each moment captured results from patience, timing, knowledge, and a keen eye for detail. It involves understanding bird behavior, knowing where to find them, and possessing the right equipment and techniques. To capture a bird mid-flight, or to capture the glint in a bird’s eye, requires the photographer to be in the right place at the right time and to know how to use their gear effectively.
5 Essential Tips for Bird Photography
- Use a Telephoto lens for distant shots
- Optimal lighting for vibrant images
- Patience for unique moments
- Anticipate bird movements for action shots
- Utilize leading lines and contrasting backgrounds
The process of learning bird photography can be as rewarding as the results. There’s a certain thrill in waiting for the perfect moment, in understanding the habits of different bird species, and in finally capturing an image that does justice to the beauty of the bird. This art form encourages us to step outside, observe, and engage with the natural world. As you grow as a bird photographer, you’ll find that it’s not just about taking pictures, it’s about experiencing nature, understanding birds, and learning to see the world from a new perspective. And when all these elements come together in a single, stunning image, you’ll find that all the early mornings, the waiting, and the learning, are more than worth it.

The Perfect Gear for Bird Photography
Embarking on your bird photography journey involves equipping yourself with the right gear. The quality of your equipment can significantly impact your ability to capture high-quality, sharp images.
Camera
A DSLR (Digital Single-Lens Reflex) or mirrorless camera is recommended for bird photography due to its high-speed performance, excellent image quality, and adaptability with various lenses.
Canon and Nikon have been long-standing favorites among bird photographers. The Canon EOS 7D Mark II is a great DSLR choice with its fast ten frames per second shooting and advanced autofocus system. Nikon’s D500, a competitor in the same market, also boasts a fast shooting speed and excellent autofocus performance.
If you prefer mirrorless cameras, the Sony A9 II offers an incredible 20 frames per second shooting with a silent, vibration-free shutter. Canon’s EOS R5 is another fantastic option, with its high-resolution sensor and impressive autofocus system.
Lenses
A telephoto lens, preferably with at least a 400mm focal length, is vital for bird photography. This lens type allows you to shoot detailed bird portraits from a safe distance, preventing any disturbance to the bird.
Canon’s EF 100-400mm f/4.5-5.6L IS II USM lens is a versatile telephoto zoom lens for bird photography. For Nikon users, the AF-S NIKKOR 200-500mm f/5.6E ED VR offers a superb range at a relatively affordable price.
If budget allows, the super-telephoto lenses like the Canon EF 600mm f/4L IS III USM or the Nikon AF-S NIKKOR 600mm f/4E FL ED VR provide stunning image quality and maximum focal length, though they are heavier and pricier.
Tripod
A sturdy tripod is essential when handling heavy telephoto lenses. It provides stability, which is crucial for sharp, blur-free images.
The Manfrotto MT055CXPRO3 is a popular choice, known for its robustness and stability. It’s lightweight for easy maneuverability yet sturdy enough to handle a heavy camera lens combo. Consider the carbon fiber models, such as the Gitzo GT2543L Mountaineer Series 2 Carbon Fiber Tripod, for a lighter option.
Remember, your gear is a tool to assist you in capturing stunning bird images. Understanding your equipment’s capabilities and learning to use them effectively transforms these tools into an extension of your creative vision.
Understanding Bird Behavior
A fundamental aspect of bird photography is understanding bird behavior. Birds have distinct behavior patterns, many of which are tied to their survival needs, such as feeding, nesting, and avoiding predators. This knowledge enables you to predict their movements, helping you to be in the right place at the right time.
For instance, many birds are most active during the early morning and late afternoon, often called the “golden hours.” They venture out to feed during these times, providing excellent opportunities to capture them in action. The low-angle sunlight during these periods also makes for dramatic lighting. An example would be photographing a flock of sandpipers probing the beach for food at dawn, their beaks glistening in the morning light.
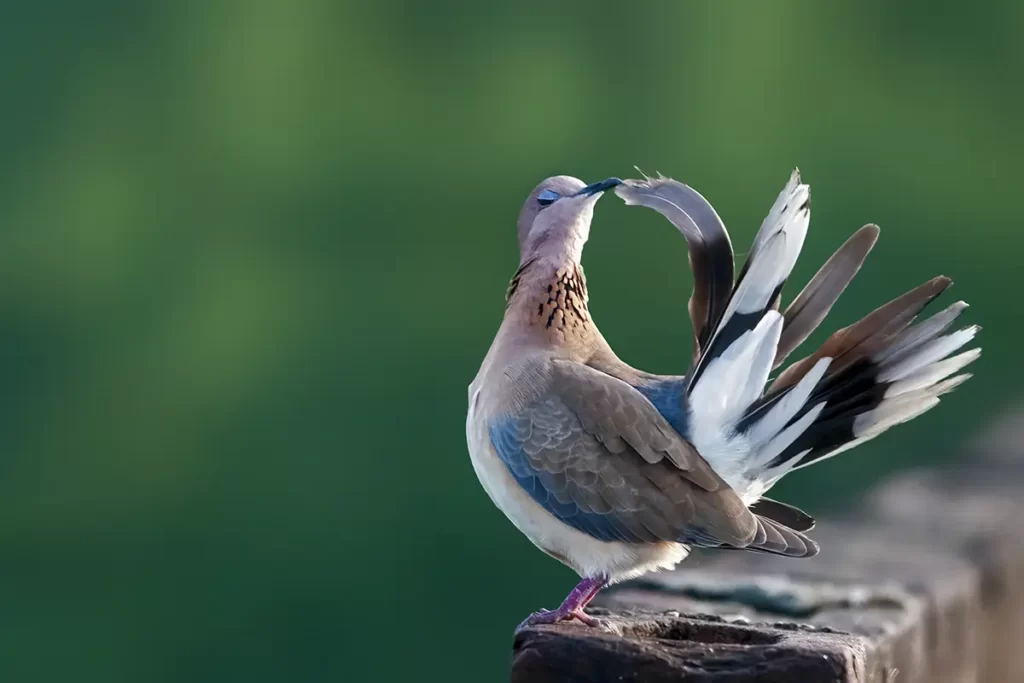
Birds also exhibit particular behaviors during different seasons. Many species engage in courtship displays during spring, offering unique opportunities for dynamic shots. The male peacock, for instance, fans out its spectacular tail feathers and shakes them rapidly to attract a mate, a sight that makes for stunning photographs.
Moreover, understanding birds‘ signals to communicate danger can prevent you from causing them unnecessary stress. For example, some birds, like the American Robin, exhibit an alarm call a high-pitched, rapid chirping if they perceive a threat. Recognizing these signals and keeping a respectful distance can ensure a harmonious experience for you and the birds.

Boost Your Bird Photography
Aside from these general behaviors, every bird species has unique traits and habits. Researching the specific bird species you plan to photograph can provide valuable insights and enhance your chances of capturing exceptional images.
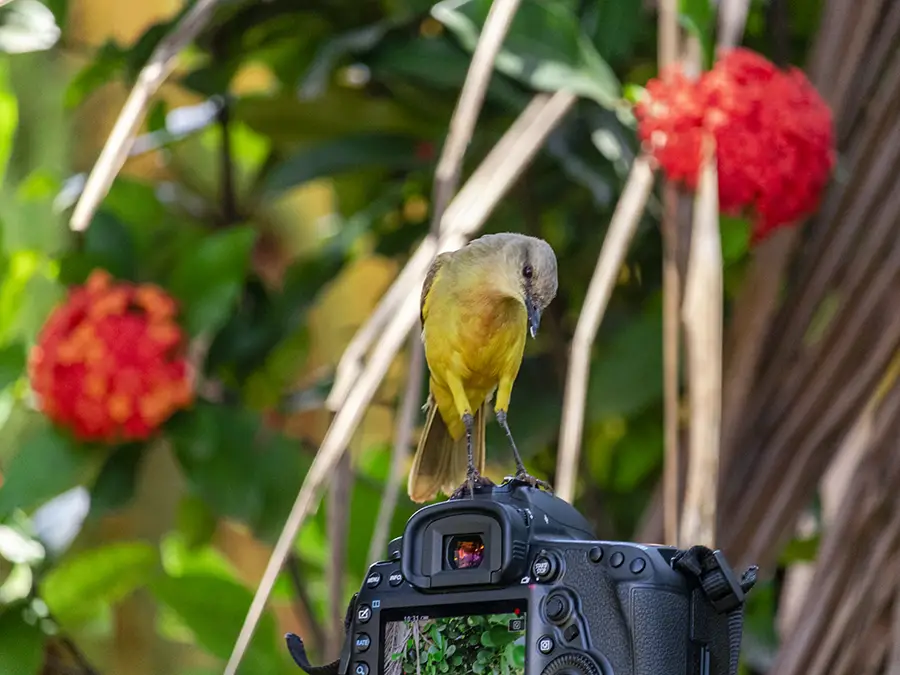
For instance, if you’re photographing hummingbirds, you should know that they are drawn to brightly colored flowers where they feed on nectar. Setting up near a patch of vibrant flowers could give you the perfect vantage point for snapping these tiny, fast-moving creatures.
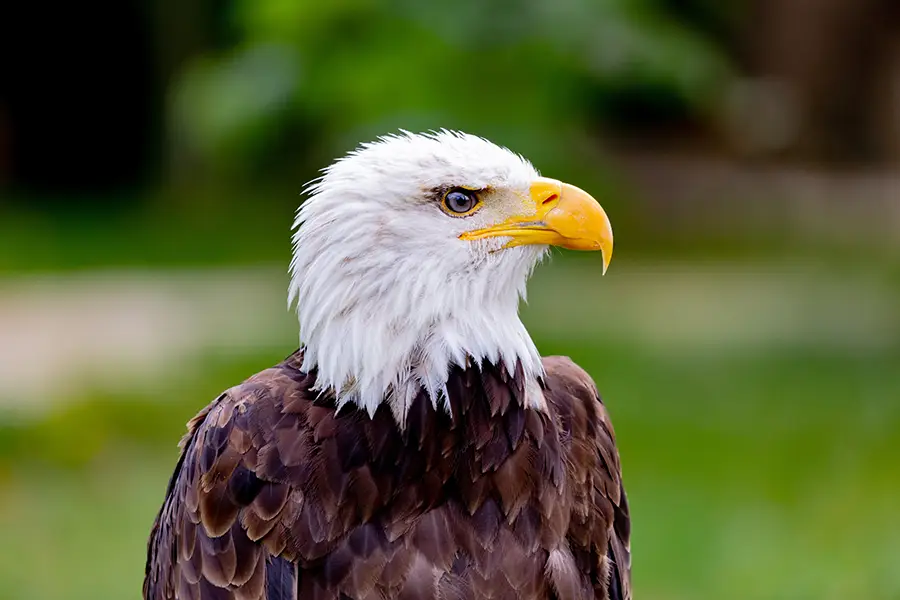
Similarly, understanding their hunting patterns will be advantageous if you aim to photograph birds of prey, like eagles or hawks. These birds often soar high and then dive rapidly to catch their prey. Catching this dramatic action requires anticipation, a good understanding of the bird’s behavior, and a bit of luck.
In essence, understanding bird behavior not only enriches your bird photography experience but also fosters a greater appreciation and respect for these wonderful creatures. It’s a continuous learning process that adds depth and meaning to every shot you take.
Choosing the Ideal Location
Selecting the right location is a critical component of successful bird photography. The ideal location offers a rich diversity of bird species and provides a safe and comfortable environment for you and the birds.
Bird sanctuaries, national parks, forests, and nature reserves are often excellent places to start. These protected areas usually have a high concentration of bird species and offer natural, picturesque settings for your images. For instance, the Everglades National Park in Florida is a haven for various bird species, including herons, egrets, and flamingos.
Even in urban settings, great locations can be found. City parks, botanical gardens, and even your backyard can be hotspots for bird activity. Despite its urban location, Central Park in New York City is known to be a birdwatcher’s paradise, especially during the migration seasons. I go to Sooma National Park in Estonia for Bird Photography. It’s a perfect place to take photos of birds in Estonia.
Once you’ve found a promising location, take the time to familiarize yourself with it. Observe the area and understand where the birds like to gather, feed, and take flight. Recognizing these patterns will allow you to position yourself strategically to capture the best shots. For example, if you notice a particular tree that birds frequently perch on, you can set up your camera and wait for the birds to arrive.
Remember that patience and respect for nature are vital. Keep a safe distance from birds, especially nesting ones, to avoid causing them stress. Also, consider the light direction in your chosen location. As a general rule, aim to have the light source (usually the sun) behind you to illuminate your bird subject well and bring out the vibrant colors in their feathers.
Techniques for Capturing Stunning Bird Images
Mastering a few key techniques can significantly enhance the quality of your bird images, transforming them from simple snapshots to captivating works of art.
Mastering the Art of Focus
Maintaining sharp focus is crucial in bird photography, especially given birds’ fast and unpredictable movements. To achieve this, you can just use your camera’s autofocus settings. Most modern cameras offer a continuous or tracking autofocus mode, which adjusts the focus as your subject moves.
For instance, if you’re photographing a soaring eagle, continuous autofocus (AI Servo AF in Canon, AF-C in Nikon) will help keep the bird in sharp focus, even as it moves across the sky. Also, using your camera’s focus points effectively can improve the speed and accuracy of your autofocus, ensuring that the bird, not the background, is in sharp focus.
Another technique involves focusing on the bird’s eye. The eyes are expressive and often hold the viewer’s attention, making them a key element in sharp focus. For example, a close-up shot of a hawk, with its intense gaze sharply focused, can create a powerful, captivating image.
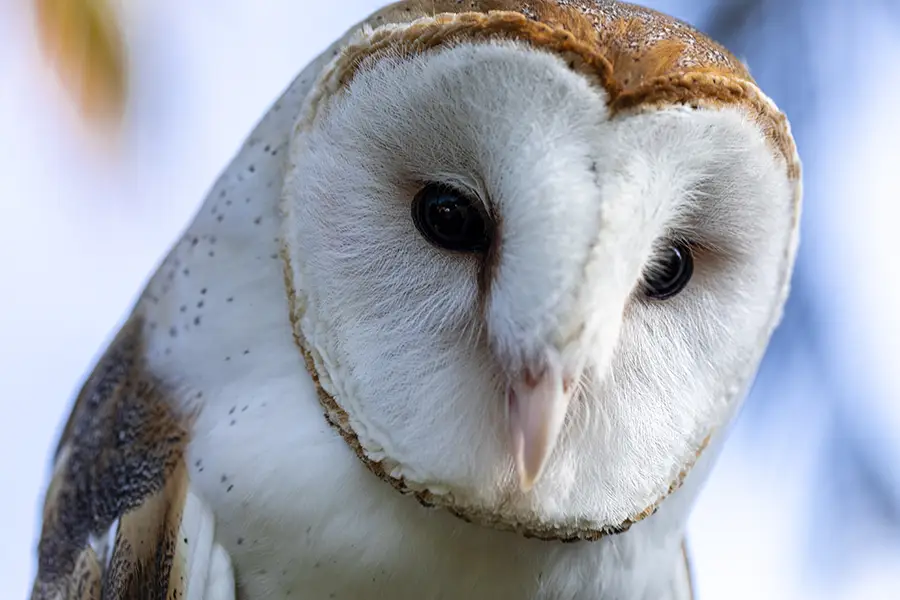
Composition
The composition can make or break your bird image. A well-composed photograph is balanced, directs the viewer’s attention toward the bird, and includes or excludes elements to tell a story.
A common rule in photography is the Rule of Thirds. Imagine your frame is divided into nine equal blocks by two horizontal and two vertical lines. Placing birds along these lines or at their intersections often creates a more dynamic and balanced image. For example, a shot of a heron wading in a pond could be composed with the heron positioned at the left intersection, giving it “space” to move into on the right.
However, rules are meant to be broken, and there are times when centering the bird in the frame can create a powerful, symmetrical composition. A close-up portrait of an owl staring straight into the camera, centered in the frame, can create a striking and engaging image.
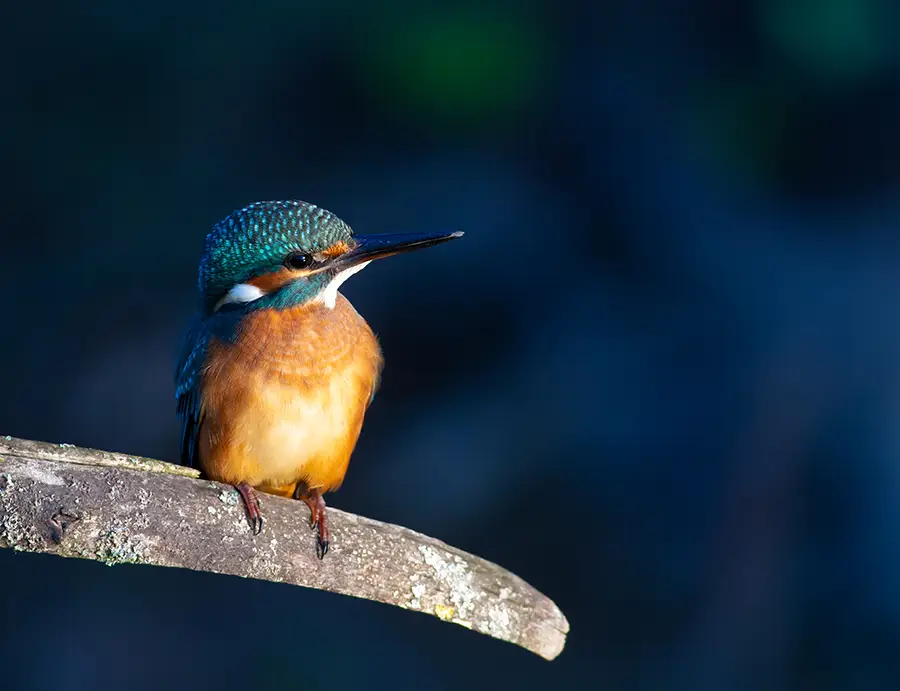
Lighting
Good lighting is paramount in photography, and bird photography is no exception. It can influence the mood of your image and bring out the vibrant colors of the bird’s feathers.
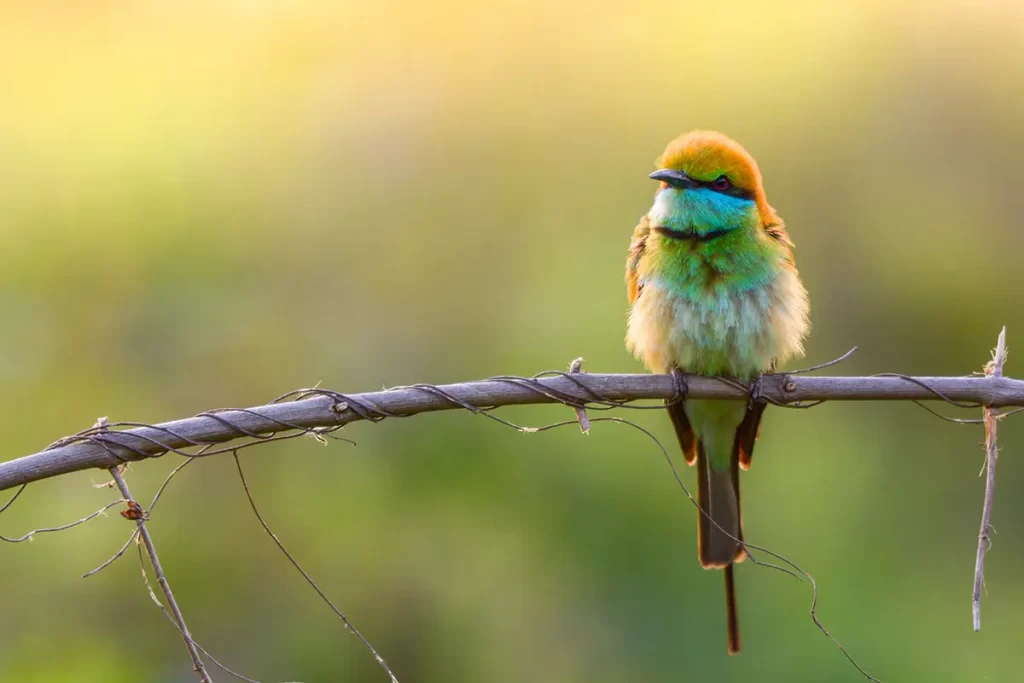
Ideally, you want to have the sun behind you, illuminating your subject. This positioning minimizes harsh shadows and highlights the details and colors of the bird. For instance, an image of a cardinal with sunlight behind you will showcase its vibrant red feathers and detailed texture, making the bird “pop” against the background.
The quality of light can also add drama to your image. The soft, warm light during the “golden hours” just after sunrise and before sunset can produce beautiful, atmospheric images. Photographing a flock of birds in flight against a golden sunset can create a stunning silhouette effect.
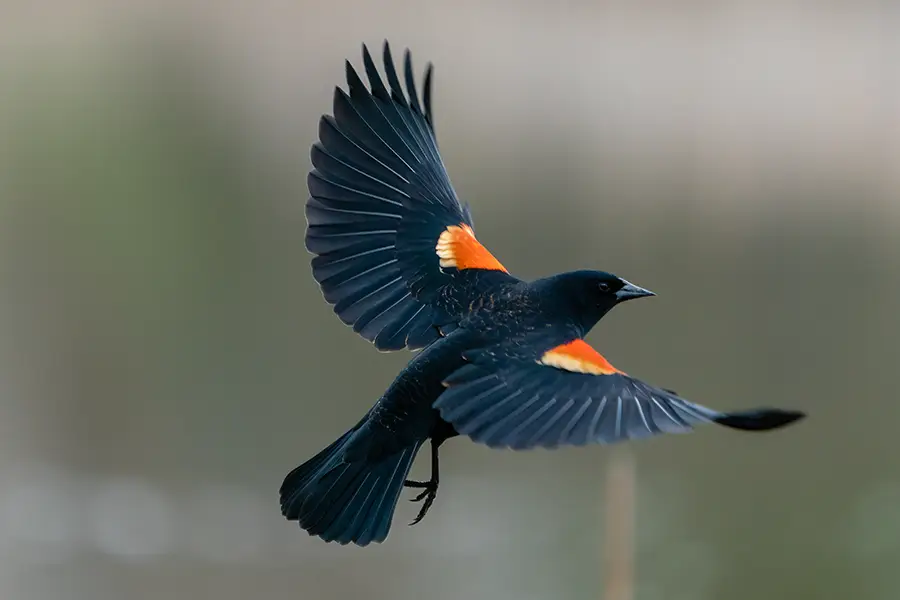
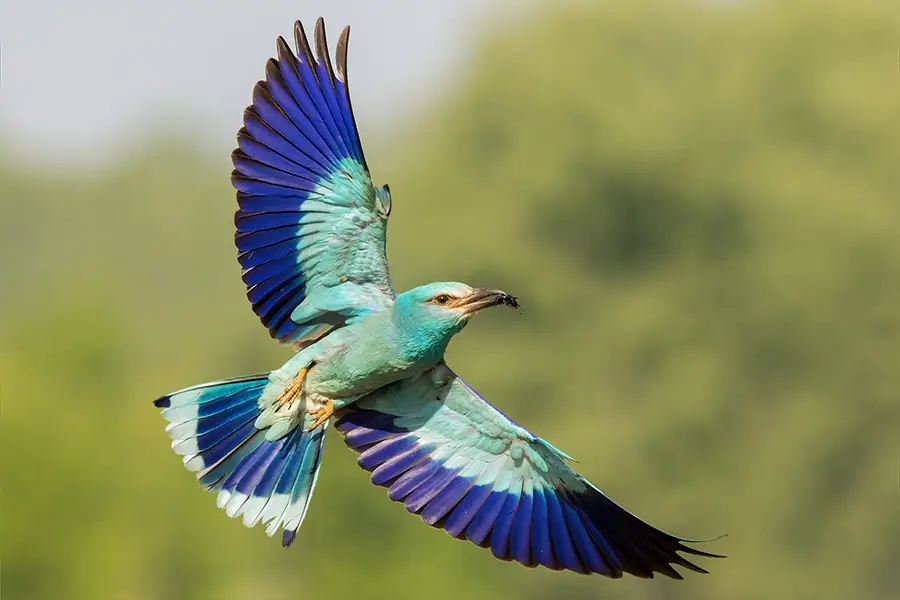
Capturing Birds in Flight
Photographing birds in flight can be one of the most challenging yet rewarding aspects of bird photography. It requires quick reflexes, a good understanding of bird behavior, and a mastery of your camera settings.
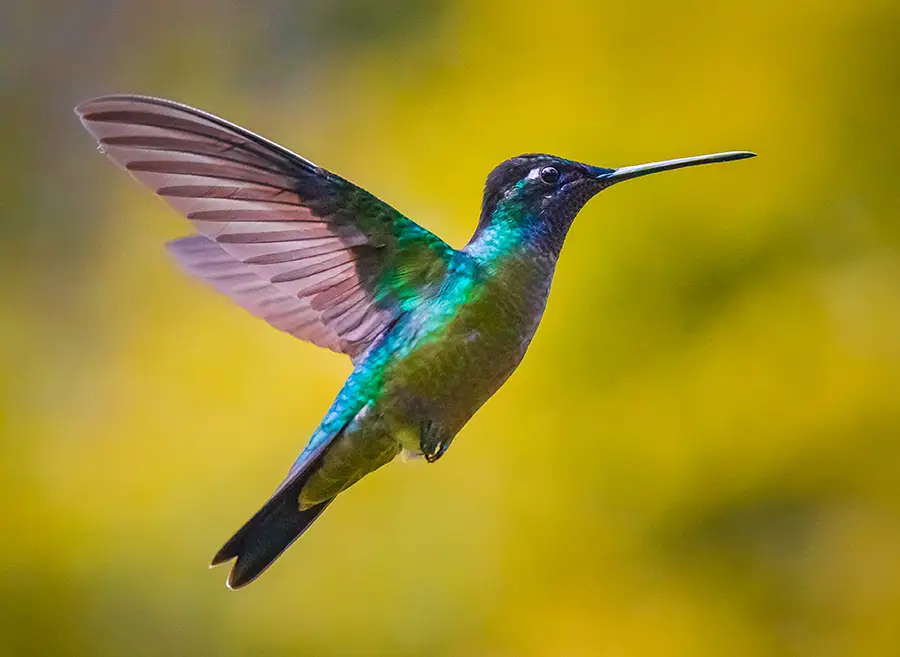
A fast shutter speed is crucial to freeze the motion and capture sharp images of the birds in flight. Shutter speeds of at least 1/1000th of a second are often necessary. For example, to capture a hummingbird in flight, with its wings frozen in motion, you may need to use a shutter speed as fast as 1/4000th of a second.
Panning with the bird’s movement can also create dynamic, engaging images. This technique involves moving your camera to follow the bird’s motion, with a slightly slower shutter speed, to create a sense of speed and motion. For instance, panning with a swooping osprey while using a shutter speed of 1/250th of a second can result in a sharp image of the bird with a blurred background that conveys movement and action.
Mastering these techniques will take time and practice, but they’re the key to capturing stunning, professional-quality bird images. Embrace the learning process, experiment with different settings and compositions, and, most importantly, enjoy your time observing and photographing these beautiful creatures.
More to Love: Find Your Next Favorite Guide
Post-Processing: Enhancing Your Bird Images
After capturing your bird images, post-processing is the next step to producing stunning bird photographs. Using software like Adobe Lightroom or Photoshop, you can enhance your images, correct any flaws, and bring your creative vision to life.
Cropping and Composition
Cropping allows you to alter the composition of your image after you’ve taken the shot. You might crop your image to adhere to the Rule of Thirds or remove distracting elements from the frame.
For instance, cropping allows you to remove this distraction and draw the viewer’s attention back to the bird, for instance, if you’ve captured a beautiful image of a goldfinch, but there’s a distracting branch in the corner of the frame. Remember, cropping reduces your image’s resolution, so it’s better to get the composition right in the camera whenever possible.
Adjusting Exposure and Contrast
Adjusting the exposure and contrast can improve the overall balance of light and dark areas in your image. Increasing exposure can reveal more details if your image is too dark (underexposed). If your image lacks depth, adjusting the contrast can help.
For example, an underexposed image of a raven may lose the details in its black feathers. By slightly increasing the exposure and contrast in post-processing, you can bring out the texture and detail in the feathers while maintaining the overall balance of the image.
Enhancing Colors
Birds are often colorful creatures, and enhancing these colors can make your image more vibrant and eye-catching. Saturation and vibrance sliders in your editing software can help with this.
For example, a photo of a macaw might appear more striking if its vibrant blues and yellows are enhanced. Be careful not to overdo these adjustments, as they can lead to unnatural-looking images.
Sharpening
Enhance the details of the bird by applying some sharpening. However, too much can make the image look artificial, like other adjustments.
Noise Reduction
You may notice some noise if you’ve shot your image at a high ISO. You can use the noise reduction feature sparingly to maintain the image’s quality.
Additional Bird Photography Tips
Here are some additional tips to help enhance your bird photography skills further:
Practice Patience
Patience is one of the most vital traits in bird photography. Birds are unpredictable, and getting the perfect shot can take time. Spend time observing their behavior and be ready to capture the moment it presents itself.
Respect Nature
Always remember that the welfare of the birds and their environment comes first. Keep a safe distance, especially from nesting birds, and avoid causing any disturbance.
Dress Appropriately
Wear clothes that blend with the environment to avoid startling the birds. Also, be prepared for the conditions. If you’re in a wet or muddy area, for instance, waterproof boots and clothing can keep you comfortable and focused on your photography.
Use Bird Calls Sparingly
Bird calls or apps that mimic bird sounds can attract birds. However, if you don’t mind me asking, you can use them sparingly to avoid causing unnecessary stress to the birds.
Experiment with Different Perspectives
Don’t just stick to eye-level shots. Try different angles and perspectives to give your bird images a unique touch. For example, shooting from a low angle can make a bird look more majestic.
Conclusion
Bird photography offers endless opportunities to explore and capture the beauty of nature. Whether you’re a seasoned professional or a budding enthusiast, the journey into bird photography is filled with rewarding experiences and stunning images waiting to be captured.
Armed with the right equipment, an understanding of bird behavior, knowledge of the right locations, and mastery of essential techniques, you are well on your way to capturing stunning images of our feathered friends. Remember to respect nature, practice patience, and continuously learn and experiment.
This guide has provided a comprehensive roadmap to your bird photography journey. As you progress, you’ll improve your photography skills and develop a deeper appreciation of the natural world. So grab your camera, head out, and let the world of birds unfold before your lens.
FAQs
Birds are usually most active during the early morning and late afternoon. These times, often called the “golden hours,” provide the beautiful, soft light ideal for photography.
Setting up bird feeders or birdbaths in your backyard can attract birds. Remember to provide a safe environment for them and maintain a respectful distance.
Use a fast shutter speed to freeze motion, particularly for birds in flight. A wide aperture (low f-number) helps isolate the bird from the background, and a high ISO may be necessary for lower light conditions.
A telephoto lens of at least 400mm is usually recommended for bird photography, as it allows you to capture detailed images from a distance.