
Choosing the Right ISO for Picture-Perfect Shots
Welcome to the wonderful world of photography! It’s a place where science and art combine to create something truly magical. Regardless of whether you’re a novice or an experienced professional, having a solid grasp of how your camera operates is essential in harnessing your creative potential. And one of the essential aspects to grasp is ISO, the secret ingredient to controlling exposure and light. Don’t worry if choosing the right ISO seems intimidating at first. That’s why I’m here to assist you through this comprehensive and friendly guide that will demystify ISO and help you make optimal choices.
ISO is vital in determining your photos’ technical and aesthetic quality. It’s part of the exposure triangle, along with shutter speed and aperture, which work hand in hand to elevate your images from good to stunning. But let’s face it, figuring out the right ISO setting can be a bit tricky. It involves understanding your surroundings, considering your subject’s needs, and knowing what your camera is capable of. Once you master it, you can choose the perfect ISO every time.
4 Essential Tips for Choosing Right ISO
- Consider the lighting conditions
- Evaluate the desired effect
- Factor in the equipment’s capabilities
- Weigh the trade-off between image brightness and image noise
This article is your ticket to unraveling the intricacies of ISO in photography. We’ll cover the basics of ISO and how it influences your photos. You’ll learn about the factors that come into play when choosing the right ISO, discover the secrets to mastering the selection process, and understand how ISO interacts with other camera settings. We’ll also highlight common mistakes photographers make when dealing with ISO and show you simple ways to avoid them.
Understanding ISO
ISO is all about your camera’s sensitivity to light. When we break down the acronym, ISO is the International Organization for Standardization. They’re responsible for setting standards, including the scale of light sensitivity for camera sensors.
The image sensor is like a magical electronic device that captures light and transforms it into beautiful images you can see, edit, and print. In digital photography, ISO relates to how sensitive your camera’s image sensor is to light. The ISO setting determines how much light the sensor needs to create an image. The lower the ISO number, the less sensitive the sensor is to light. That’s why ISO 100 or 200 is great for those bright, sunlit outdoor scenes. On the other hand, higher ISO numbers like 800, 1600, or even 3200 indicate high sensitivity to light, perfect for darker environments where light is scarce.
But here’s the catch: cranking up your ISO isn’t always ideal for low-light situations. It can introduce some unwanted side effects, such as digital noise. This noise appears as graininess or those speckles of color and dark pixels in your images. It can make your photos look gritty or dirty, affecting the overall clarity and detail. That’s why understanding ISO goes beyond just light sensitivity. It’s about finding that balance and managing noise in your images. It knows when to adjust your right ISO and when to explore other lighting techniques to capture the perfect shot.
Factors Influencing ISO Choice
Several elements come into play when deciding on the right ISO setting. These factors can be broadly categorized into lighting conditions, the speed of the subject, and your desired exposure.
Lighting Conditions
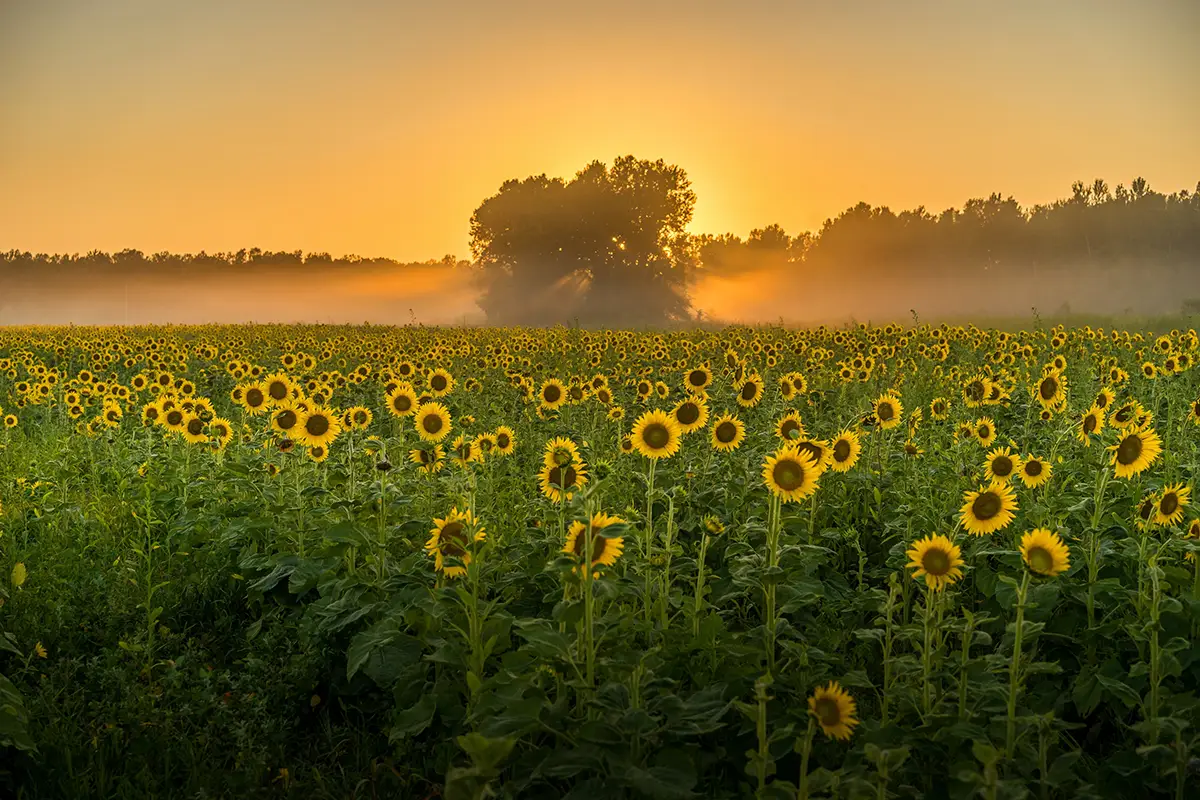
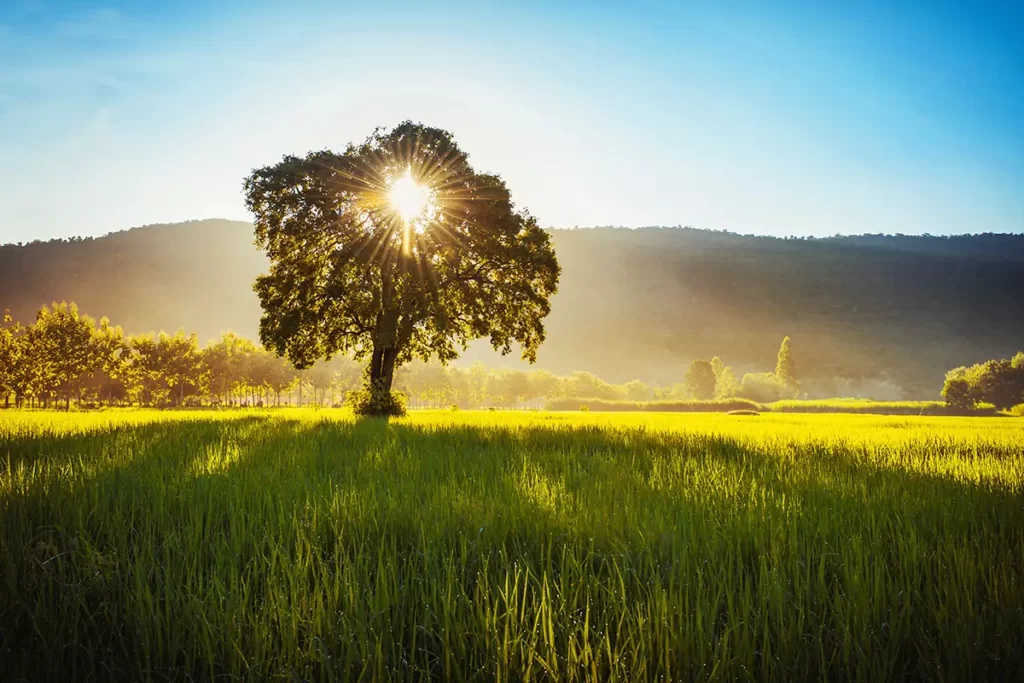
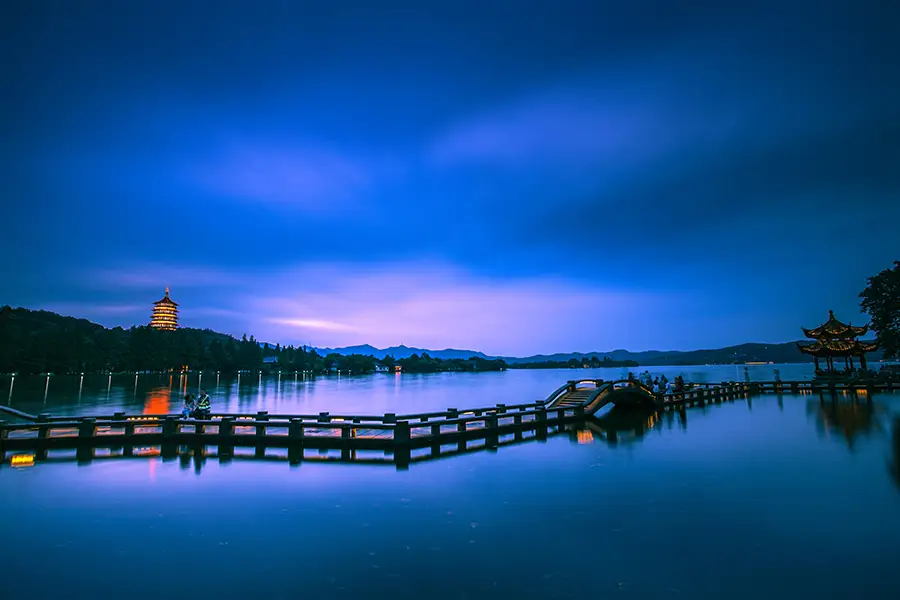
Lighting conditions play a significant role in ISO choice. You can use a lower ISO value in broad daylight or a well-lit indoor scene. For example, shooting a landscape on a sunny afternoon might only require an ISO setting of 100 or 200. This lower ISO will reduce the sensor’s sensitivity to light, thus mitigating the risk of overexposure.
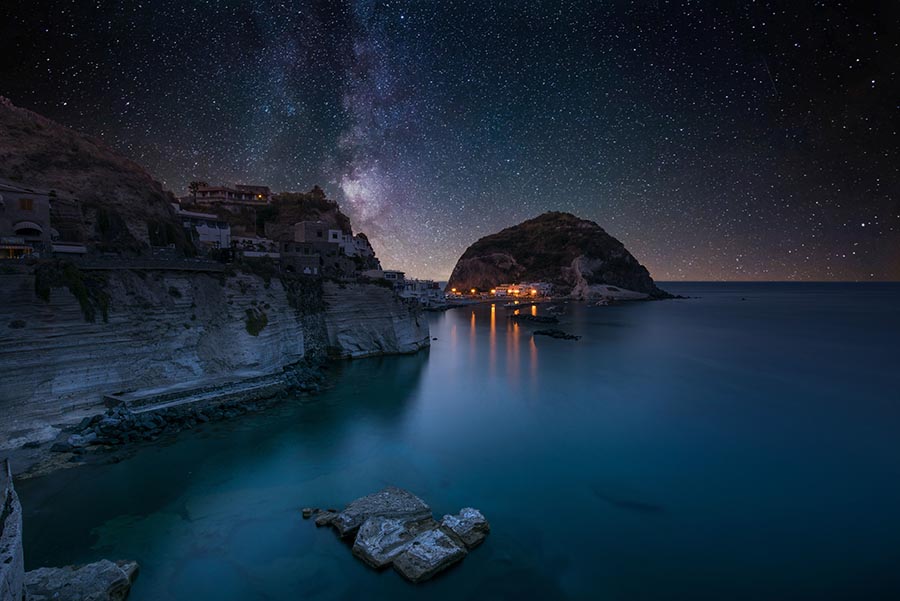
Conversely, in a darker setting, such as an indoor event with low ambient light or capturing the night sky, you may need to boost your ISO to 1600, 3200, or even higher. This increased sensitivity will allow your camera to absorb more light and produce a well-exposed image despite the lack of light.
Speed of Your Subject
The speed of your subject also impacts your ISO selection. The increased ISO allows you to use a faster shutter speed to freeze the action while maintaining an adequately exposed image. A higher ISO can be beneficial if you photograph fast-moving subjects such as athletes in a game, birds in flight, or active children. For instance, shooting a basketball game indoors might require an ISO setting of 800 or higher.
Capturing a calm lake at sunset might only need an ISO setting of 100 or 200. This lower setting will ensure a clean image with minimal noise. In contrast, a lower ISO is often sufficient for stationary or slow-moving subjects like a tranquil landscape or a posed portrait.
Desired Exposure
Finally, your desired exposure can influence your ISO decision. A higher ISO may help achieve that effect, especially in low-light conditions if you aim for a brighter, high-key image. For example, if you photograph a dark interior but want a bright, airy feel, you might opt for an ISO of 800 or 1000.
In contrast, if you’re going for a moodier, low-key image with more contrast and less overall brightness, a lower ISO might be suitable. For instance, if you’re capturing a dramatic landscape under stormy skies and want to emphasize the dark, brooding clouds, you could select an ISO of 100 or 200.
Gaining an understanding of these factors and their impact on your ISO selection is a crucial milestone in mastering exposure in photography. As with most aspects of photography, practice, and experience will refine your ability to make these decisions intuitively.
Mastering the ISO Selection Process
Navigating the path to right ISO selection requires a blend of knowledge, intuition, and experimentation. Here are some vital steps that can guide you:
Evaluate Your Environment
The first step towards mastering ISO selection is critically evaluating your environment. Assess the lighting conditions around you. If you’re in a bright outdoor setting or a well-lit indoor environment, start with a lower ISO, such as 100 or 200. For instance, a lower ISO will be ideal if you’re photographing a beach scene on a sunny day.
On the other hand, in a darker setting, like an indoor event with dim lighting or capturing nightscapes, you may need to start with a higher ISO, such as 800, 1600, or more. You will likely need a higher ISO setting if you’re trying to capture a jazz band performing in a low-lit club.
Test Shots
Once you’ve made an initial ISO choice based on your environment, the next step is to take a few test shots. Check these images on your camera’s LCD screen, paying attention to the brightness and overall exposure. If your images look too dark (underexposed), you may need to increase your ISO. On the contrary, reducing your ISO could be the solution if your photos are too bright (overexposed).
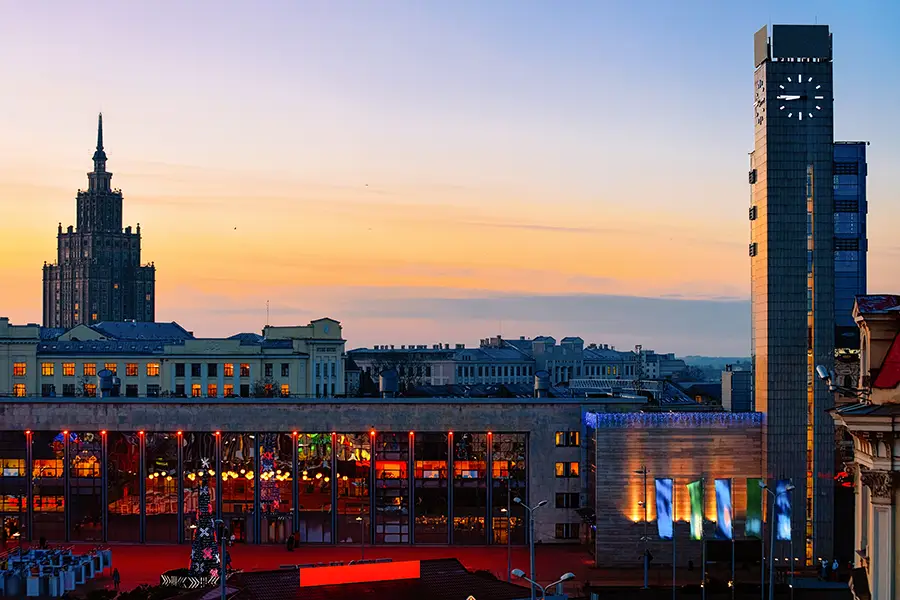
For example, if you’re photographing a cityscape at twilight, you might start with an ISO of 800. You may increase your ISO to 1600 or more if your test shots are too dark. If they’re too bright, you could dial back your ISO to 400 or 200.
ISO and Noise
The final but crucial aspect of mastering the ISO selection process is understanding and managing noise. Remember, the higher your ISO, the greater your image’s potential for digital noise. So, while increasing ISO can help in low-light situations, it’s essential to be mindful of the corresponding noise.
Always aim to use the lowest possible ISO to capture a well-exposed image. Imagine you’re capturing a still life indoors, benefiting from ample natural light streaming in through a window. You might start with an ISO of 200. If you can achieve a well-exposed image without introducing motion blur or underexposure, there’s no need to increase your ISO (and, therefore, your noise) further.
Balancing these steps evaluating your environment, taking test shots, and managing noise are key to mastering the ISO selection process. And remember, there’s no substitute for practice. The more you shoot and experiment with ISO settings, the more comfortable and proficient you’ll become.
Balancing ISO with Other Camera Settings
In photography, ISO doesn’t work in isolation. It’s a crucial part of the exposure triangle, a fundamental concept involving shutter speed and aperture. Understanding how ISO interacts with these settings is integral to creating well-exposed images.
ISO and Shutter Speed
Shutter speed refers to the duration for which your camera’s shutter remains open, enabling light to reach the sensor. Fast shutter speeds to freeze motion, capturing sharp, clear images of moving subjects. Slower shutter speeds record motion as a blur, creating a sense of movement.
ISO and shutter speed have a reciprocal relationship. A higher ISO can provide the necessary light sensitivity in low light conditions where a fast shutter speed is needed – such as capturing a dancer’s swift movements in a dimly lit theater. On the contrary, in bright situations where slower shutter speeds may be employed to create motion blur, such as a waterfall under daylight, a lower ISO can help prevent overexposure.
ISO and Aperture
Aperture refers to the size of the opening in the lens that allows light to reach the sensor. Larger apertures (represented by lower f-numbers like f/1.8) allow more light to pass through, decreasing the need for high ISO. They also create a shallow depth of field, blurring the background and focusing attention on the subject.

Smaller apertures (represented by higher f-numbers like f/16) allow less light, potentially requiring a higher ISO to achieve the desired exposure. They result in a greater depth of field, keeping more of the scene in focus.
A well-lit setting would allow you to utilize a lower ISO, such as 100 or 200, to balance the exposure. For example, if you’re shooting a portrait and want a blurred background, you might choose a large aperture like f/1.8. If you photograph a landscape and want the foreground and background in focus, you might opt for a small aperture like f/16. In this case, you might need a higher ISO to ensure a well-exposed image.
Balancing ISO with shutter speed and aperture requires a nuanced understanding of each element’s effects on your images. It’s a juggling act, but with practice and experience, you can make these adjustments intuitively, creating beautiful, well-exposed images in various shooting conditions.
Common ISO Mistakes and How to Avoid Them
Choosing the right ISO is crucial for quality images. However, both beginners and seasoned photographers can sometimes stumble regarding ISO selection. Here are some common pitfalls and how you can dodge them.
Ignoring Lighting Conditions
One of the most frequent missteps is disregarding the lighting conditions. Not adjusting your ISO to meet the demands of your environment can lead to poorly exposed images. Always pay attention to the amount of available light and change your ISO accordingly. For instance, if you move outdoors to indoors, increase your ISO to compensate for the reduced light.
Relying Excessively on High ISO
High ISO can be a lifesaver in low-light conditions. However, relying too heavily on high ISO settings can introduce unwanted noise into your images, detracting from their quality. Aim for the lowest ISO that allows you to capture a well-exposed image. If you frequently resort to high ISO settings, consider other ways to enhance your exposure, such as using a larger aperture, a slower shutter speed, or adding artificial light sources.

Neglecting the Balance of Exposure Triangle
ISO doesn’t operate in a vacuum; it’s part of the exposure triangle, with shutter speed and aperture. Ignoring this interplay can lead to imbalances in your exposure. If you change your ISO, adjust your shutter speed or aperture (or both) to maintain a well-exposed image.
For example, if you’re shooting in a dimly lit room and increasing your ISO, you might need to open your aperture or slow down your shutter speed to achieve optimal exposure. Or, if you’re photographing in bright daylight and lowering your ISO, you might need to use a faster shutter speed or smaller aperture to prevent overexposure.
Conclusion
Mastering the art of selecting the right ISO is a pivotal skill in your photography journey. By learning to assess your environment, balance the exposure triangle, and handle potential issues, you can ensure that your ISO selection is always on point. Understanding ISO and its interplay with other camera settings opens up a new realm of creative possibilities.
Remember that understanding the theory behind ISO is only the first step. Similar to any other skill, honing your photography abilities requires practice and hands-on experience. Fearlessly experiment with different settings and learn from any mistakes. As you continue on your photographic journey, you’ll find that your ability to choose the right ISO becomes almost second nature.
FAQs
Yes, you can somewhat reduce noise through software like Adobe Lightroom. However, excessive noise reduction might result in a loss of image detail.
The right ISO depends on lighting conditions, subject movement, and desired exposure.
Yes, different cameras have different ISO capabilities. High-end cameras usually handle high ISO better, producing less noise.
Auto ISO can be handy for beginners or changing light conditions. However, manual control provides greater creative freedom and precision.