
Northern Lights Photography is one of my favorite types of photography. Capturing the magical display of the aurora borealis, also known as the Northern Lights, has always been on my bucket list. There’s something truly awe-inspiring about witnessing the ethereal dance of colors across the night sky. If you share this dream, you’re in the right place. From comprehending the scientific reasoning behind the occurrence to perfecting the skill of capturing it on camera, this comprehensive guide will equip you with all the necessary information regarding the Northern Lights.
If you’ve ever gazed at the night sky and wondered about the dancing colors of light that sometimes appear, you may be curious about the Northern Lights and what causes this mesmerizing spectacle. So, before we dive into the photography aspect, it’s essential to understand the science behind this natural wonder.
What is the Northern Lights (Aurora)
The Northern Lights, or aurora borealis, is a captivating natural light show in the Earth’s polar regions. The interaction of charged particles emitted by the sun, also known as the solar wind, and the dominant magnetic field surrounding Earth, called the magnetosphere, is responsible for creating the Northern Lights phenomenon. When these charged particles collide with the Earth’s atmosphere, they excite the atoms and molecules within it, causing them to emit light.
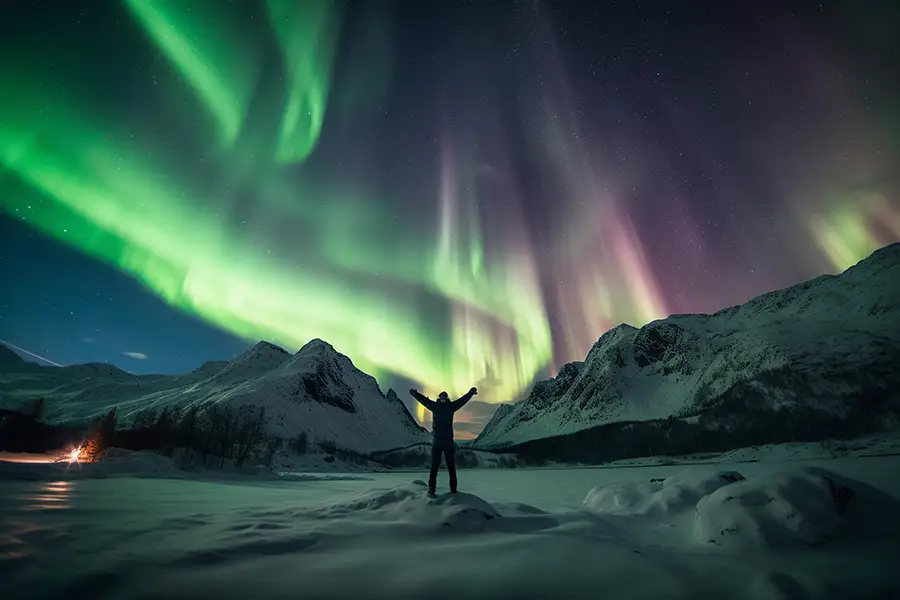
Such celestial beauty that dances across the sky, the Northern Lights are a divine masterpiece of nature that leaves me in awe every time I see them.
Angie Weiland-Crosby
The colors produced during an aurora event depend on the type of gas involved and the altitude at which the collisions occur. Oxygen atoms at higher altitudes (around 200-300 km) emit green light, while those at lower altitudes (below 100 km) produce red light. Nitrogen, on the other hand, can create blue and purple hues. The intensity of the aurora can vary significantly, depending on factors such as solar activity and the strength of the Earth’s magnetic field.
Here’s what you’ll find in this comprehensive guide:
Planning Your Trip
Timing and Location
The first step in capturing the celestial ballet is choosing the right time and place. Although the aurora can be seen throughout the year, the best time to witness it is during the winter months, from September to April. The nights are longer, providing more opportunities to catch the elusive display.
The closer to the magnetic poles, the higher the chance of seeing the Northern Lights. Some of the best locations include:
- Northern Scandinavia (Norway, Sweden, Finland)
- Iceland
- Greenland
- Northern Canada (Yukon, Northwest Territories, Nunavut)
- Alaska, USA
Remember that the Northern Lights are natural, and their appearance is never guaranteed. The key is to be patient and prepared for several attempts.
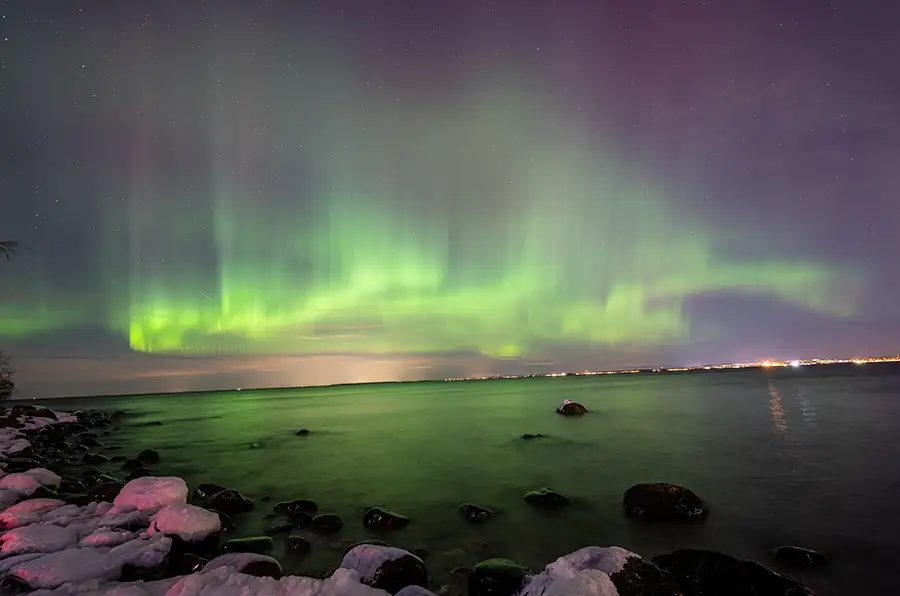
Over the last two years, I have had the opportunity to photograph the Northern Lights in the beautiful city of Tallinn, Estonia. This year, in particular, the Northern Lights have been more visible in Tallinn than in previous years, providing an even more incredible opportunity for photographers and skywatchers alike to capture this captivating display of lights.
Weather Considerations
Weather plays a crucial role in your ability to photograph the Northern Lights. Cloud cover is the most significant concern, as it can obscure your view of the aurora. It’s essential to plan your trip when clear skies are expected in your chosen location.
In addition to monitoring local weather forecasts, you can consult satellite imagery and other meteorological resources to assess cloud cover. Many websites and apps offer real-time weather updates specifically for Aurora viewing, making it easier to plan your photography sessions.
Remember that even with the most careful planning, the weather can be unpredictable, and you may need to be flexible with your schedule. Be prepared to extend your stay or visit multiple locations to increase your chances of clear skies.
Finding Dark Skies
To truly appreciate and capture the full beauty of the aurora, you’ll need to find a location with minimal light pollution. The brightness of artificial lights can wash out the colors and details of the Northern Lights, making it difficult to photograph them effectively.
Seek out remote areas away from cities, towns, and other sources of light pollution. Nature reserves, national parks, and other protected areas often offer ideal dark sky conditions. Websites and apps dedicated to dark sky locations can help you find suitable spots for aurora photography.
In addition to minimizing light pollution, consider the landscape and surroundings of your chosen location. Having unobstructed views of the horizon in wide, open spaces can enhance your aurora viewing experience and offer opportunities for capturing more captivating compositions.

Essential Gear
Camera Equipment
Investing in the right camera equipment is essential for capturing stunning aurora images. The following items are highly recommended for Northern Lights photography:
- A Digital SLR (DSLR) or mirrorless camera with manual controls offers the flexibility and control necessary for low-light photography.
- A fast, wide-angle lens: A lens with a wide aperture (f/2.8 or lower) and a focal length of around 14-24mm is ideal for capturing the vastness of the night sky.
- A sturdy tripod: A reliable tripod stabilizes your camera during long exposures.
- Extra batteries: Cold weather can significantly reduce battery life, so it’s necessary to have backups on hand.
- Memory cards with ample storage: High-resolution images can quickly fill up your memory card, so bringing extras or investing in higher-capacity cards is a good idea.
- A remote shutter release or intervalometer: These devices can help prevent camera shake during long exposures and be used for time-lapse photography.
Clothing and Accessories
Dress in layers and wear appropriate clothing for cold temperatures. This includes:
- Insulated, waterproof boots
- Warm socks (preferably wool or a moisture-wicking synthetic material)
- Thermal base layers
- Insulated pants and jacket
- Gloves (consider touchscreen-compatible ones for easy camera operation)
- A hat or beanie
- A headlamp with a red-light mode (to preserve your night vision)
Remember that you may be outside for several hours, so it’s essential to stay warm and dry.
Camera Settings for Capturing the Northern Lights
Aperture
A wide aperture (f/2.8 or lower) is crucial for capturing the Northern Lights, allowing more light to enter your camera’s sensor. Use the widest aperture available if your lens doesn’t go as low as f/2.8. This will help you capture the aurora’s faint details and colors.
Shutter Speed
Auroras can change rapidly, so finding the right balance between capturing motion and avoiding blur is essential. Faster aurora displays require shorter exposures, while slower ones need longer shutter speeds. You can start with a shutter speed of 10-15 seconds and adjust as needed.
ISO
Set your camera’s ISO to a value between 1600 and 3200. Higher ISO values allow for shorter exposures but can introduce noise into your images. Experiment to find the right balance between image brightness and noise.
Focus
Use manual focus in low-light conditions as autofocus may struggle. Set your lens to infinity (∞) and use live view or focus magnification to fine-tune the focus on a bright star or distant object.
Shoot in RAW format.
This will give you the most flexibility during post-processing, allowing you to make adjustments without compromising image quality.
Use manual mode
Manual mode provides complete control over your camera’s settings, enabling you to adjust aperture, shutter speed, and ISO to suit specific conditions.
White balance
Set your camera’s white balance to “auto” or “daylight” as a starting point, but remember that you can fine-tune the colors during post-processing.
More to Love: Find Your Next Favorite Guide
Composition Techniques for Northern Lights
A well-composed image can elevate your aurora photography from good to extraordinary. Consider the following composition techniques to create visually striking images:
- Leading lines: Incorporate natural or man-made elements that lead the viewer’s eye toward the aurora, such as roads, rivers, or fences.
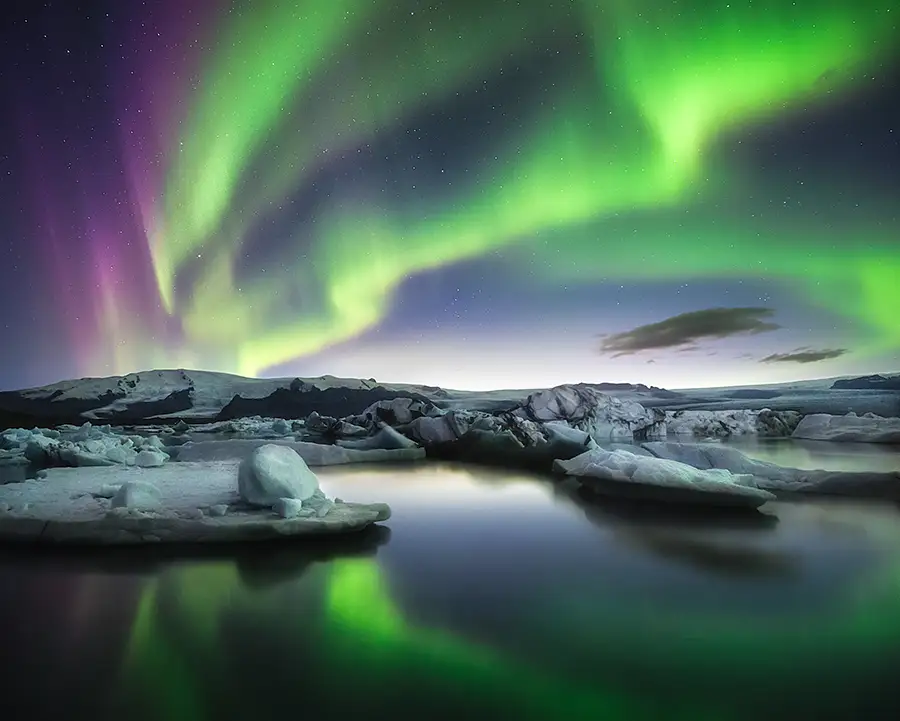
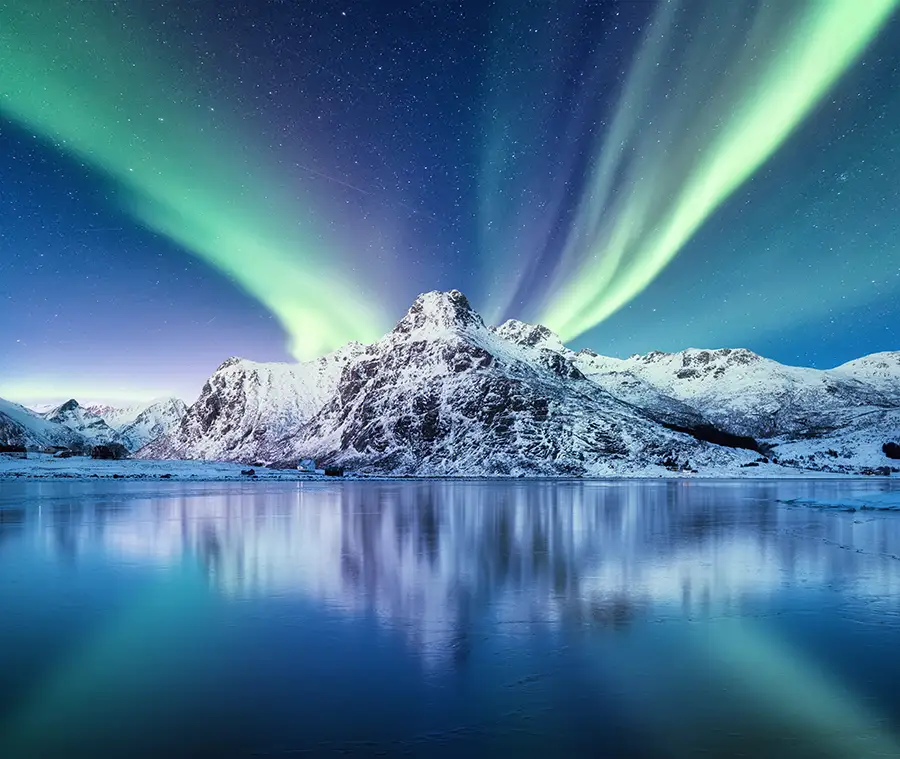
- Reflections: Look for opportunities to capture the aurora’s reflection in the water, ice, or other reflective surfaces, adding depth and symmetry to your images.
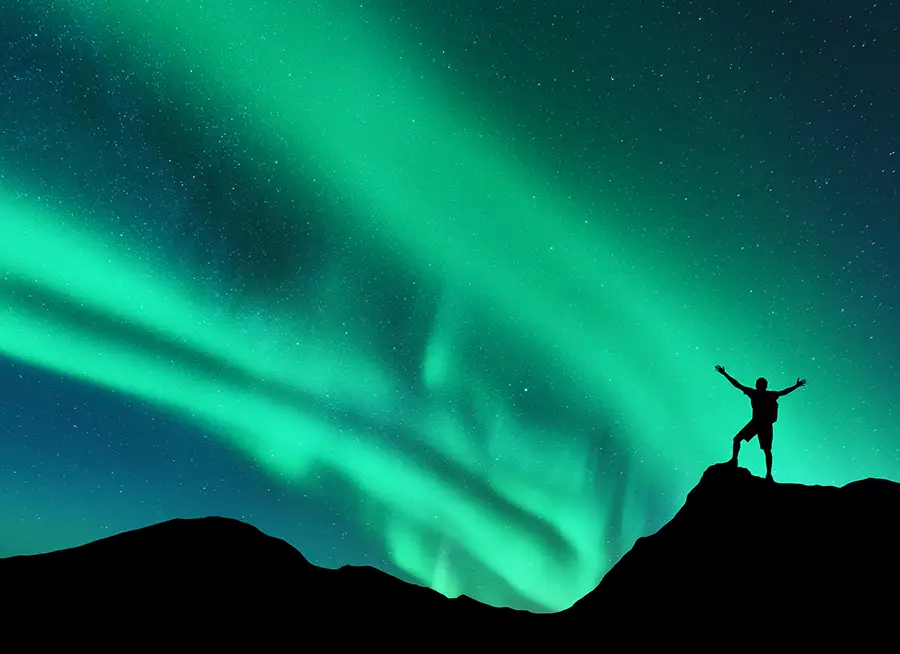
- Silhouettes: Use trees, buildings, or other structures to create silhouettes against the illuminated sky, adding contrast and visual interest.
- Experiment with different perspectives: Don’t be afraid to try unconventional angles or viewpoints, such as shooting from a low angle or including a wide expanse of the foreground.
Post-Processing Tips
Post-processing is essential in refining your aurora images and bringing out their full potential. The following tips can help you enhance your photos:
- Color correction: Adjust the color temperature and tint to accurately represent the aurora’s hues or to create a specific mood in your image.
- Curves and levels: Use these tools to fine-tune the contrast and brightness of your image, emphasizing the aurora and other important elements.
- Sharpening and noise reduction: Apply these adjustments selectively to enhance details and minimize noise, particularly in high ISO images.
- Dodge and burn: Use local adjustments to selectively brighten or darken areas of your image, drawing attention to the most important aspects of your composition.
Remember that post-processing should enhance your images, not fundamentally alter them. Strive for a natural and authentic representation of the aurora, and avoid over-processing your photos.
Additional Tips for Capturing the Northern Lights
Here are some more tips to help you capture the beauty of the Northern Lights and create unforgettable images:
Patience and persistence
Aurora photography can be challenging, and it’s essential to be prepared for long nights and multiple attempts. The aurora can be unpredictable, and you may have to wait hours before the show begins. Embrace the process, and remember that patience and persistence are key to success.
Scout locations during the day
Visiting potential shooting locations during daylight hours allows you to familiarize yourself with the area, identify interesting foreground elements, and plan your compositions. This can economize your time and energy while configuring your gear in the dark.
Use a star tracker app
To make the most of your night sky photography, consider using a star tracker app to help you identify constellations, planets, and other celestial objects. Including these elements in your compositions can add a sense of scale and context to your aurora images.
Experiment with panoramas
If the aurora covers a large area of the sky, consider capturing a panorama to showcase the full extent of the display. Most modern cameras have built-in panorama features, or you can take multiple overlapping images and stitch them together during post-processing.
Time-lapse photography
Creating a time-lapse of the aurora can be a stunning way to showcase its movement and dynamic nature. Use an intervalometer or your camera’s built-in time-lapse feature to capture a series of images at regular intervals, which can then be combined into a video during post-processing.
Collaborate with other photographers
Connecting with fellow aurora enthusiasts can be a valuable source of knowledge and inspiration. Share tips, experiences, and favorite shooting locations to learn from one another and improve your skills.
Safety first
When venturing out in remote and cold locations at night, always prioritize your safety. Travel with a buddy or inform someone about your plans and expected return time. Carry a fully charged mobile phone, and essential survival gear, like a first aid kit, warm clothing, and emergency supplies.
End Note
Capturing the ethereal beauty of the Northern Lights is a thrilling and rewarding experience that every photographer should have on their bucket list. With the right knowledge, preparation, and persistence, you can create awe-inspiring images that showcase the full splendor of this natural phenomenon.
As you embark on your journey to photograph the Northern Lights, remember that practice makes perfect. The unpredictable nature of the aurora means that even seasoned photographers may face challenges and surprises. However, it’s precisely this unpredictability that makes aurora photography such an exciting and rewarding endeavor. Be ready to dedicate time and effort towards refining your skills and acquiring knowledge from your personal experiences.
The dazzling dance of the Northern Lights awaits! As you venture out into the night, armed with the knowledge and tips shared in this guide, embrace the adventure, and allow yourself to be captivated by the otherworldly beauty of the aurora borealis. With patience, dedication, and a sense of wonder, you can capture awe-inspiring images that showcase the magic of the night sky and the spectacular phenomenon of the Northern Lights. So, pack your gear, head out into the wilderness, and immerse yourself in the unforgettable experience of Aurora photography.
FAQs
While some high-end smartphones have manual controls and the ability to capture long exposures, the small sensor size and limited aperture options make capturing the aurora’s full beauty challenging. A dedicated camera is recommended for the best results.
The Northern Lights are typically visible between late September and early April. The best time to photograph the Northern Lights is winter when nights are longest and skies are darkest. This allows for maximum visibility and increased chances of witnessing the aurora.
To increase your chances of seeing the aurora, plan your trip during the winter months, when the nights are the longest, and visit a location with minimal light pollution. Monitor aurora forecasts, solar activity websites, and local weather conditions to maximize your chances of witnessing the phenomenon.
Generally, no special filters are required for aurora photography. The use of filters can reduce the amount of light entering your camera, making it more challenging to capture the faint details and colors of the aurora. A clear, high-quality lens is typically sufficient for capturing the Northern Lights.
Star trails occur when your camera’s shutter is open for an extended period, causing the stars to appear as streaks in your image. To avoid star trails, use a shorter exposure time (10-15 seconds is a good starting point) and adjust your ISO and aperture settings to compensate for the reduced exposure time.