
Capture the Beauty of the Moon
When the night sky rolls out its star-studded blanket, one celestial buddy always catches our eye the moon! Its ever-changing glow has charmed dreamers, poets, and photographers for ages. I’m always excited to capture the beauty of our natural satellite. If you’ve ever found yourself gazing up at this silvery orb and wishing to capture its magic, you’re in the right place! So, let’s dive in and have some fun 🙂 Under the moonlit sky! This friendly guide is here to walk you through the beautiful world of Moon photography. Together, we’ll explore the gear, settings, and techniques needed to snap some truly stunning shots of our cosmic neighbor.
Here’s a quick overview of the main topics we’ll be exploring:

Essential Gear for Capturing the Moon
Before discussing camera settings, I’d like to review the essential gear you’ll need to capture the nighttime sky’s most captivating subject.
Camera
A Digital SLR (DSLR) or mirrorless camera with manual controls is necessary for adjusting settings to capture the moon. Here are some recommended models:
- Canon EOS Rebel T7i (DSLR): An affordable, beginner-friendly camera with excellent image quality.
- Nikon D7500 (DSLR): A versatile, high-performance camera suitable for various photography styles.
- Sony Alpha a7 III (Mirrorless): A popular full-frame mirrorless camera known for its impressive low-light performance.
- Fujifilm X-T4 (Mirrorless): A feature-packed camera with excellent image quality and a robust build.
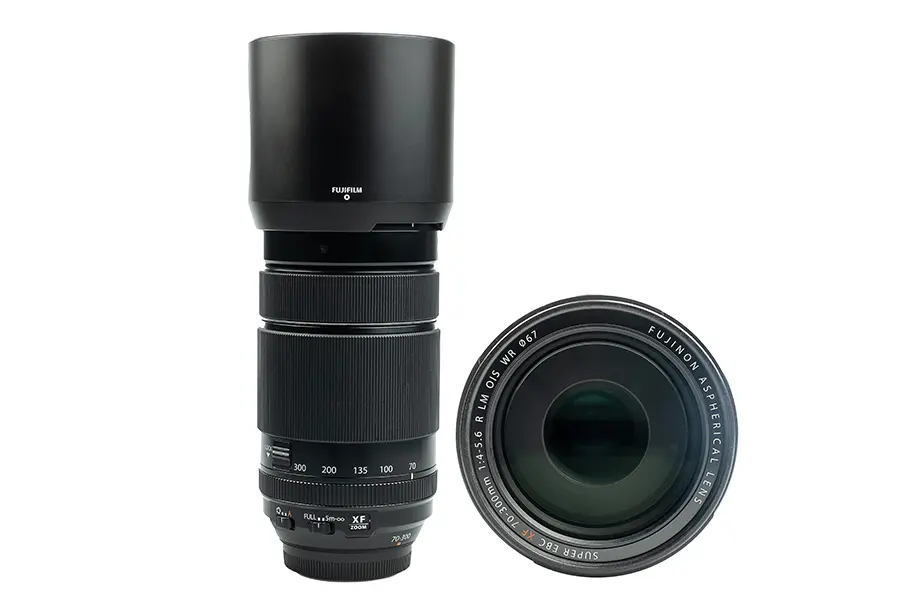
Lens
A telephoto lens (200mm or longer) lets you get closer to the moon’s surface, capturing more detail. Some top choices include:
- Canon EF 100-400mm f/4.5-5.6L IS II USM: A versatile and sharp telephoto lens compatible with Canon cameras.
- Nikon AF-S NIKKOR 200-500mm f/5.6E ED VR: An affordable yet high-quality option for Nikon users.
- Sony FE 100-400mm f/4.5-5.6 GM OSS: A high-performance telephoto lens designed for Sony’s full-frame mirrorless cameras.
- Sigma 150-600mm f/5-6.3 DG OS HSM Contemporary: A budget-friendly lens available in Canon, Nikon, and Sigma camera mounts.
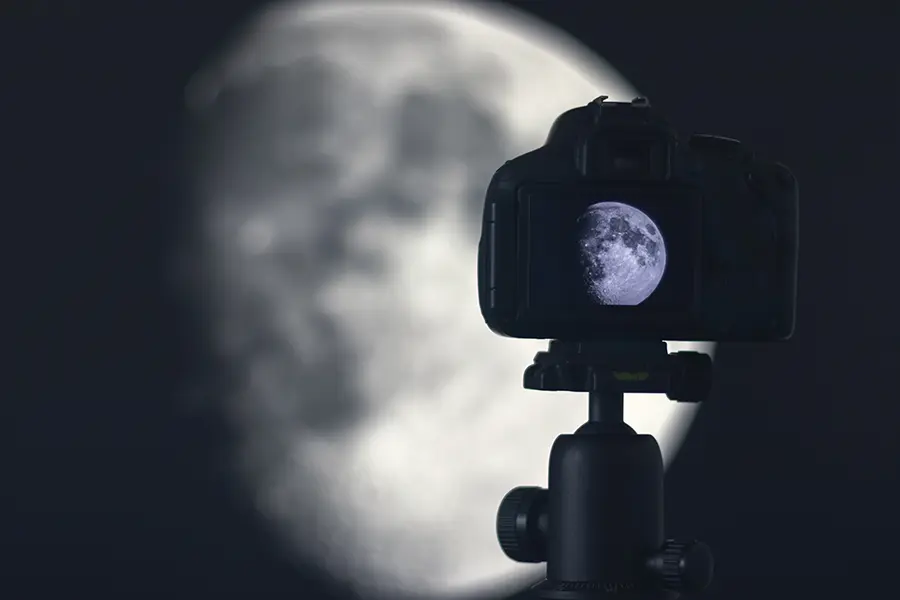
Tripod
A sturdy tripod is vital for keeping your camera stable during long exposures. Here are a few popular options: look for one with adjustable legs and a robust build.
- Manfrotto MT055XPRO3: A well-regarded aluminum tripod with a 90-degree center column for flexible shooting angles.
- Benro TMA38CL Mach3: A carbon fiber tripod known for its lightweight yet sturdy build.
- Vanguard Alta Pro 263AT: A budget-friendly aluminum tripod with an innovative multi-angle central column.
Remote Shutter Release
When pressing the shutter button, a remote shutter release helps you avoid camera shake. Here are some models to consider:
- Canon RS-60E3: A wired remote compatible with many Canon DSLRs.
- Nikon MC-DC2: A wired remote designed for use with various Nikon cameras.
- Sony RMT-DSLR2: A wireless remote compatible with select Sony Alpha cameras.
- Vello FreeWave Plus: A versatile wireless remote with cables for different camera brands.
Best Camera Settings for Moon Photography
Achieving clear and detailed Moon shots involves fine-tuning your camera settings. Let’s delve deeper into each setting and understand how they impact your photographs.
ISO 100 – 200
ISO determines your camera’s sensitivity to light. Higher ISO values allow better performance in low-light conditions but can introduce digital noise, reducing image quality. For moon photography, stick to low ISO values, ideally between 100 and 200, to minimize noise and maintain optimal image quality. The brightness of the moon’s surface will still be captured effectively at these ISO levels. I always use 100 or 200 for the ISO setting.
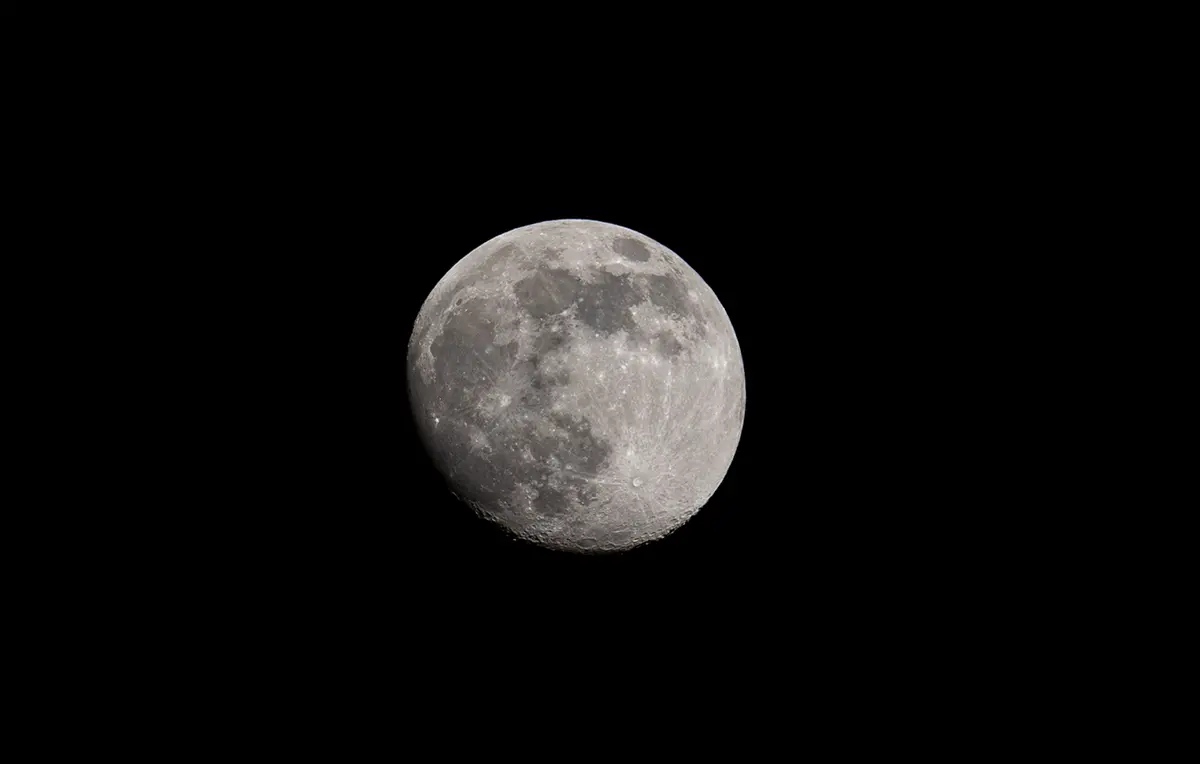
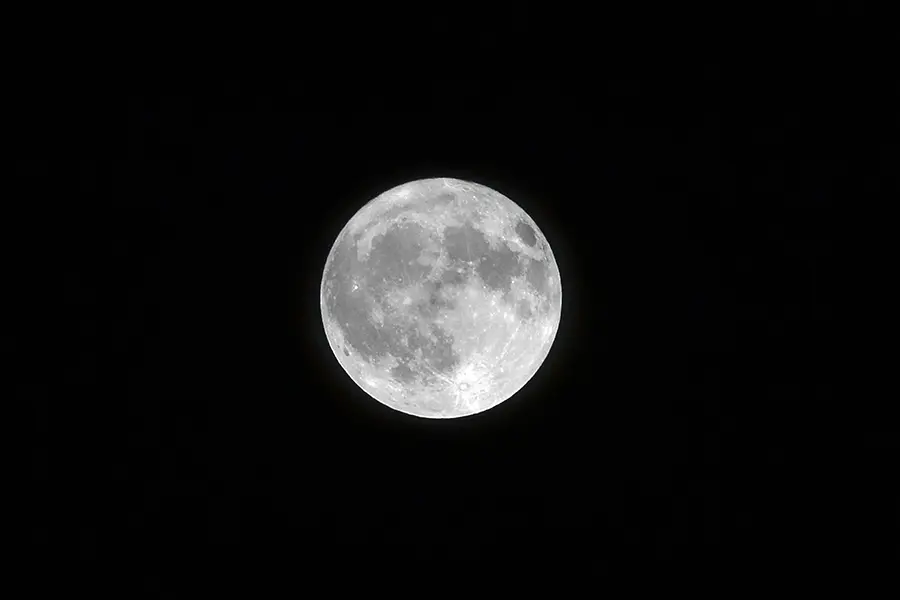
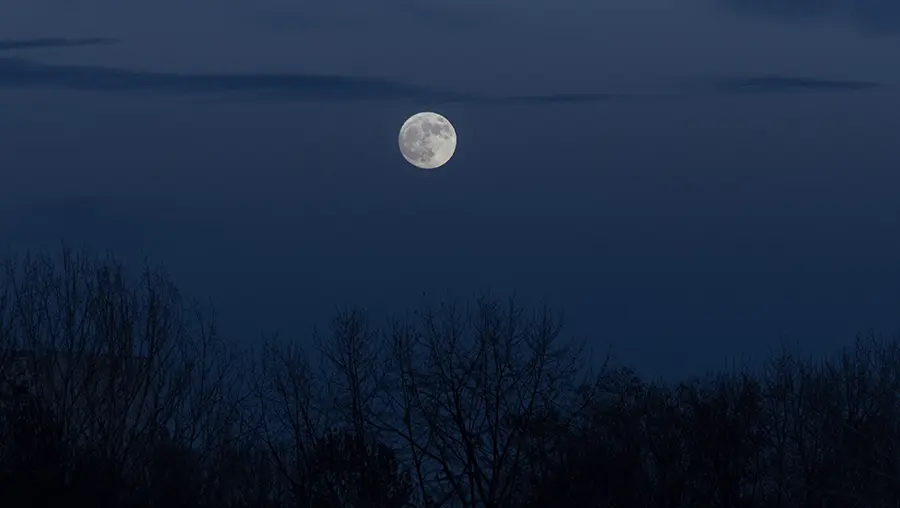
Use Faster Shutter Speed (1/125 and More)
Fast shutter speeds to freeze motion, while slow shutter speeds can cause motion blur. Since the Earth’s satellite moves relative to the Earth’s surface, a fast shutter speed is necessary to prevent blurry images. Start with a shutter speed of 1/125s or more and adjust according to the brightness of the moon’s surface and your other settings. If your photos are underexposed, try a slightly slower shutter speed, but avoid going too slow to prevent motion blur. You can see my image that I captured the moon after sunset with a fast shutter speed (1/400s).
Use a Small Aperture ( f/8 – f/11)
Some experimentation may be crucial to finding the ideal aperture for your specific lens. A wider aperture (indicated by a lower f-number) lets in more light but decreases the depth of field, while a smaller aperture (higher f-number) lets in less light but increases the depth of field. For moon photography, you’ll want a sufficient depth of field to capture the surface details sharply. The sweet spot for most lenses is around f/8 or f/11, where you’ll achieve optimal sharpness and depth of field without sacrificing too much light.
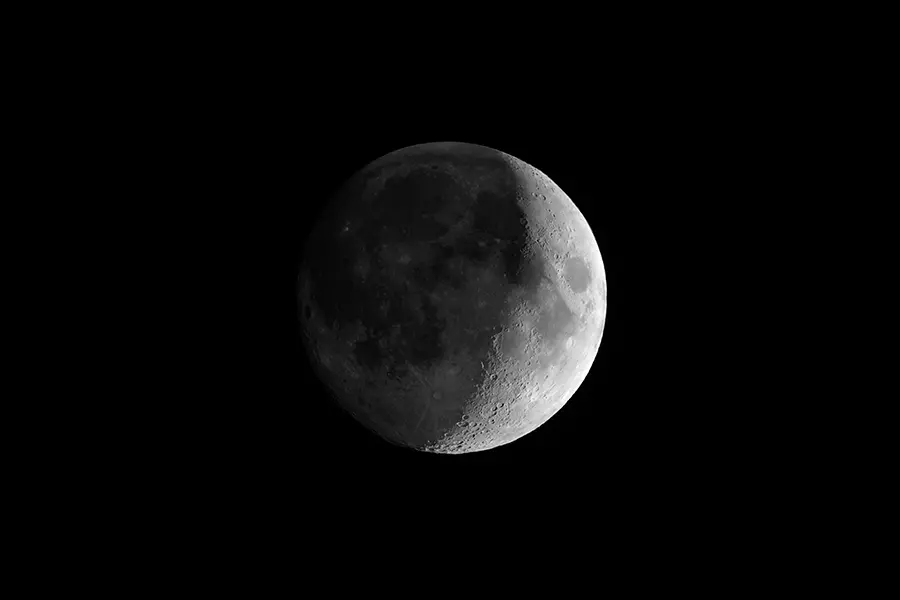
Use Manual Focus
Accurate focusing is crucial for capturing sharp moon photos. Autofocus systems can struggle with the low contrast and small size of the Earth’s satellite, so manual focus is recommended. To focus manually, switch your lens to manual focus mode and use your camera’s live view feature. Zoom in on the moon’s surface on your camera’s LCD screen, and carefully adjust the focus ring until the details appear sharp. You may need to fine-tune your focus throughout your photography session as the celestial body moves across the sky.
White Balance (Around 5500K)
The overall color temperature of your image is influenced by the white balance. The daylight white balance setting (around 5500K) is recommended for moon photography, as it closely resembles the natural color of the moon’s surface illuminated by sunlight. This setting will help you capture Earth’s satellite’s subtle colors and tones. Alternatively, you can shoot in RAW format and adjust the white balance post-processing to achieve the desired color temperature.
More to Love: Find Your Next Favorite Guide
Techniques to Improve Your Moon Photography
To take your moon photography to the next level, consider these techniques and tips that can enhance your images:
Tripod Usage
A tripod is crucial for stability during long exposures, but simply having one is insufficient. Proper setup and usage are essential for the best results:
- Extend the thickest sections of the tripod legs first to improve stability.
- Avoid extending the center column, which can make the tripod less stable.
- Ensure the tripod is on a level surface and locked securely.
- Use a sandbag or weights on the tripod’s center column hook to weigh it down, especially in windy conditions.
Remote Shutter Release
A remote shutter release minimizes camera shake when taking photos, ensuring sharper images. If you don’t have a remote shutter, use your camera’s self-timer or shutter delay instead. This delay between pressing the shutter button and the exposure will give your camera time to settle, reducing any potential shake.
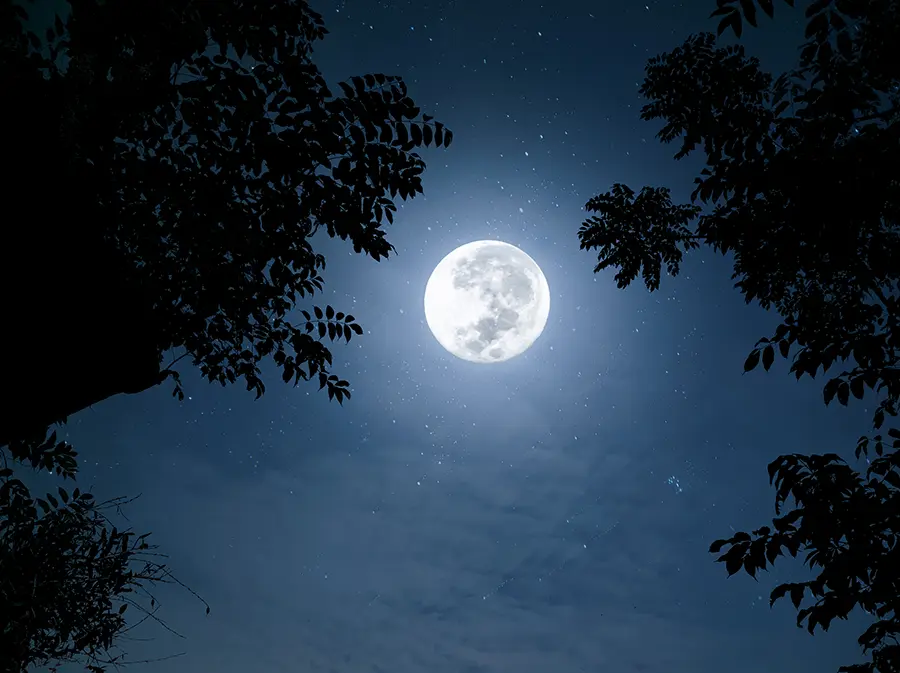
Composition
The thoughtful composition can make your moon images more visually appealing:
- Apply the rule of thirds, placing the moon subject off-center for a more balanced and dynamic image.
- Incorporate foreground elements, such as trees, buildings, or silhouettes, to add context, depth, and scale to your photos.
- Experiment with negative space, allowing the vastness of the night sky to emphasize the celestial body’s isolation and beauty.

Bracketing
Bracketing involves taking multiple photos at different settings (e.g., exposure, focus, or white balance) to ensure you capture the perfect image:
- Exposure bracketing: Vary your shutter speed or aperture to capture a range of exposures. This technique helps you balance highlights and shadows, preserving the moon’s surface’s details.
- Focus bracketing: Take several shots with slight focus adjustments to guarantee at least one image with optimal sharpness.
- White balance bracketing: Experiment with different white balance settings to achieve your image’s desired color temperature and mood.
Post-Processing
Post-processing can further enhance your moon images by adjusting levels, curves, sharpness, and other settings:
- RAW format: Shoot in RAW format to preserve the maximum amount of data, allowing for greater flexibility in post-processing.
- Levels and curves: Adjust levels and curves to enhance contrast, bringing out the details of the moon’s surface.
- Sharpening: Apply selective sharpening to the moon surface to emphasize its texture and details without introducing noise to the rest of the image.
- Noise reduction: If you need to use higher ISO values, apply noise reduction in post-processing to minimize digital noise while preserving image quality.
- Cropping: Crop your image to improve composition or remove unwanted elements from the frame.
End Note
I hope that this comprehensive guide has inspired you to embark on your moon photography adventure, and I encourage you to explore the limitless possibilities of this captivating art form. As you venture out under the stars, remember that patience, persistence, and a touch of creativity are key to unlocking the true potential of your images. So grab your camera, step into the moonlight, and let the magic of the moon landscape spark your imagination :).
FAQs
While smartphones have come a long way, they still have limitations compared to DSLRs or mirrorless cameras. However, you can use some smartphones like Samsung and a tripod for stability to achieve decent results.
During a moon eclipse, the Earth’s shadow causes the natural satellite to appear darker and redder. You can use a longer shutter speed and higher ISO to compensate for the reduced light. Bracketing is especially helpful in this situation to capture the range of tones.
A star tracker is designed for tracking stars, not the Earth’s satellite, which moves at a different rate. You can stick to a sturdy tripod and fast shutter speeds to minimize motion blur.
Overexposure can lead to a loss of detail. You can start with the recommended settings in this guide and adjust based on the brightness of the natural satellite. Bracketing exposures can also help you find the right balance.