
A Journey into Long-Exposure Photography
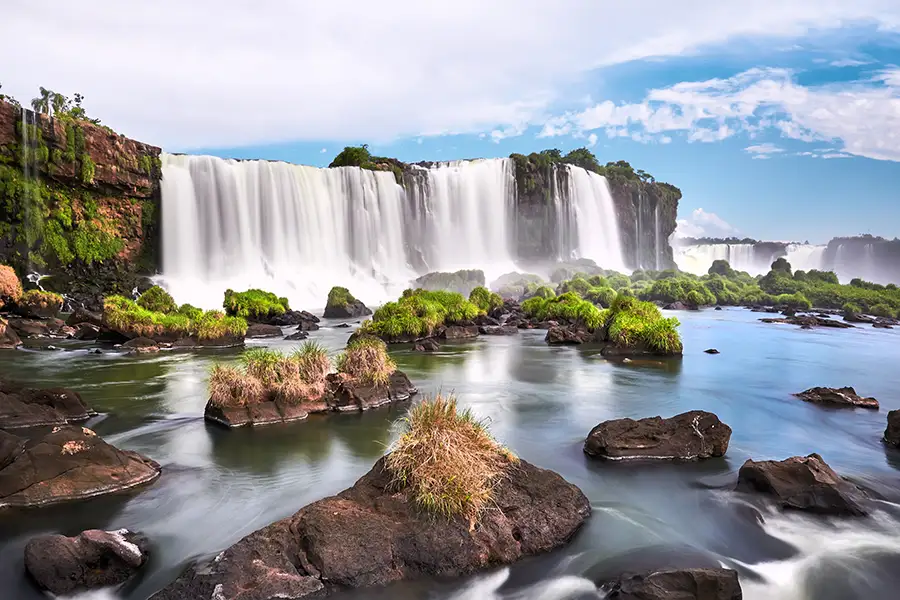
Long-exposure photography is a captivating technique that can transform even the most mundane scenes into breathtaking works of art. As someone passionate about photography, I am always captivated by the world’s beauty. One technique that has always intrigued me is long-exposure photography. Long-exposure photography is a captivating technique that can transform even the most mundane scenes into breathtaking works of art. With slow shutter speeds, this technique allows photographers to capture the movement of elements in a scene, resulting in stunning images. Fortunately, if you’re interested in delving deeper into this art form, you’re Lucky! In this article, we’ll share 14 essential tips to help you master the art of long-exposure photography and elevate your image-making skills. So, without further ado, let’s dive right in!
Table of contents
- A Journey into Long-Exposure Photography
- Understanding Long-Exposure
- 1. Use a Sturdy Tripod
- 2. Experiment with Shutter Speeds
- 3. Choose the Correct Aperture
- 4. Fine-Tune the ISO Settings
- 5. Utilize Neutral Density Filters
- 6. Plan Your Shoot According to Weather Conditions
- 7. Find the Perfect Location
- 8. Play with Light Trails and Motion Blur
- 9. Master the Art of Composition
- 10. Stay Patient and Take Multiple Shots
- 11. Use Manual Focus
- 12. Keep an Eye on the Histogram
- 13. Shoot in RAW Format
- 14. Post-Processing Techniques
- Conclusion
- FAQs
Understanding Long-Exposure
Long-exposure photography is a creative technique that uses slow shutter speeds to capture the movement of elements within a scene, producing distinctive and captivating images. By leaving the camera’s shutter open for an extended period, more light enters the sensor, capturing the motion of objects such as clouds, water, or traffic. This creates a unique visual effect that showcases the passage of time and the beauty of motion in photography.
When working with long-exposure photography, it is crucial to understand the factors that affect your images. The shutter speed, aperture, and ISO all play a role in determining the outcome of your pictures. By understanding the fundamentals of long-exposure photography, you can start experimenting with various techniques to create stunning images. I will explain each of them.
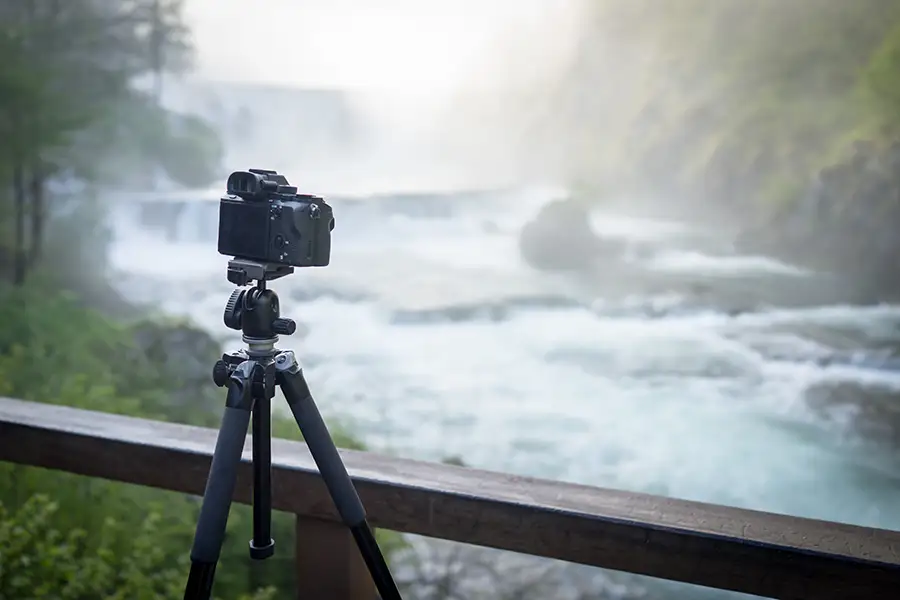
1. Use a Sturdy Tripod
Using a sturdy tripod is essential for long-exposure photography, as it ensures that the camera remains stable throughout the exposure, preventing blurriness in the final image. When choosing a tripod, consider the following factors:
- Material: Carbon fiber tripods are lightweight and sturdy, making them ideal for long-exposure photography. Aluminum tripods, while typically more affordable, can be heavier and less stable.
- Weight capacity: Make sure that your camera and lens combination is well-supported by the tripod. A tripod with a higher weight capacity provides better stability and reduces the risk of your equipment falling over.
- Height adjustability: Choose a tripod with adjustable height to accommodate various shooting scenarios and perspectives.
- Leg locking mechanisms: Look for tripods with secure and easy-to-use leg locking mechanisms to guarantee stability during long exposures.
- Collapsibility: A collapsible tripod is easier to transport and store, making it more convenient for photographers who travel or hike to remote locations.
2. Experiment with Shutter Speeds
Shutter speed is a critical component of long-exposure photography, and experimenting with different speeds is key to mastering the technique. The shutter speed determines the duration of the exposure, which directly impacts the appearance of motion in the image. Here are some tips for experimenting with shutter speeds:
- Start with a base shutter speed, such as 1 or 2 seconds, and observe the effect on your image.
- Gradually increase the shutter speed, noting how the motion in the scene changes with each increment.
- For very long exposures, consider using the camera’s bulb mode, which allows you to manually control the duration of the exposure beyond the camera’s maximum shutter speed.
- Keep a log of your shutter speed experiments to help you identify the ideal settings for various shooting conditions and desired effects.
3. Choose the Correct Aperture
The aperture, measured in f-stops, is one of the three pillars of the exposure triangle and plays a crucial role in long-exposure photography. It controls the amount of light entering the camera through the lens and affects the depth of field. Here’s how to choose the correct aperture for long-exposure photography:
- Depth of field: Consider the desired depth of field for your image. A smaller aperture (higher f-stop number, like f/11 or f/16) results in a larger depth of field, keeping more elements in focus within the scene. A larger aperture (lower f-stop number, such as f/2.8 or f/4) creates a shallower depth of field, which can be used to isolate a subject from its surroundings.
- Available light: In low light conditions, you may need to use a larger aperture to allow more light into the camera. However, in bright conditions, using a smaller aperture can help reduce the amount of light entering the camera, allowing for longer exposure times without overexposing the image.
- Diffraction: Be aware that using extremely small apertures (such as f/22 or smaller) can lead to diffraction, which can decrease image sharpness. Choose an aperture that balances the desired depth of field with image quality.
4. Fine-Tune the ISO Settings
Your camera’s sensor sensitivity to light is determined by the ISO setting. I believe that fine-tuning the ISO is crucial for capturing high-quality images in long-exposure photography. Here are some tips for fine-tuning your ISO settings:
- Start with a low ISO: Begin with a low ISO setting (such as ISO 100 or 200) to reduce noise and maintain image quality. Lower ISO values result in cleaner images with less noise but may require longer exposure times to achieve proper exposure.
- Adjust as needed: If you cannot achieve the desired exposure with a low ISO setting, gradually increase the ISO until you find the optimal balance between exposure and image quality. Remember that higher ISO values can introduce more noise into your images, so only increase the ISO when necessary.
- Noise reduction: If you need to use a higher ISO setting to achieve your desired exposure, consider using noise reduction techniques during post-processing to minimize the appearance of noise in your images.
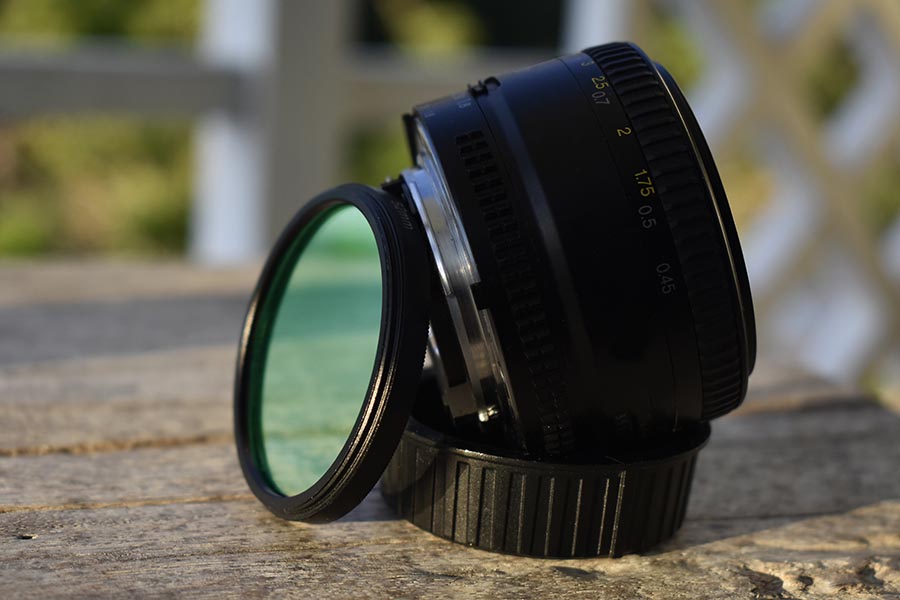
5. Utilize Neutral Density Filters
Neutral Density (ND) filters are indispensable for long-exposure photography, particularly when shooting in bright conditions. They reduce the light entering the camera, enabling slower shutter speeds without overexposing the image. Here’s what you need to know about ND filters:
- Strength: ND filters are available in different strengths or “stops.” Each stop reduces the light entering the lens by half. Common strengths include 3-stop, 6-stop, and 10-stop filters. Choose the appropriate strength based on the shooting conditions and the desired effect.
- Fixed vs. variable: Fixed ND filters have a constant light reduction, while variable ND filters allow you to adjust the strength by rotating the filter. Variable ND filters offer more flexibility but can sometimes produce uneven light reduction or color casts.
- Quality: Invest in a high-quality ND filter to ensure accurate color reproduction and sharpness in your images. Cheaper filters may introduce color casts or reduce image quality.
- Stacking filters: In some cases, you may need to stack multiple ND filters or use a single variable ND filter to achieve the necessary light reduction for very long exposures during bright conditions. Be cautious when stacking filters, as this can sometimes lead to vignetting or a decrease in image quality.
6. Plan Your Shoot According to Weather Conditions
In my opinion, planning a long-exposure photoshoot according to prevailing weather conditions is essential for achieving the desired effect in the images. The weather conditions can heavily influence the outcome of the photos, so it’s important to consider them before starting the shoot. Here are some tips for planning your shoot based on weather conditions:
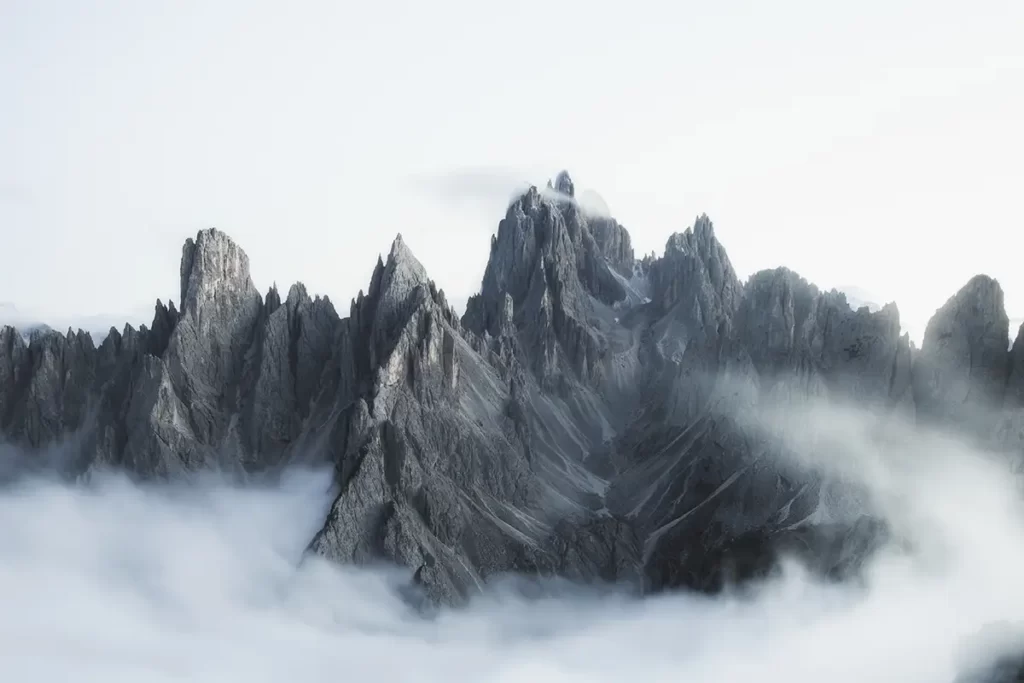
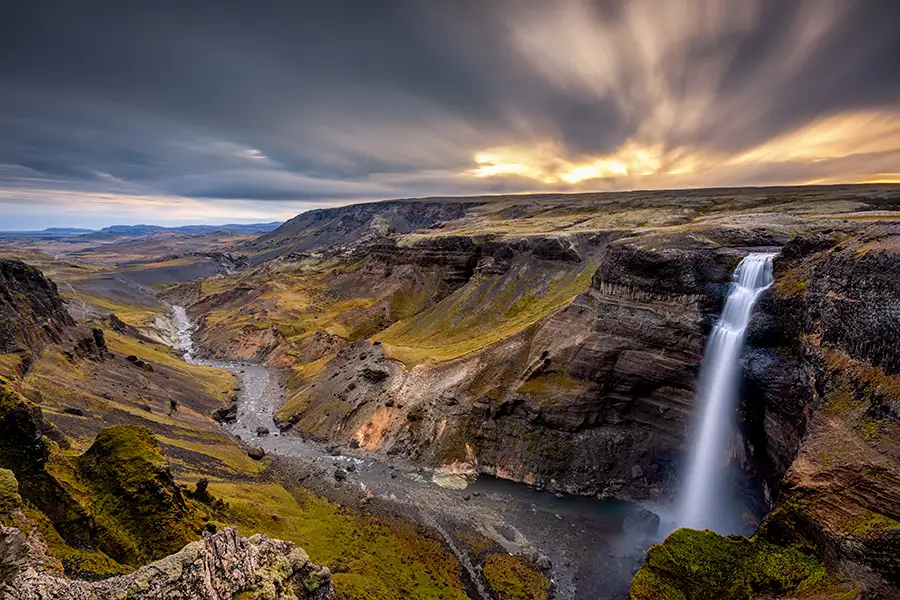
- Cloud movement: Overcast days with moving clouds create dramatic skies, making them ideal for long-exposure photography. Fast-moving clouds can add a sense of motion to your images, while slow-moving clouds can create a serene atmosphere.
- Wind: Windy conditions can create fascinating patterns in water, foliage, or other moving elements in your scene. The strength and direction of the wind will influence the appearance of motion in your images.
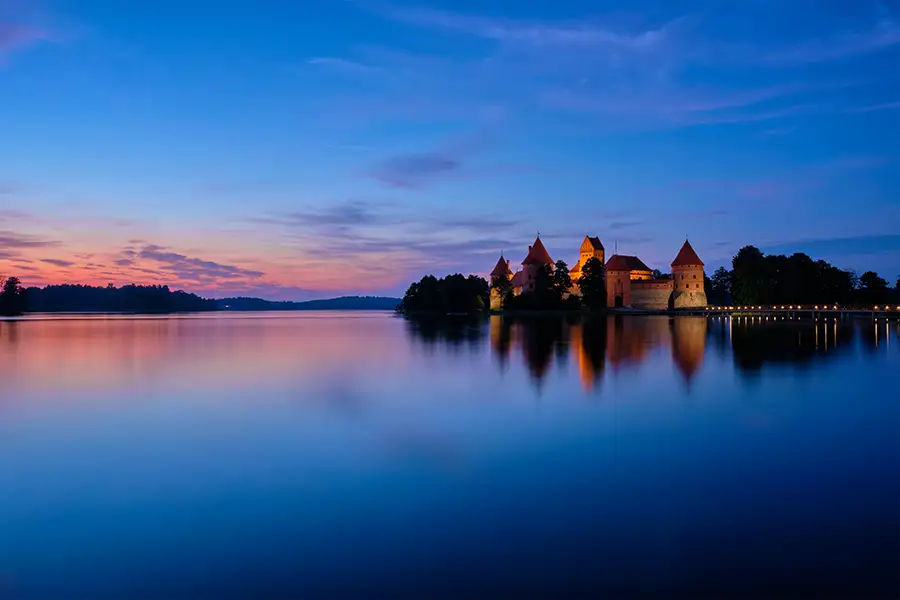
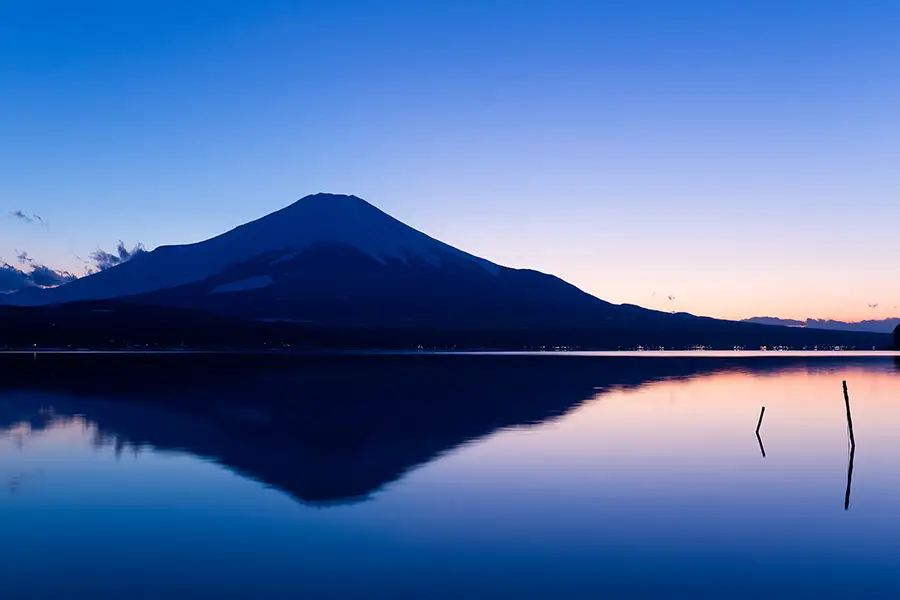
- Light: The quality and direction of natural light can dramatically affect your images. Golden hour and blue hour offer soft, warm light that enhances the mood of long-exposure photos.
- Rain: Rain can add an exciting element to your images, creating reflections and improving the texture of surfaces. However, shooting in wet conditions may require additional protection for your camera and gear.
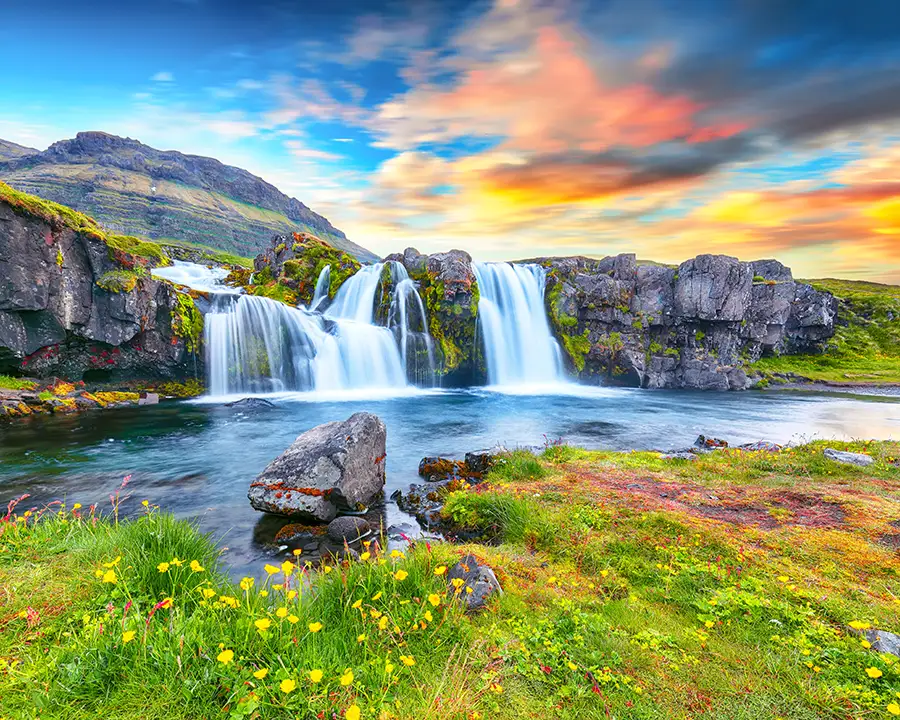
7. Find the Perfect Location
The location you choose for your long exposure shoot can make or break your images. Look for interesting elements that will create a sense of movement or add depth to your composition. Here are some leads for finding the perfect location:
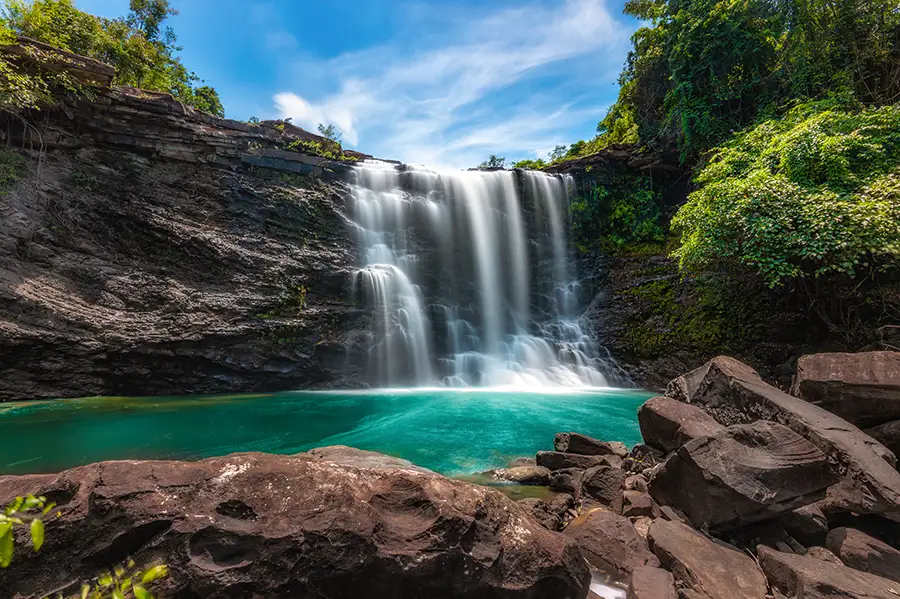
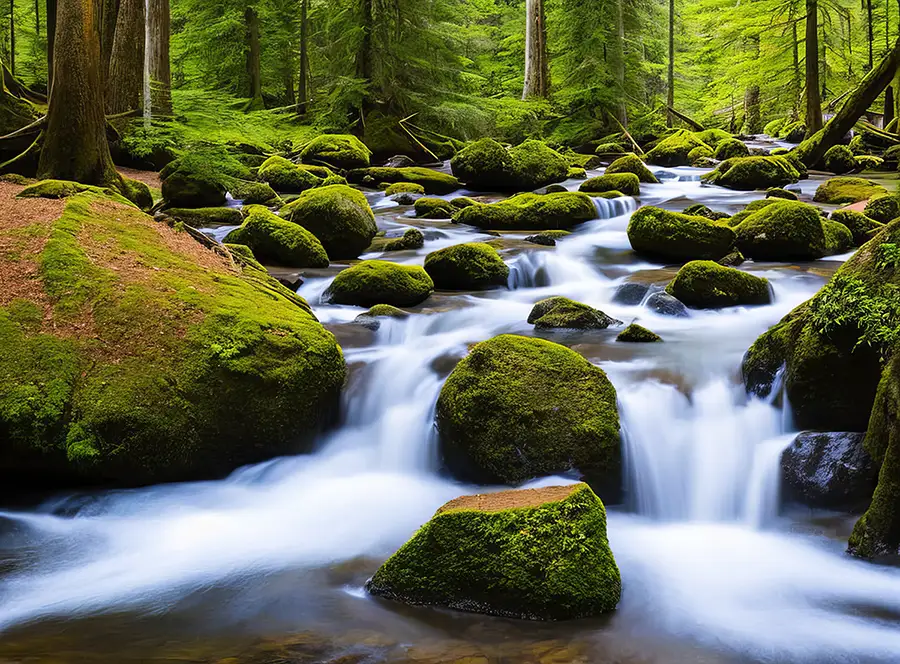
- Water: Bodies of water, such as oceans, rivers, and waterfalls, are popular subjects for long-exposure photography, as they create smooth, silky textures when captured with slow shutter speeds.
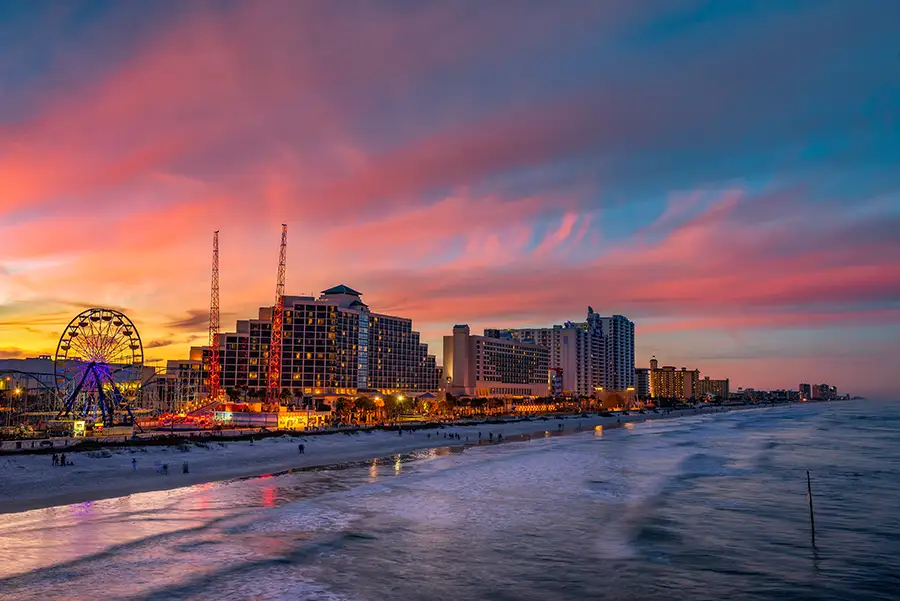
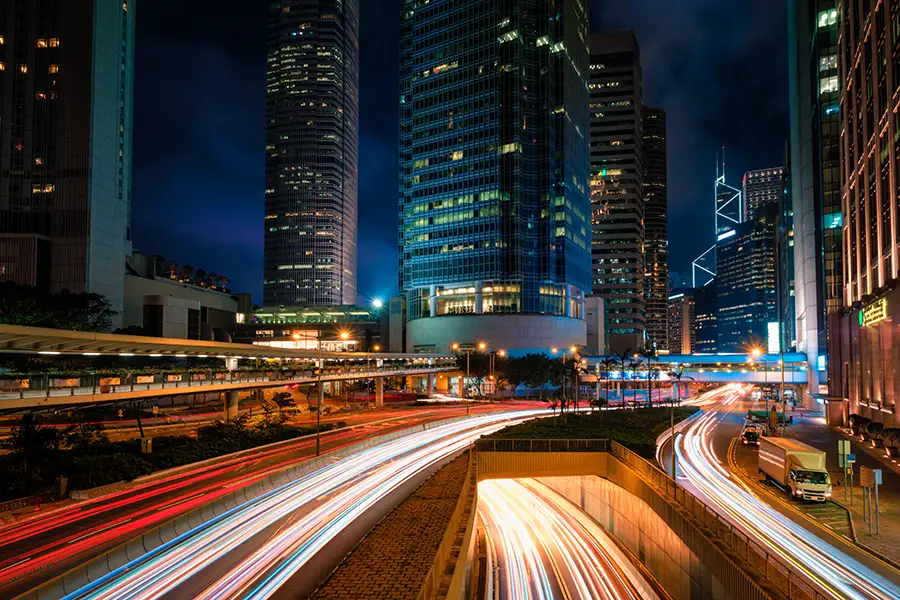
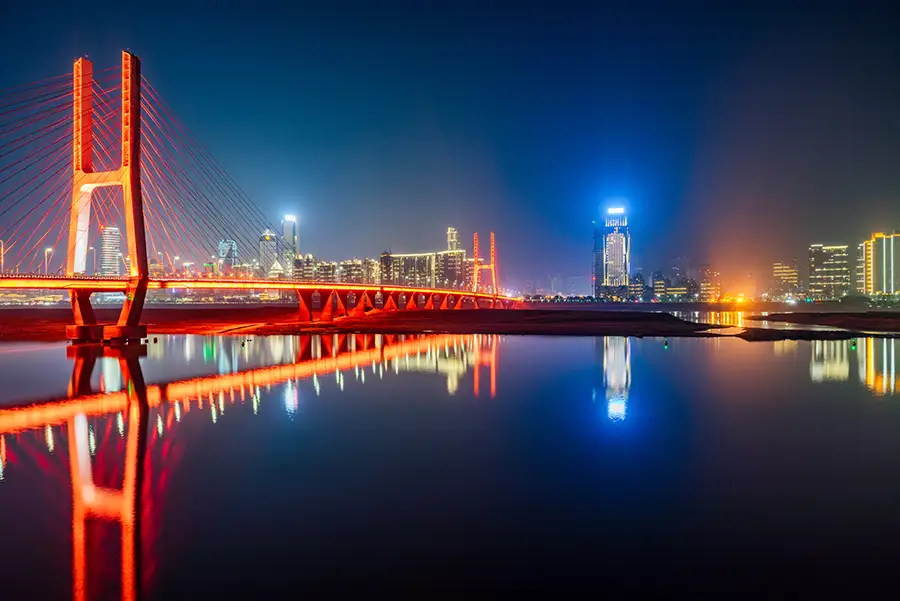
- Cityscapes: Busy city streets, intersections, and highways allow capturing light trails and motion blur from moving vehicles and pedestrians.
- Landscapes: Look for landscapes with moving elements, such as clouds, trees, or grass, that can add a sense of motion to your images.
- Timing: Visit your chosen location at different times of the day to find the best lighting conditions and capture different moods.
More to Love: Find Your Next Favorite Guide
8. Play with Light Trails and Motion Blur
Long-exposure photography lets you capture light trails and motion blur, creating dynamic and eye-catching images. Here are some ideas for incorporating light trails and motion blur into your shots:
- Traffic: Position yourself near busy roads or intersections to capture light trails from moving vehicles. Experiment with different shutter speeds to control the length and intensity of the light trails.
- People: Use the movement of people in your scene to create a sense of motion or chaos. This can be particularly effective in crowded places like markets, train stations, or tourist attractions.
- Nature: Capture the movement of natural elements, such as water, clouds, or foliage, to create a sense of motion in your images.
9. Master the Art of Composition
Composition is crucial in long-exposure photography, as it helps guide the viewer’s eye through the image. Here are some tips for mastering composition in long-exposure photography:
- Rule of thirds: Divide your frame into a 3×3 grid and place your subject along the grid lines or at the intersection points for a balanced composition.
- Leading lines: Use lines or patterns in your scene to guide the viewer’s eye toward the main subject or create a sense of depth.
- Foreground interest: Include interesting foreground elements to add depth and context to your images.
- Balance: Pay attention to the placement of static and moving elements in your scene to create a harmonious composition.
10. Stay Patient and Take Multiple Shots
Long-exposure photography requires patience and persistence. It’s important to remember that it may take several attempts to achieve the desired effect, so I should be prepared to take multiple shots. Here are some tips for staying patient and taking multiple shots:
- Bracketing: Use exposure bracketing to capture images at different shutter speeds or exposures. This will give you more options when selecting the best shot.
- Experimentation: Try different angles, compositions, and camera settings to find the optimal combination for your scene.
- Learn from mistakes: Review your pictures as you shoot and identify any issues, such as camera shake, overexposure, or poor focus. Adjust your settings or technique accordingly and try again.
- Persistence: Remember that achieving the perfect long-exposure shot may take time and practice. Stay patient and keep trying until you capture the image you envision.
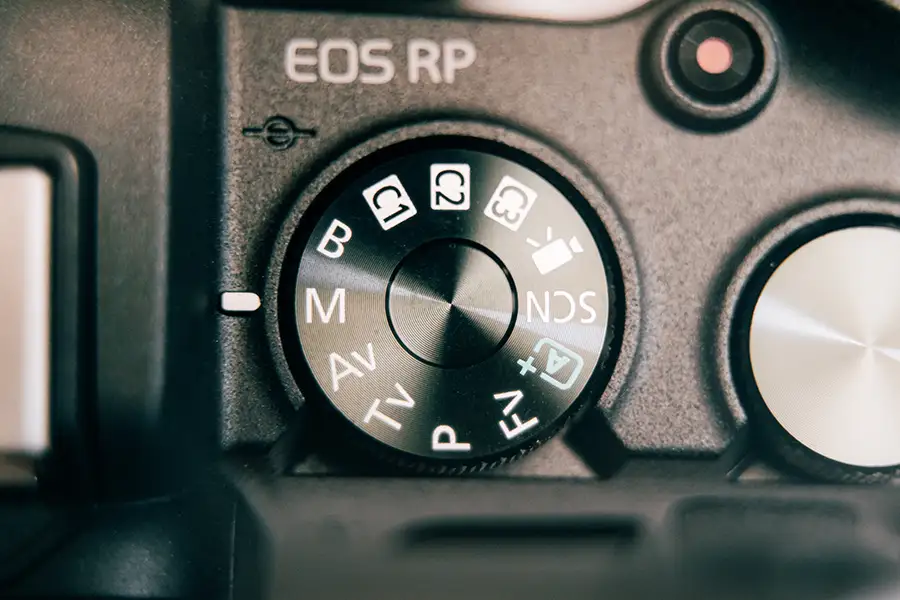
11. Use Manual Focus
Manual focus can be more reliable than autofocus when shooting long-exposure images, particularly in low light or with moving subjects. Here’s how to use manual focus effectively:
- Switch to manual focus mode on your camera and lens.
- Utilize the focus ring on your lens to adjust the focus, or use focus peaking (if available on your camera) to help identify the sharpest focus point.
- Use the camera’s live view or magnification features to confirm that your subject is in sharp focus before taking the shot.
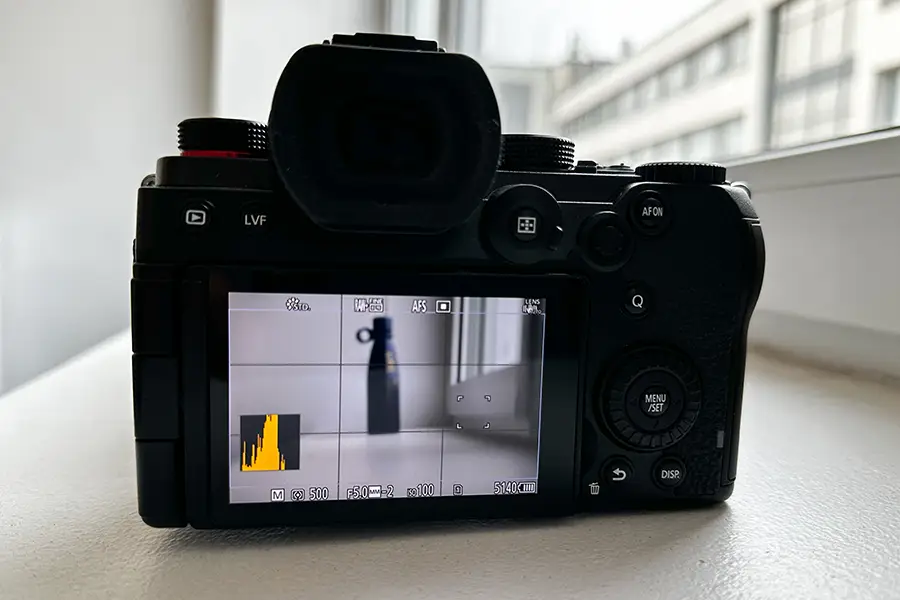
12. Keep an Eye on the Histogram
A histogram is a helpful tool for monitoring the exposure of your images during a long exposure shoot. Here’s how to use the histogram effectively:
- Enable the histogram display on your camera, either through the camera settings or by pressing the designated button.
- Monitor the histogram during your shoot to ensure your images are properly exposed. The histogram should display a balanced distribution of tones without significant clipping in the shadows or highlights.
- Adjust your shutter speed, aperture, or ND filter as needed to achieve the optimal exposure based on the histogram.
13. Shoot in RAW Format
Shooting in RAW format is highly recommended for long-exposure photography, as it offers several advantages over JPEG format. Here’s why shooting in RAW is important:
- Maximum detail: RAW files capture the maximum detail from the camera’s sensor, allowing for greater flexibility during post-processing. This is particularly important for long-exposure images, which may require extensive editing to achieve the desired effect.
- Better dynamic range: RAW files have a higher dynamic range than JPEG files, which means they can capture more detail in the highlights and shadows. This is crucial for long-exposure photography, as it allows you to recover more detail from overexposed or underexposed areas of your image during post-processing.
- Non-destructive editing: RAW files can be edited non-destructively, so you can adjust your image without permanently altering the original file. This allows you to experiment with different editing techniques and settings without the risk of damaging your original image.

14. Post-Processing Techniques
Post-processing is an important aspect of long-exposure photography, allowing you to enhance your images and bring out the best. Here are some post-processing techniques to consider:
- Exposure and contrast adjustments: Use editing software, such as Adobe Lightroom or Photoshop, to fine-tune your exposure and contrast settings, ensuring your images are properly balanced and visually striking.
- Color correction and enhancement: Adjust your images’ white balance, saturation, and vibrancy to achieve accurate and appealing colors.
- Noise reduction: When using a high ISO setting or very long exposure times, it’s advisable to apply noise reduction techniques to reduce noise in your images.
- Combining exposures: Create stunning composite images by blending multiple exposures, such as blending an image with light trails and a separate image with a sharp, static subject.
Conclusion
I believe that long-exposure photography is a highly rewarding and creative technique that allows me to capture breathtaking images that stand out. To create stunning long-exposure photos that showcase your artistic vision, you should pay attention to weather conditions, find the perfect location, experiment with light trails and motion blur, master composition, stay patient, take multiple shots, and hone your camera settings and post-processing skills.
Be bold and willing to try out new techniques or tinker with various settings to discover what suits you best. By pushing yourself outside your comfort zone and continuously honing your skills, you can take your long-exposure photography to new heights and create images that truly stand out. So keep practicing and refining your skills, and who knows your next long exposure image could be your best one yet! With time, patience, and persistence, you’ll be amazed at how far you can go with long-exposure photography.
FAQs
There is no one-size-fits-all shutter speed for long-exposure photography. The ideal shutter speed depends on the effect you want to achieve and the light conditions in your scene. Try out a range of shutter speeds to determine the most suitable one for your specific situation.
A sturdy tripod is essential for reducing camera shake during long exposure photography. Additionally, use a remote shutter release or your camera’s self-timer function to minimize any movement when pressing the shutter button.
Any camera with manual controls for shutter speed, aperture, and ISO can be used for long-exposure photography. However, DSLRs and mirrorless cameras offer more flexibility and better image quality than point-and-shoot cameras.
Yes, you can do long-exposure photography during the day. However, you will likely need an ND filter to decrease the light entering your camera, allowing you to utilize slower shutter speeds without overexposing your images.