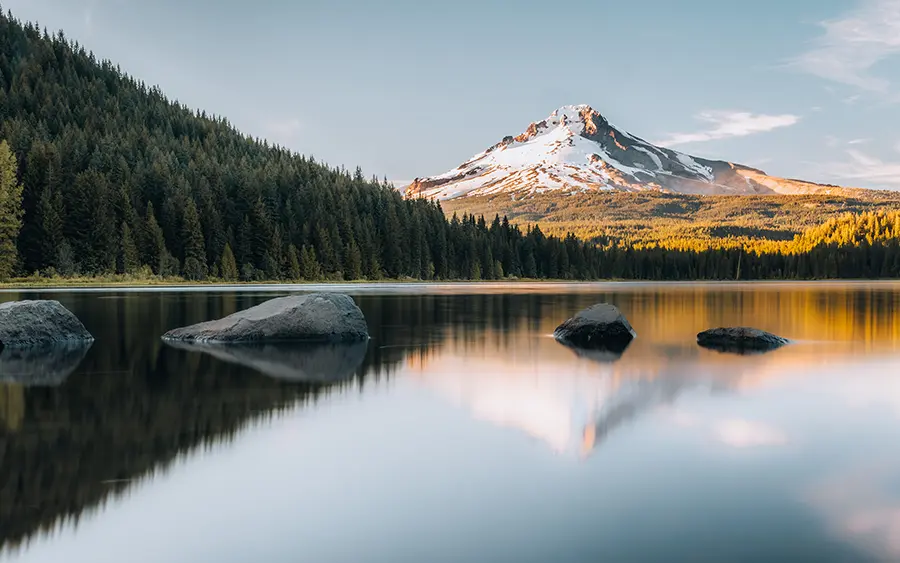
Capturing the Majesty of Mountain Landscapes
I’m Milad, driven by the desire to share my vision and experiences with the world. Mountain photography allows us to showcase the raw power and serenity of the great outdoors on a perfect canvas. Through my photographs, I aim to capture the beauty and uniqueness of the world around me while conveying my emotions and perspectives. Whether you’re an experienced professional or an excited hobbyist, there is always something new to learn and explore in mountain photography. My aim with this guide is to provide you with the tips and techniques necessary to improve your craft and take your mountain images to new heights.
4 Advance Tips for Mountain Photography
- Use Panoramic Techniques
- Focus Stacking for Maximum Sharpness
- Shoot During the Golden Hour and Blue Hour
- Embrace Adverse Weather Conditions
The towering peaks, rugged terrain, and breathtaking vistas of mountain landscapes have captivated the hearts of countless adventurers and artists alike. These awe-inspiring scenes offer a unique challenge for photographers, as capturing the true essence of these majestic landforms requires a keen understanding of light, composition, and the ever-changing mountain environment.
Mountains are the beginning and the end of all natural scenery.
John Ruskin
I know that capturing the perfect mountain image can be challenging, but it is also an incredibly rewarding experience. The journey is often as exhilarating as the final result, requiring patience, determination, and adaptability. With each new adventure, you will find yourself refining your photography skills and forging a deeper connection with the natural world. So, pick up your camera, lace up your hiking boots, and embark on a thrilling journey through mountain photography. I’m in with you 🙂
Choose the Best Time for Mountain Photography
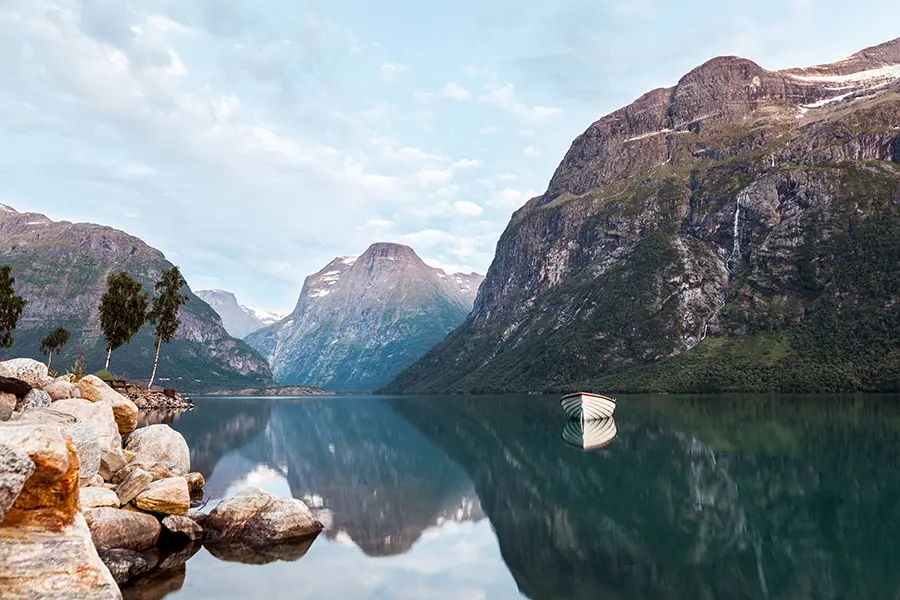
The secret to capturing truly breathtaking mountain images lies in understanding the nuances of natural light and how it interacts with the landscape. By choosing the right time to shoot, you can create striking photos that showcase the mountain’s beauty in its best light. Let me delve deeper into the factors determining the ideal time for mountain photography.
Golden Hour
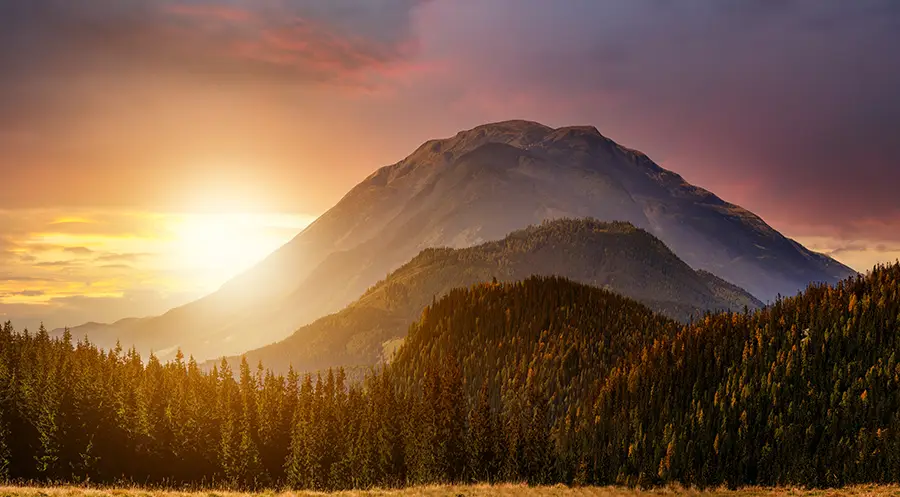
As I mentioned, the golden hour is a coveted time for photographers of all genres. The warm and soft light during this period occurs twice daily: shortly after sunrise and just before sunset. The sun’s low angle casts long shadows, accentuating the textures and contours of the mountain landscape. These shadows create depth and dimension, giving your images a more three-dimensional feel. Additionally, the warm hues during the golden hour enhance the colors in the scene, making them appear more vibrant. To make the most of this magical time, plan your shoot, and be prepared to act quickly, as the quality of light can change rapidly.
Blue Hour
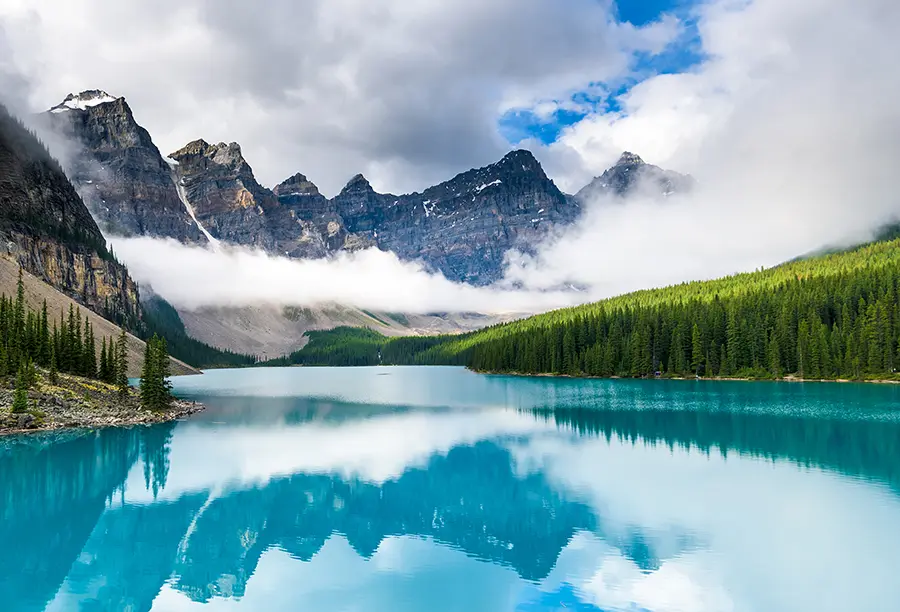
The blue hour is another highly sought-after period for mountain photography. This time occurs just before sunrise and after sunset, when the sky is filled with deep blue and purple hues. The cool tones of the blue hour contrast beautifully with the rugged mountain terrain, lending a serene and calming atmosphere to your images. During this time, the ambient light is soft and even, minimizing harsh shadows and highlights. This makes it an excellent opportunity to capture the mountain landscape’s subtle details and intricate patterns. To maximize the potential of the blue hour, you should arrive at your location well before sunrise or stay after sunset. Additionally, you should be prepared with a sturdy tripod to capture long exposures.
Seasonal Considerations
The time of year can have a significant impact on your mountain photographs. Each season brings unique opportunities and challenges:
- Spring: As the snow begins to recede and the landscape comes alive with fresh greenery and colorful wildflowers, spring is an ideal time for vibrant and lively mountain images. The higher water levels in rivers and waterfalls also add an extra element of interest to your compositions.
- Summer: Summer’s long days and clear skies offer ample opportunities for exploration and photography. The abundance of daylight allows you to capture a wide range of subjects, from lush alpine meadows to stunning mountaintop vistas. However, the intense sunlight during the midday can result in harsh shadows and washed-out colors, so aim to shoot during the golden and blue hours.
- Autumn: The changing foliage in autumn can provide a spectacular backdrop for your mountain images. The warm hues of the leaves contrast beautifully with the cool tones of the mountain peaks, creating a visually appealing palette. Keep an eye on the weather, as autumn can bring unpredictable conditions, adding drama and interest to your photographs.
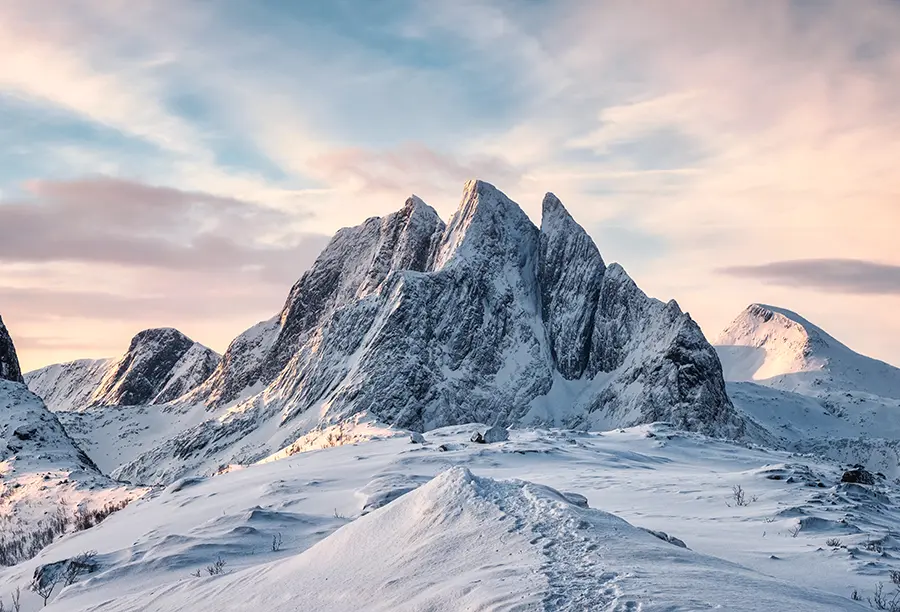
- Winter: The snow-capped peaks and crisp, clear air of winter offer a unique opportunity to capture mountain landscapes’ stark beauty. The snow can simplify the scene, highlighting the shapes and forms of the mountains. Be prepared for challenging conditions, and consider using a polarizing filter to enhance the contrast and minimize glare.
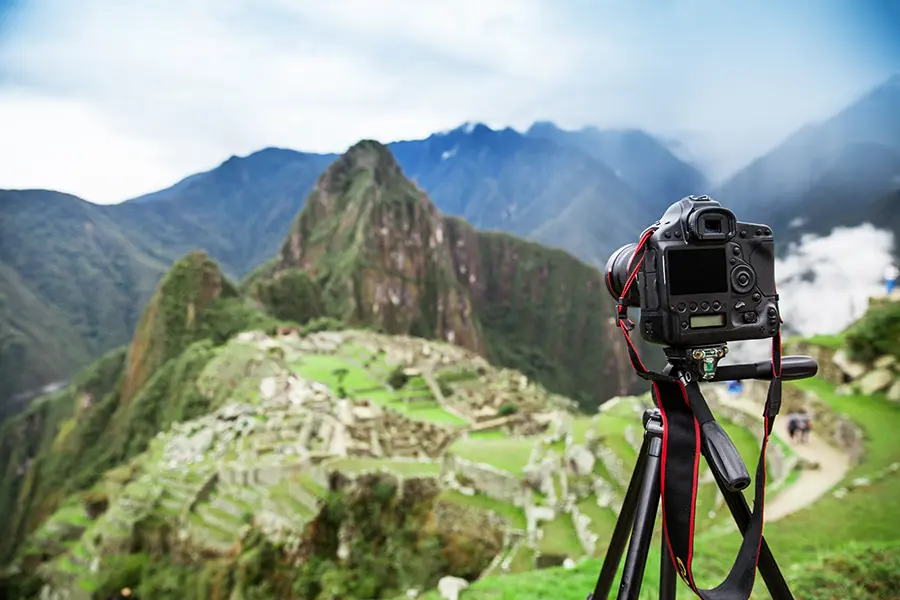
Equip Yourself with the Right Gear for Mountain Photography
You must equip yourself with the right gear to capture stunning mountain photographs. High-quality equipment will improve the technical aspects of your images and enhance your overall experience in the field. Here, we discuss some essential items and recommend specific models and brands to consider for your mountain photography adventures.
Camera
A reliable camera with manual controls and interchangeable lenses is essential for mountain photography. DSLRs and mirrorless cameras are popular choices due to their versatility and performance. Some models to consider include the following:
- Nikon D850 (DSLR): With a 45.7MP full-frame sensor and excellent dynamic range, the Nikon D850 is an ideal choice for capturing high-resolution mountain images. Its rugged, weather-sealed body ensures durability in harsh conditions.
- Canon EOS R6 (Mirrorless): The Canon EOS R6 offers a 20.1MP full-frame sensor, 5-axis in-body image stabilization, and impressive low-light performance, making it an excellent option for mountain photography enthusiasts.
- Sony A7R IV (Mirrorless): Boasting a 61MP full-frame sensor and a compact, weather-sealed body, the Sony A7R IV is perfect for photographers seeking high resolution and portability.
Lenses
Investing in quality lenses can significantly impact your mountain photography. Wide-angle lenses are ideal for capturing vast landscapes, while telephoto lenses can help you focus on details or distant peaks. Some options to consider are:
- Canon EF 16-35mm f/2.8L III USM: This wide-angle zoom lens offers excellent image quality and a fast aperture, making it suitable for landscape photography in various lighting conditions.
- Nikon AF-S NIKKOR 24-70mm f/2.8E ED VR: A versatile zoom lens with a fast aperture, this Nikon lens allows you to capture everything from wide-angle vistas to tighter shots of mountain details.
- Sony FE 70-200mm f/2.8 GM OSS: This telephoto zoom lens delivers outstanding sharpness and beautiful bokeh, making it an ideal choice for isolating subjects or capturing distant peaks.
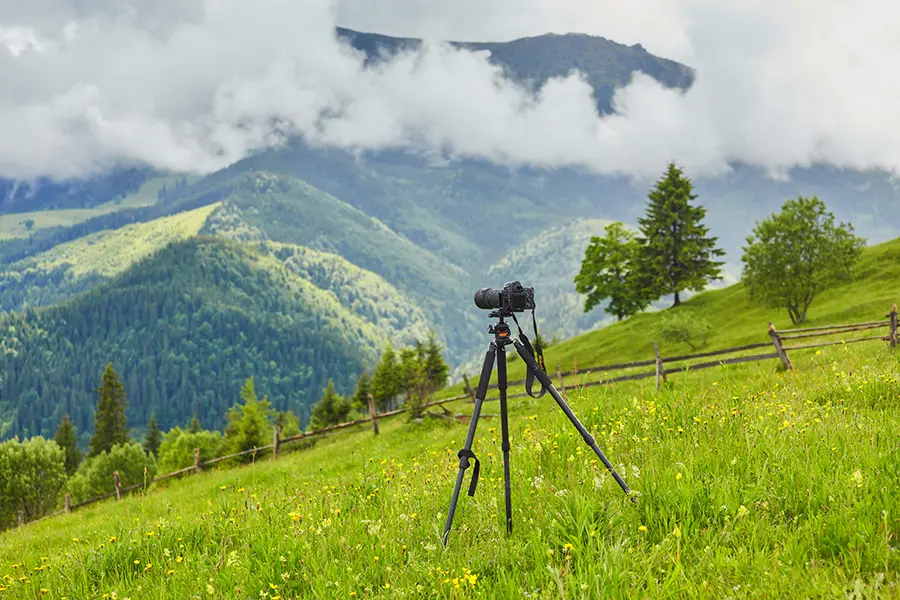
Tripod
A sturdy tripod stabilizes your camera, especially during long exposures or when shooting in low-light conditions. Lightweight yet robust options are recommended, as you may need to carry your tripod over long distances. Some models to consider are:
- Gitzo GT1545T Series 1 Traveler: This lightweight, carbon fiber tripod offers excellent stability and portability, making it perfect for mountain photography.
- Manfrotto Befree Advanced: This aluminum tripod is an excellent option, combining a compact design with reliable performance.
- Benro TMA38CL Mach3: Constructed from carbon fiber, this tripod balances durability, stability, and portability, making it well-suited for mountain photography.
Filters
Filters can enhance your mountain images by reducing glare, controlling exposure, and improving color balance. Here are some filters to consider:
- Polarizing Filters: Hoya HD3 Circular Polarizer, B+W XS-Pro Kaesemann High Transmission Circular Polarizer, and Lee Filters LEE100 Polarizer.
- Neutral Density Filters: Breakthrough Photography X4 ND, Lee Filters Big Stopper and NiSi ND-Vario Pro Nano.
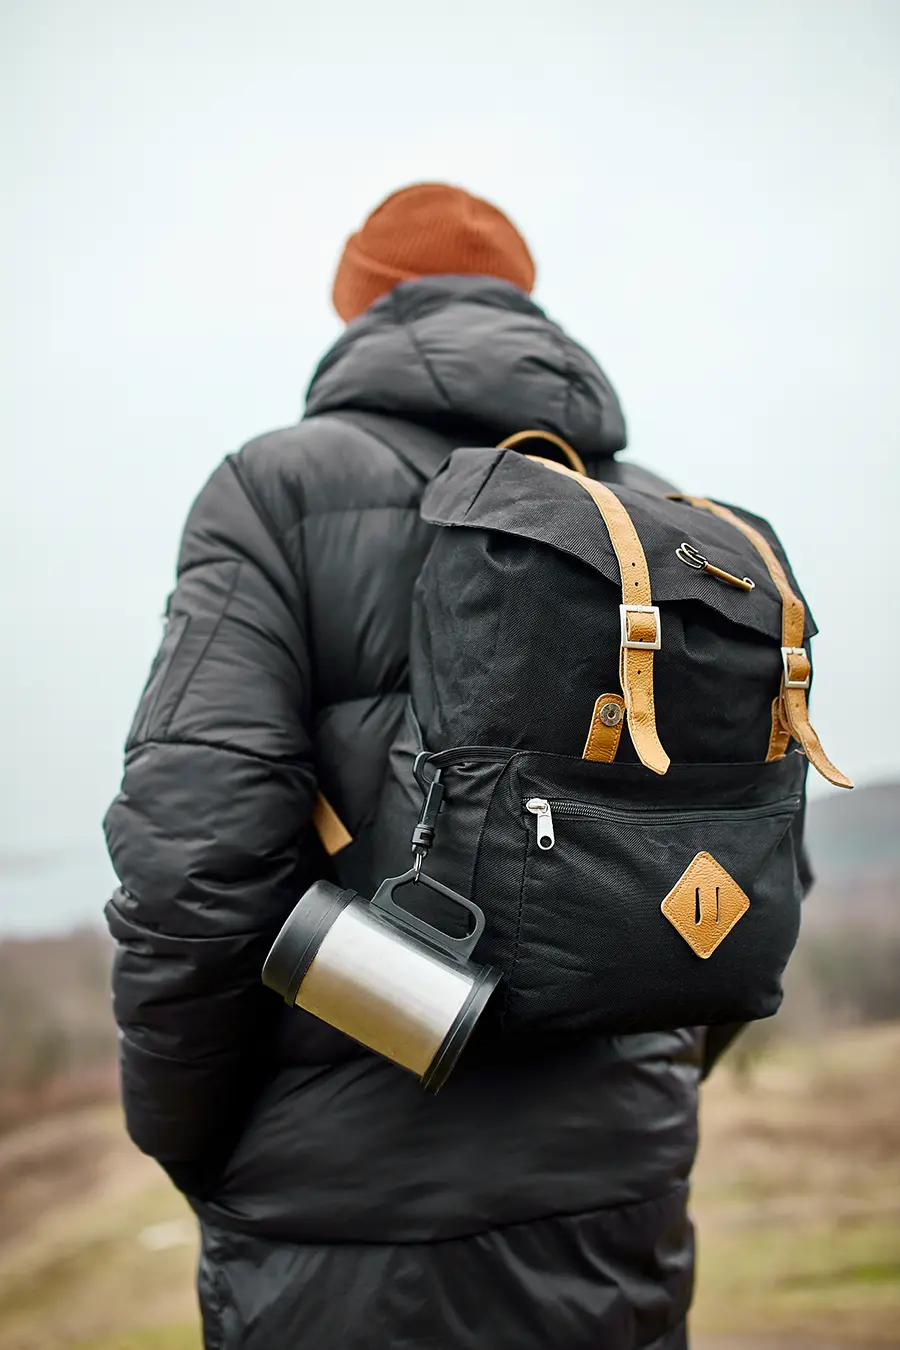
Protective Gear
Mountain conditions can be harsh, so protecting your gear from the elements is essential. Some items to consider include:
- Waterproof Camera Bag: Lowepro Flipside Trek, f-stop Mountain Series, and Think Tank Photo BackLight.
- Rain Cover: Vortex Media Pro Storm Jacket, Think Tank Photo Hydrophobia, and Peak Design Shell.
- Lens Cleaning Materials: Giottos Rocket Air Blaster, Zeiss Lens Cleaning Wipes, and Altura Photo Professional Cleaning Kit.
Additional Accessories
There are also a few additional accessories that can enhance your mountain photography experience:
- Remote Shutter Release: A remote shutter release, like the Canon RC-6, Nikon ML-L3, or Sony RMT-DSLR2, triggers the shutter without touching the camera, reducing the risk of camera shake during long exposures.
- Extra Batteries: Mountain conditions can be cold, which may drain your batteries faster than usual. Make sure to pack extra batteries for your specific camera model.
- Memory Cards: High-capacity memory cards, such as SanDisk Extreme Pro or Lexar Professional, ensure you have enough storage space for your high-resolution images.
More to Love: Find Your Next Favorite Guide
Improve Your Mountain Photography with Composition Techniques
Mastering composition techniques is essential for creating visually compelling mountain photographs. A strong composition not only showcases the mountain’s natural beauty but also tells a story and evokes an emotional response from the viewer. In this section, I will discuss several key composition techniques and guide you in applying them in mountain photography.
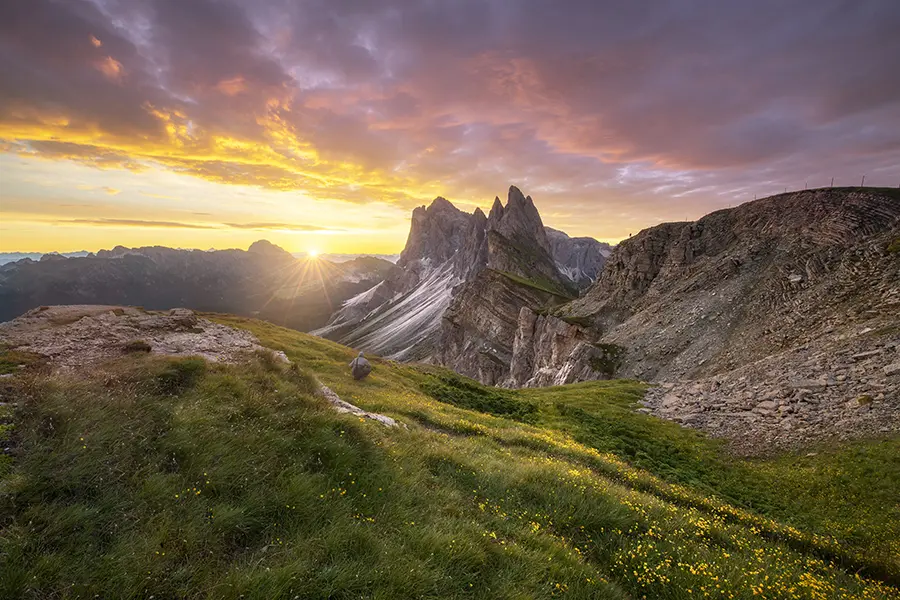
Rule of Thirds
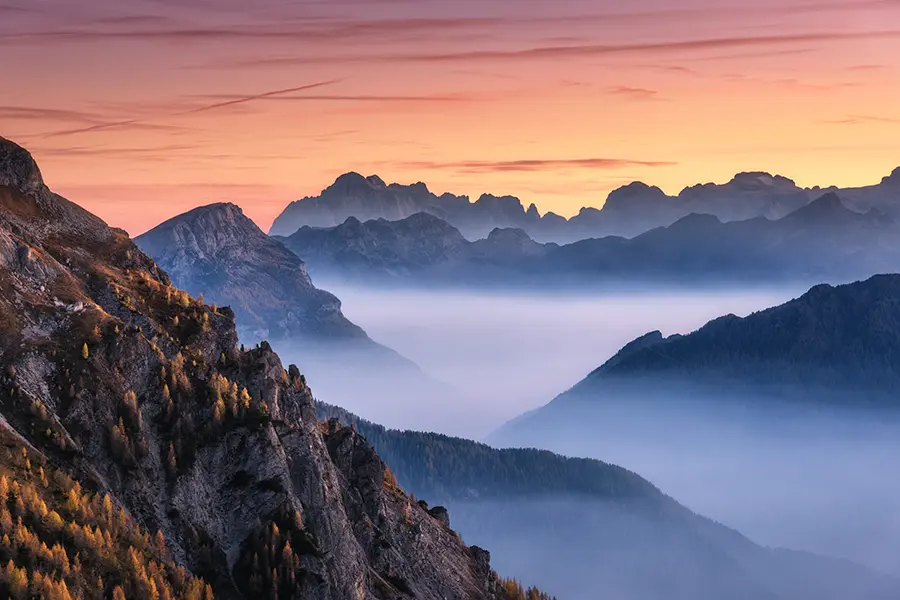
The rule of thirds is a foundational composition principle that can help you create a balanced and visually appealing image. To apply this technique, imagine your frame divided into nine equal parts by two horizontal and two vertical lines. Position the main subject or focal point along one of these lines or at the intersection points to create a sense of balance and harmony in your photograph.
In mountain photography, this technique can be used in various ways. For example, you can place a prominent peak at one of the intersection points or position the horizon along one of the horizontal lines. By adhering to the rule of thirds, you can create a sense of visual tension and interest that draws the viewer’s eye through the image.
Leading Lines
Leading lines are a powerful compositional tool that can guide the viewer’s eye through the image and direct their attention to the main subject. These lines can be natural or man-made elements in the scene, such as roads, rivers, fences, or ridgelines.
In mountain photography, you can use leading lines to accentuate the depth and scale of the landscape. For example, a winding river or trail can lead the viewer’s eye from the foreground toward a distant peak, creating a dynamic and engaging composition. Similarly, the lines created by ridges and valleys can direct the viewer’s attention to a central point of interest, such as a striking mountain summit.
Foreground Interest
Incorporating foreground interest is another effective way to add depth and dimension to your mountain photographs. By including elements in the foreground, you can create a sense of scale and context that helps the viewer appreciate the vastness of the landscape.
When composing your shot, experiment with different angles and perspectives to find the most engaging and visually appealing arrangement of foreground elements relative to the mountain backdrop. Look for natural elements such as rocks, trees, or wildflowers to serve as your foreground interest. These elements can also be visual anchors that help ground the viewer in the scene.
Framing
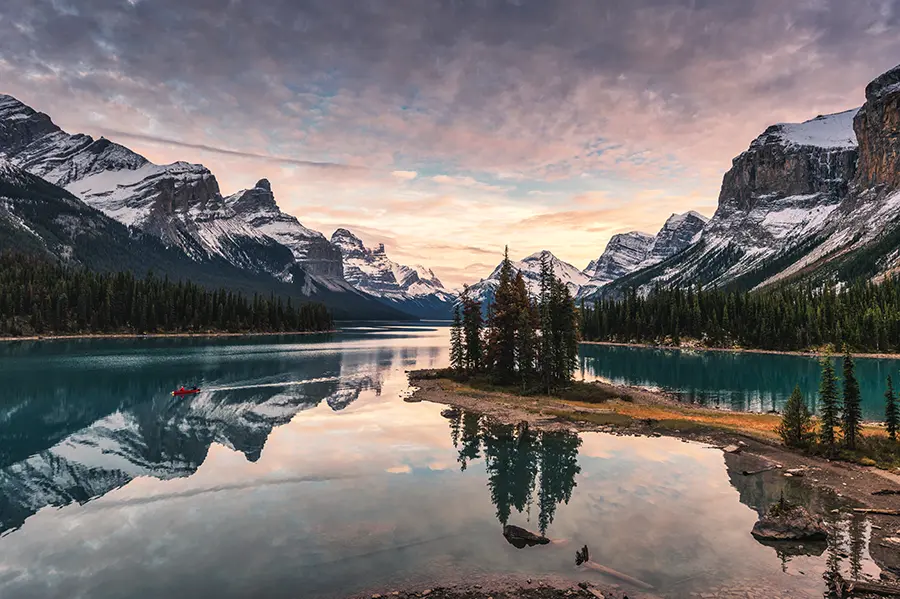
Framing is a composition technique involving elements within the scene to create a “frame” around your main subject. This can help draw attention to the focal point, add depth, and create a more visually appealing image.
In mountain photography, natural frames can be created using trees, rock formations, or even the silhouette of other mountains. By carefully selecting and arranging these framing elements, you can create a striking and visually balanced composition that highlights the majesty of the mountain landscape. For example, you can position a mountain peak between two trees or within an arch created by a rock formation.
Negative Space
Negative space refers to an image’s empty or unoccupied areas surrounding the main subject. By incorporating negative space in your mountain photography, you can create a sense of simplicity, balance, and focus that emphasizes the grandeur of the landscape.
Negative space can be created using the sky, clouds, or even areas of shadow within the scene. For example, you can compose an image with a large expanse of sky above a mountain peak, creating a sense of scale and isolation that highlights the peak’s prominence. Alternatively, you can use areas of shadow or low-contrast terrain to create negative space, which draws the viewer’s eye to the more visually striking elements of the scene.
Light Up Your Mountain Shots: Balancing Exposure and Lighting
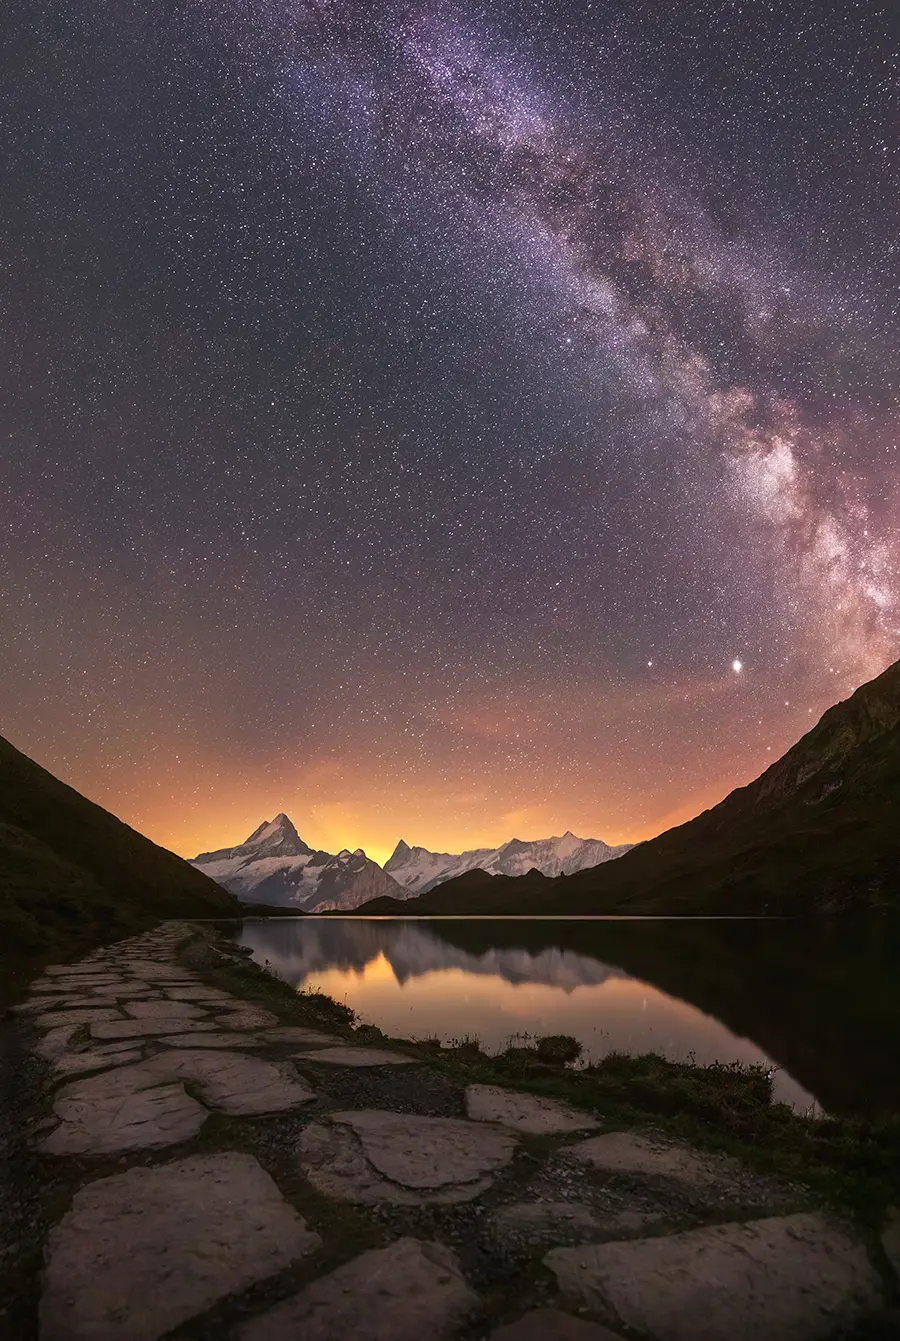
Properly balancing exposure and lighting is crucial for capturing the true essence of mountain landscapes. Due to the dynamic nature of these environments, you may often encounter challenging lighting conditions, such as extreme contrasts or rapidly changing weather. In this section, we will discuss various techniques to help you achieve well-balanced exposure and make the most of the available light in your mountain photographs.
Understanding Exposure
To achieve the desired amount of light in a photograph, exposure is used to refer to the amount of light that reaches the camera’s sensor. It is determined by three main factors: aperture, shutter speed, and ISO. Mastering these settings allows you to capture images with the right balance of brightness, detail, and sharpness.
- Aperture: Aperture controls the size of the opening in your lens, which affects the amount of light that enters the camera. A larger aperture (lower f-number) lets in more light, while a smaller aperture (higher f-number) lets in less light. Aperture also influences the depth of field; a smaller aperture creates a greater depth of field, keeping more of the scene in focus.
- Shutter Speed: Faster shutter speeds (e.g., 1/500) freeze motion, while slower shutter speeds (e.g., 1/30) can create motion blur. In mountain photography, you may need a faster shutter speed to capture sharp images in windy conditions or when shooting handheld.
- ISO: ISO controls the sensitivity of your camera’s sensor to light. A higher ISO setting increases sensitivity, allowing you to capture images in low light conditions, but may also introduce more noise into your photographs. A lower ISO setting produces cleaner images with less noise but requires more light.
Working with Challenging Lighting Conditions
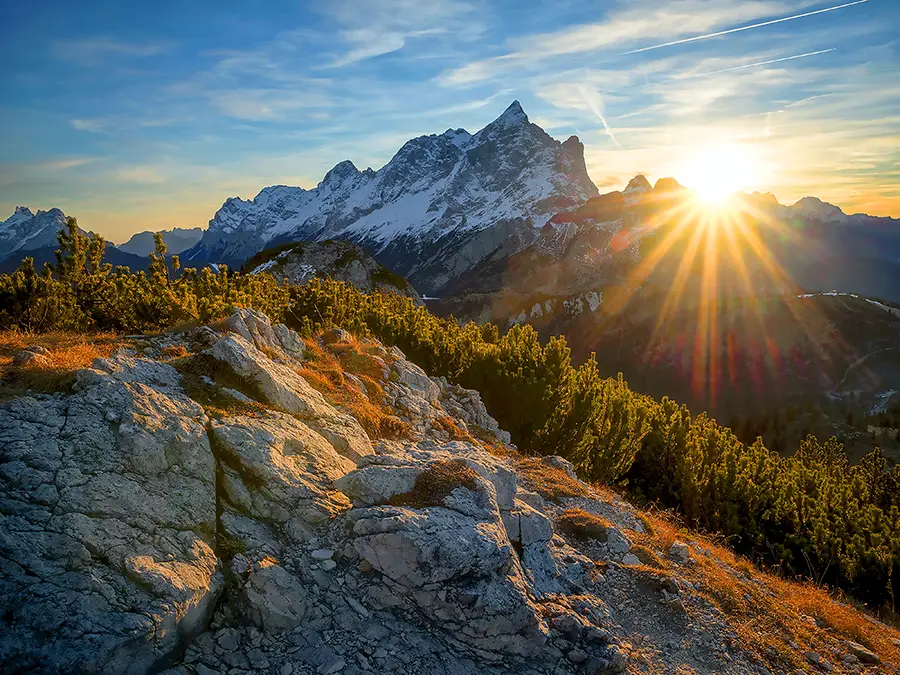
Mountain photography often involves various lighting conditions, such as harsh sunlight, deep shadows, or rapidly changing weather. Here are some techniques to help you balance exposure and make the most of the available light:
- Bracketing: Exposure bracketing involves capturing multiple images of the same scene at different exposure levels. This technique is useful when dealing with high-contrast scenes, such as a bright sky against a dark mountain. By taking several shots at varying exposures, you can later blend them in post-processing to create a final image with a balanced exposure.
- Graduated Neutral Density (GND) Filters: GND filters are designed to help balance exposure in high-contrast scenes by darkening the brighter part of the image (usually the sky) without affecting the darker areas. This allows you to capture a more evenly exposed photograph without losing detail in the highlights or shadows.
- Spot Metering: Spot metering is a camera setting that allows you to take a light reading from a specific scene area rather than averaging the entire frame. This can be helpful in mountain photography when you need to expose a particular element, such as a snow-capped peak or a sunlit ridge.
- Shooting in RAW: Capturing your images in RAW format provides more flexibility in post-processing, as it preserves more detail and dynamic range than JPEG files. This allows you to adjust exposure, contrast, and color balance without compromising image quality.
Additional Mountain Photography Tips
- Scout Locations in Advance: Research potential shooting locations before your trip using online resources, maps, or guidebooks. Familiarize yourself with the area and identify potential vantage points, trails, and interesting features to photograph.
- Capture the Human Element: Including people in your mountain photographs can add a sense of scale and create a more engaging narrative. Consider photographing hikers, climbers, or residents to convey the relationship between humans and the mountain environment.
- Experiment with Different Perspectives: Change your viewpoint to create unique and compelling compositions. Get down low to emphasize foreground elements or climb to a higher vantage point to showcase the vastness of the landscape.
- Capture Movement: Look for opportunities to incorporate movement in your images, such as flowing water, blowing snow, or moving clouds. Use slower shutter speeds to create a sense of motion and add a dynamic element to your photographs.
- Be Patient: Mountain weather is unpredictable, and lighting conditions can change rapidly. Be prepared to wait for the perfect moment to capture the scene in its best light.
End Note
As an avid mountain photographer, I can attest to the incredible rewards of capturing these awe-inspiring landscapes’ beauty and grandeur. With the right equipment, knowledge of composition techniques, and an understanding of exposure and lighting, you can create stunning mountain photographs that tell a story and evoke an emotional response from your viewers.
In the end, mountain photography is a unique and challenging genre that offers endless opportunities for creative expression and personal growth. By applying the tips and techniques shared in this guide, you can elevate your skills and create captivating images that showcase the unparalleled beauty of these majestic landscapes. So, pack your gear, head to the mountains, and start capturing the magic of these remarkable environments.
FAQs
Choosing the best lens for mountain photography can be challenging, as it largely depends on the type of shots you want to capture and the environment you’ll be shooting in. Generally, wide-angle lenses are preferred for capturing sweeping vistas and expansive landscapes, while telephoto lenses are ideal for zooming in on distant subjects, such as wildlife or mountain climbers.
A versatile zoom lens, such as a 24-70mm or 70-200mm, can be a good option for mountain photography, as it allows you to capture both wide-angle and telephoto shots without having to switch lenses frequently. However, if you’re looking for the highest image quality and sharpness, prime lenses are often the way to go.
Using a tripod is recommended to stabilize your camera and avoid camera shaking. Additionally, choose a suitable aperture (f/8-f/16) to ensure a sharp focus throughout the image, and use manual focus if necessary.
Experiment with different composition techniques, such as the rule of thirds, leading lines, and incorporating foreground interest. Additionally, shoot during the golden and blue hours for optimal lighting, and don’t be afraid to embrace dramatic weather conditions.
Use editing software like Adobe Lightroom or Photoshop to adjust color balance, contrast, and clarity. Be mindful of over-editing, as it can result in an unnatural look. Consider combining multiple exposures or creating panoramas for a more immersive experience.


